FREE DINNER EBOOK!
Get your copy!
Cookie Policy
GDPR Policy
Disclaimer
Terms Of Use
Visit my other site:
Fun Cookie Recipes
Home
Dinner
Desserts
Drinks
Appetizers
Contact
About
Privacy Policy
Home
Dinner
Desserts
Drinks
Appetizers
Contact
About
Privacy Policy
Cookie Policy
GDPR Policy
Disclaimer
Terms Of Use
Visit my other site:
Fun Cookie Recipes
HOME / CATEGORIES /
Latest
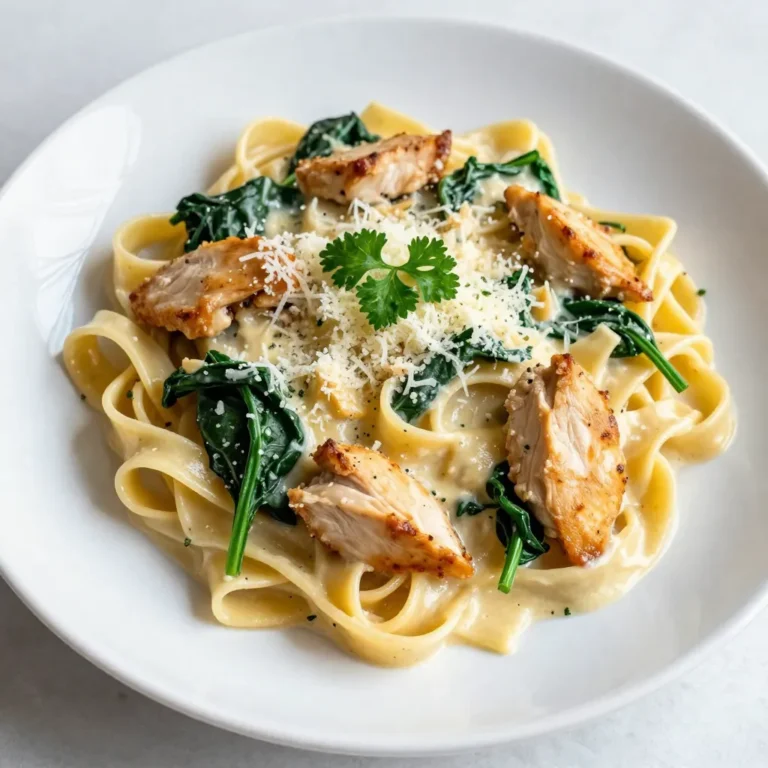
Easy Parmesan Chicken Pasta Savory and Creamy Dish
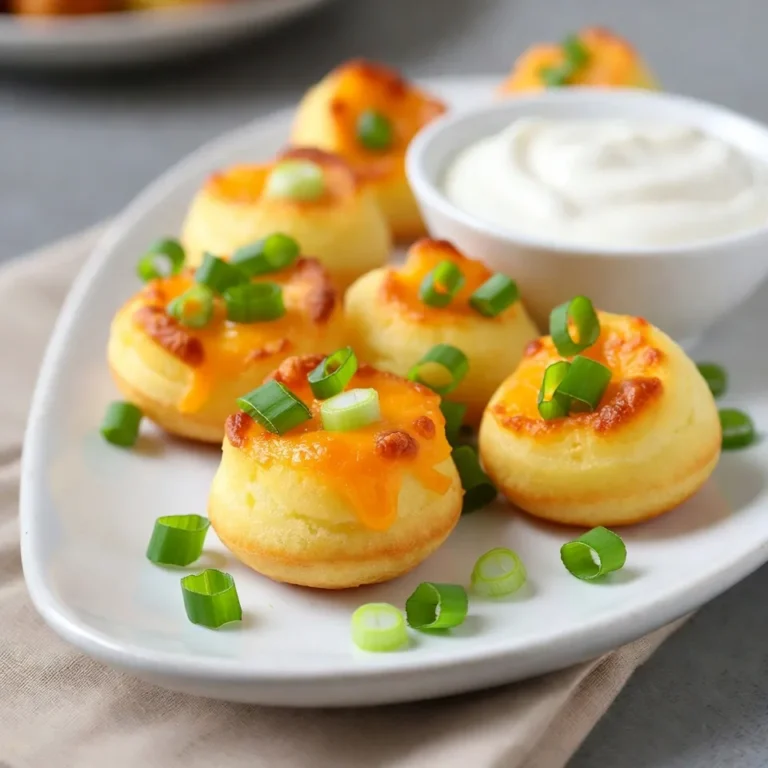
Mashed Potato Cheese Puffs Delicious and Crispy Snack
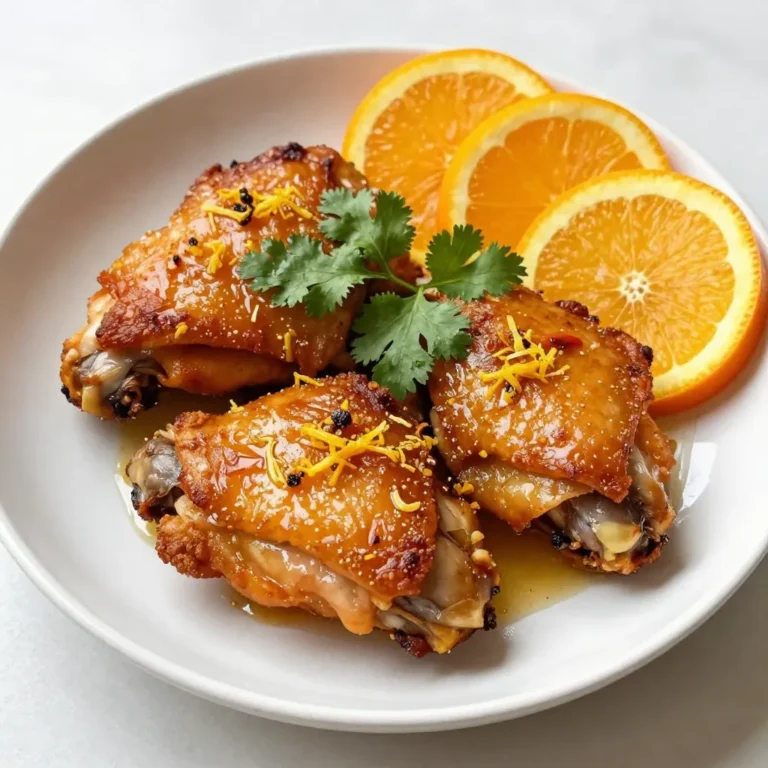
Sweet and Savory Roasted Orange Chicken Delight
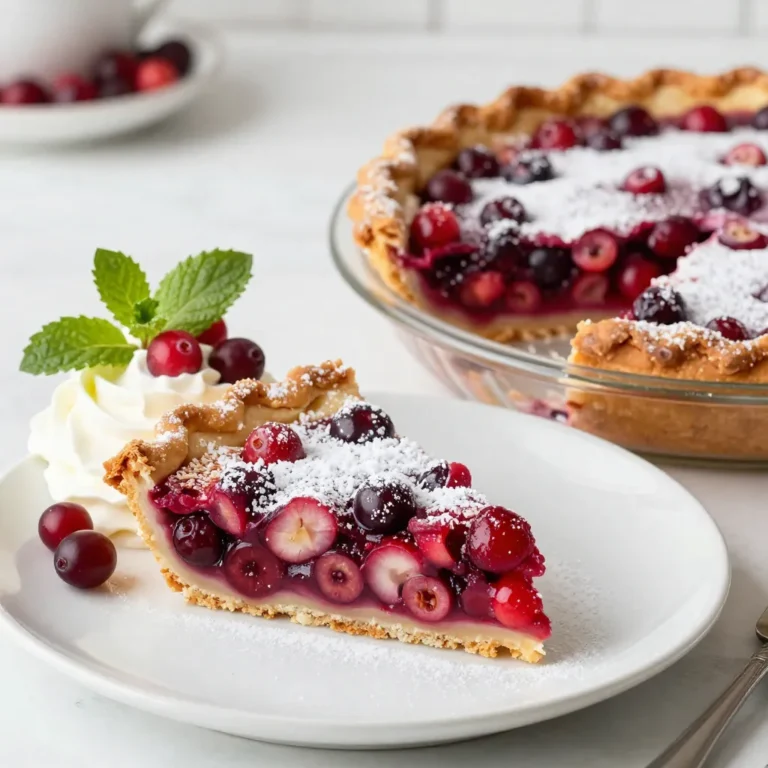
Nantucket Cranberry Pie Flavorful Holiday Delight
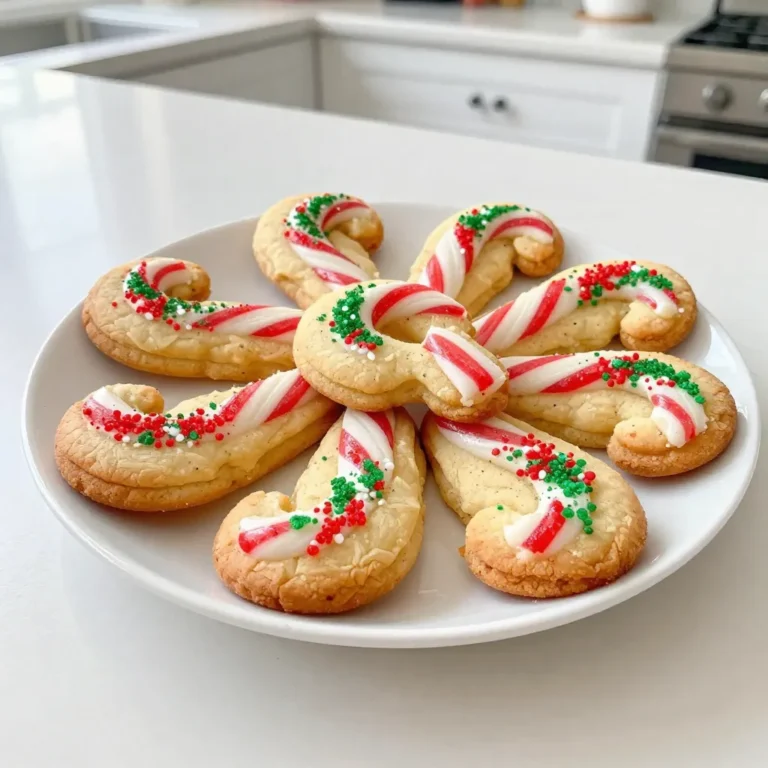
Magical Candy Cane Cookies Festive and Fun Treats
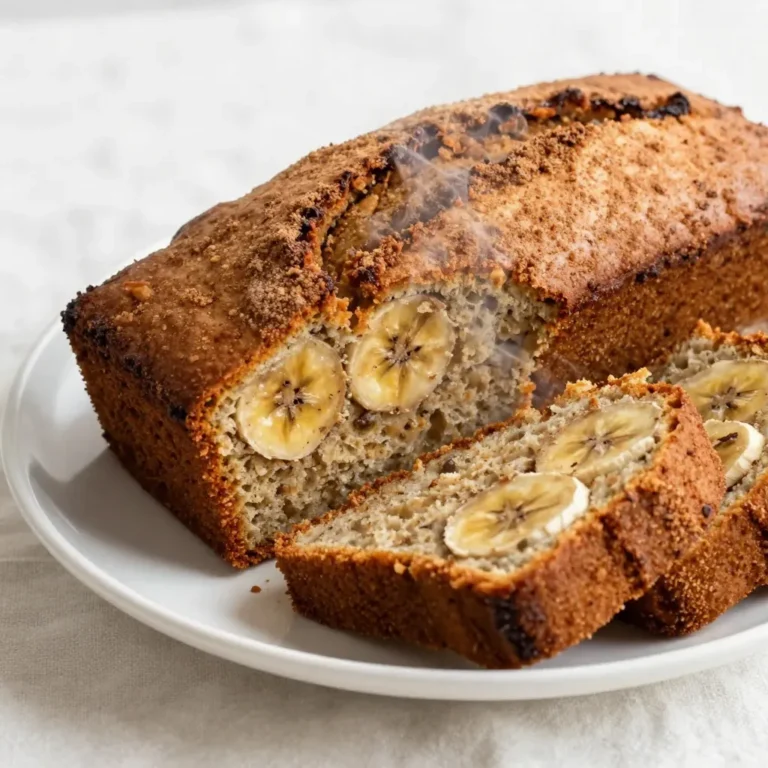
Snickerdoodle Banana Bread Simply Delicious Dessert
Classic Pâte Sucrée Simple and Flavorful Recipe
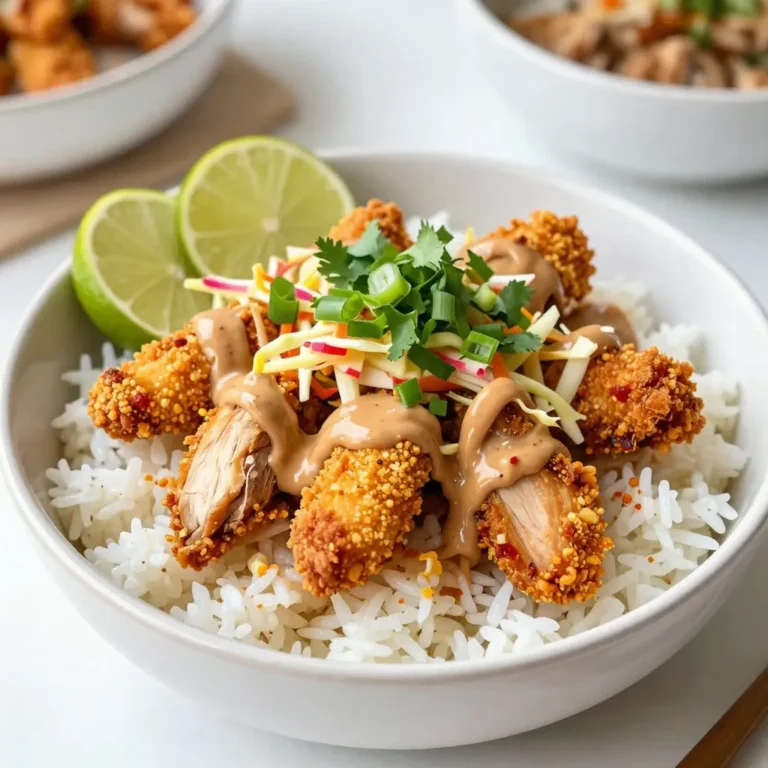
Bang Bang Chicken Bowl Flavorful and Easy Recipe
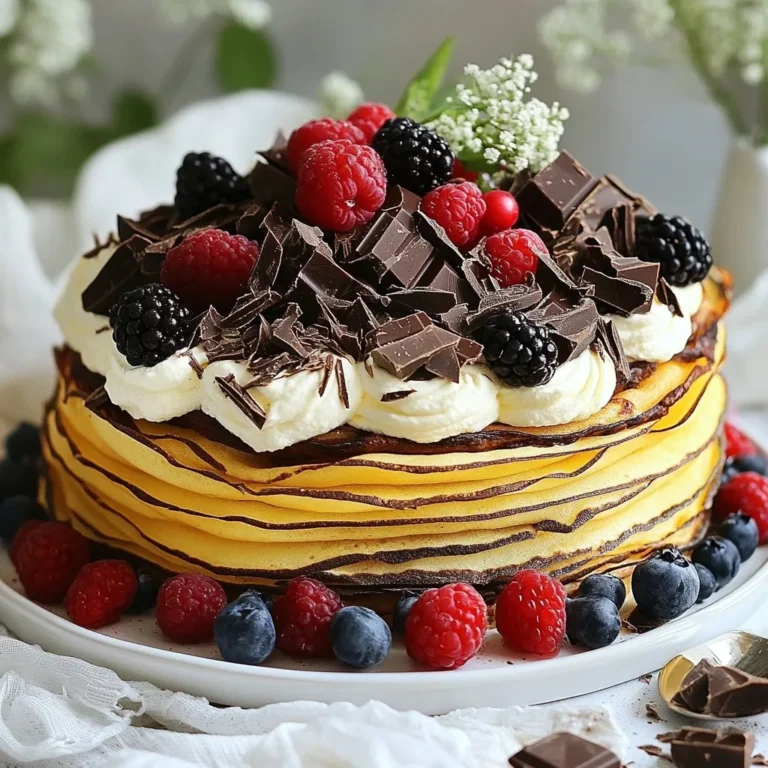
Chocolate Mascarpone Crepe Cake Indulgent Delight
Classic Christmas Sugar Cookies Delightful Holiday Treat
1
2
…
48
NEXT