FREE DINNER EBOOK!
Get your copy!
Cookie Policy
GDPR Policy
Disclaimer
Terms Of Use
Visit my other site:
Fun Cookie Recipes
Home
Dinner
Desserts
Drinks
Appetizers
Contact
About
Privacy Policy
Home
Dinner
Desserts
Drinks
Appetizers
Contact
About
Privacy Policy
Cookie Policy
GDPR Policy
Disclaimer
Terms Of Use
Visit my other site:
Fun Cookie Recipes
HOME / CATEGORIES /
Latest
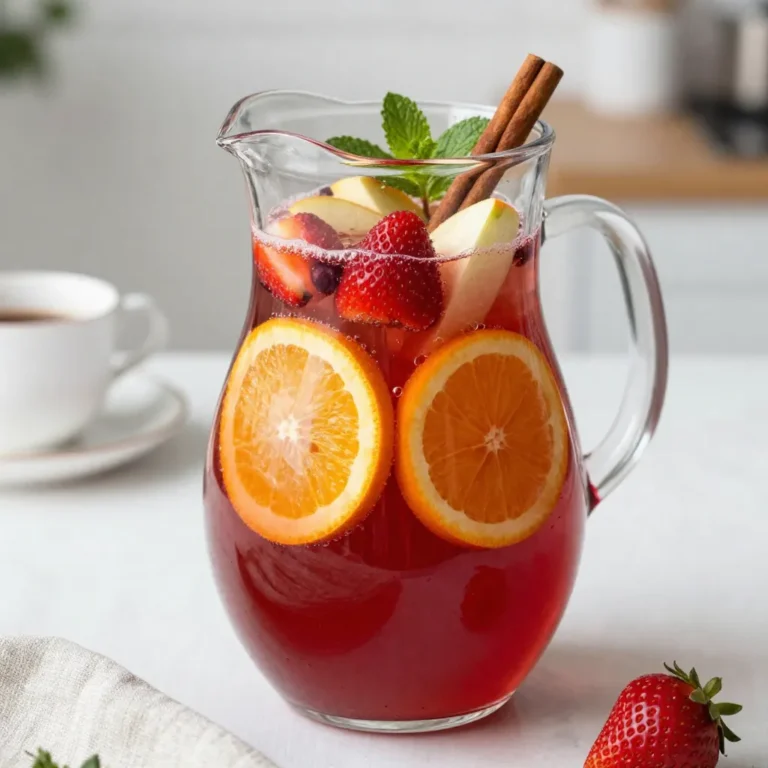
Non Alcoholic Christmas Sangria Festive and Flavorful
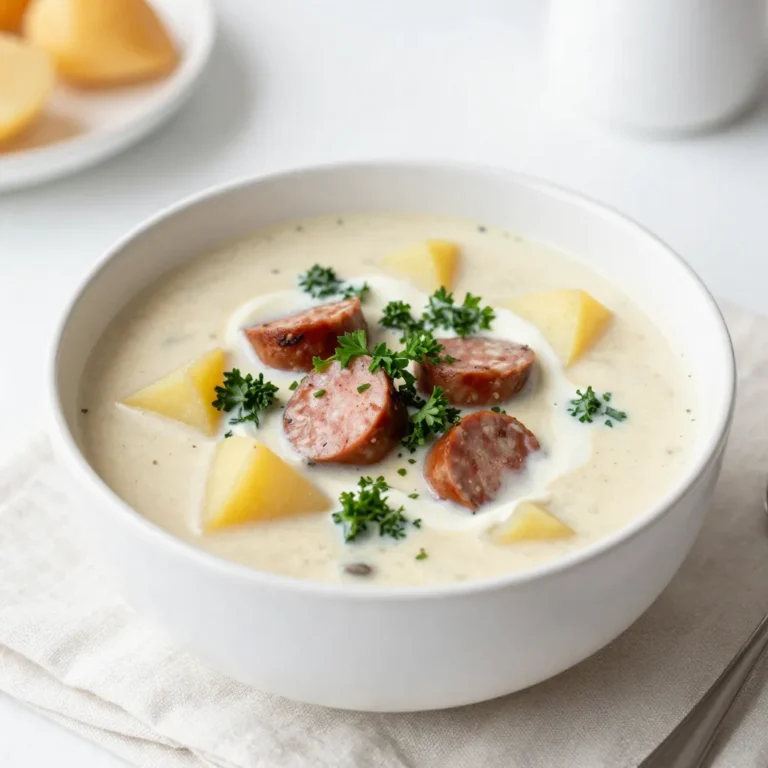
Crockpot Sausage Potato Soup Comforting and Easy Meal
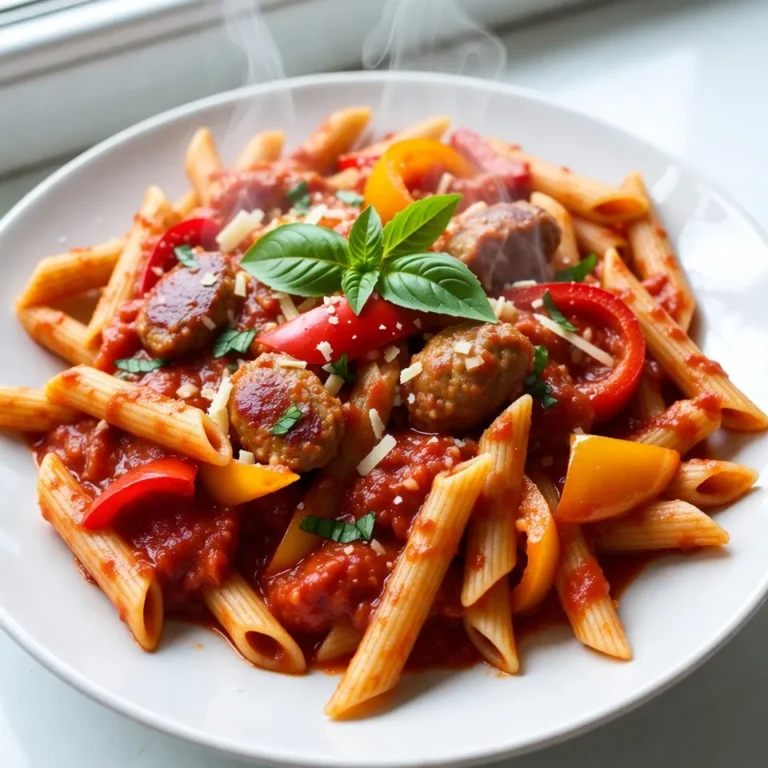
Savory Sweet Pepper Sausage Pasta Easy and Quick Meal
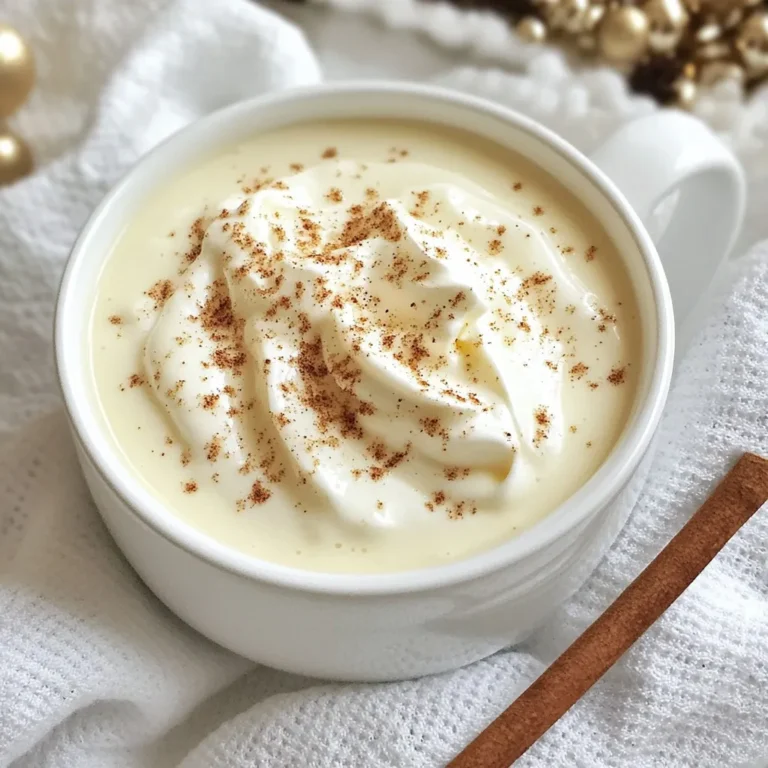
Eggnog Punch Cocktail Festive and Creamy Delight
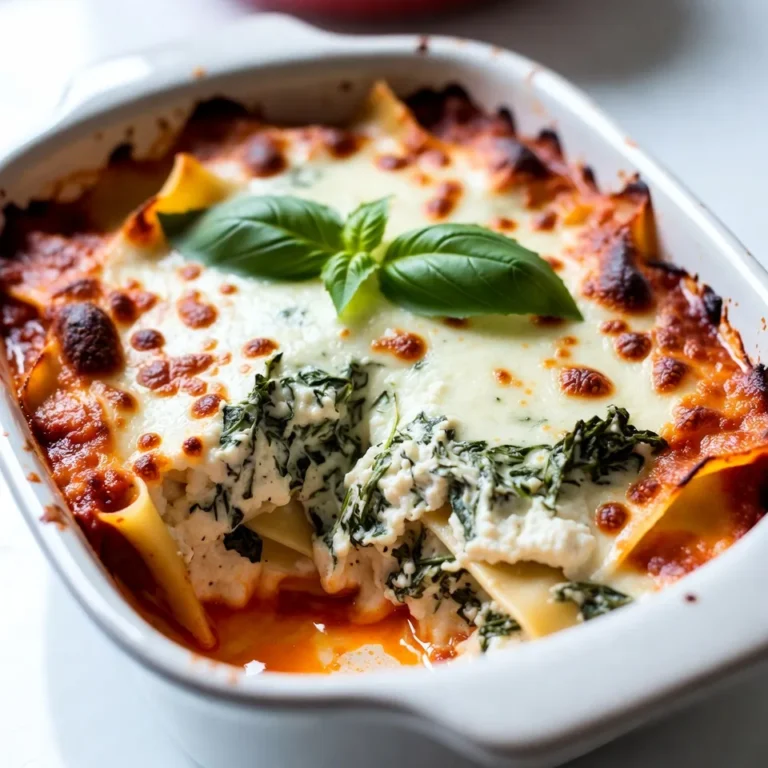
No Boil Creamy Lasagna Easy and Delicious Recipe
Silky Japanese Custard Purin Creamy and Dreamy Dessert
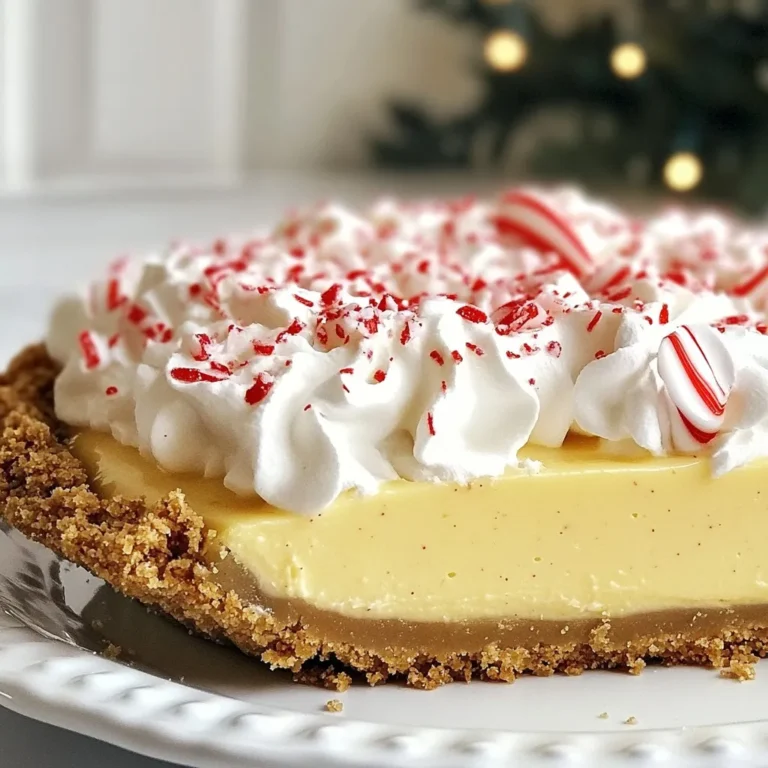
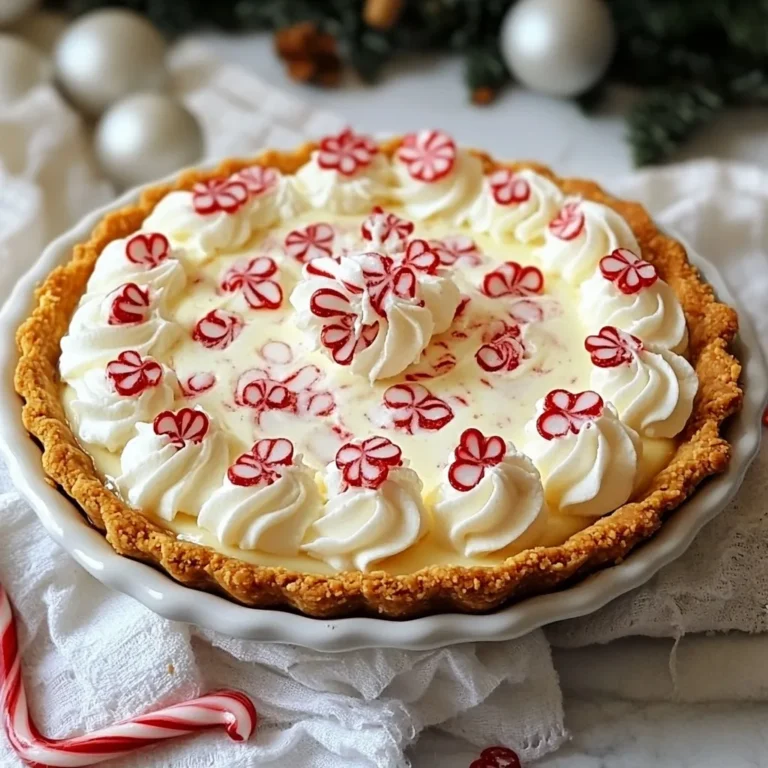
Peppermint Christmas Cream Pie Delightful Holiday Dessert
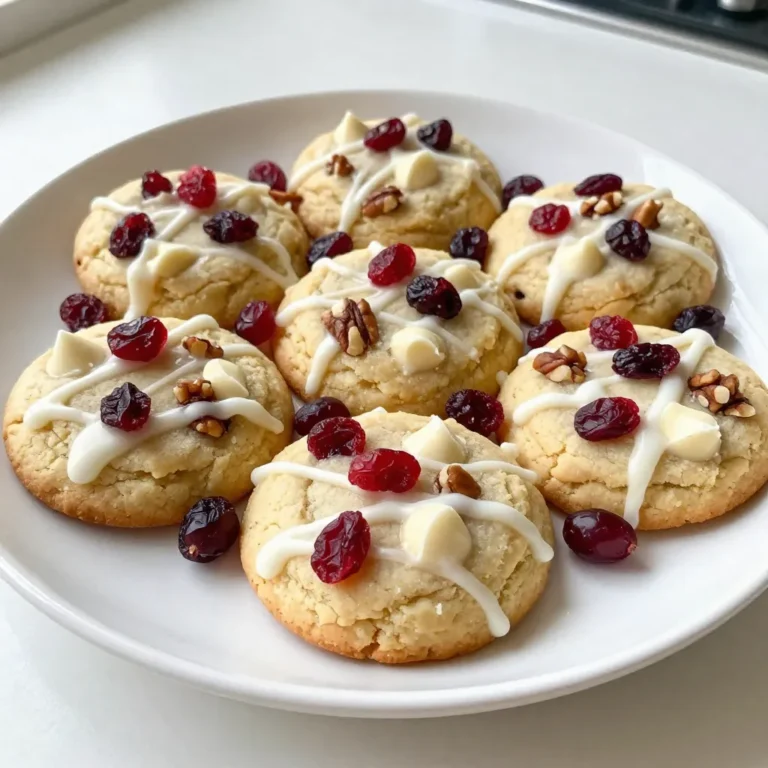
White Chocolate Cranberry Cookies Simple and Sweet
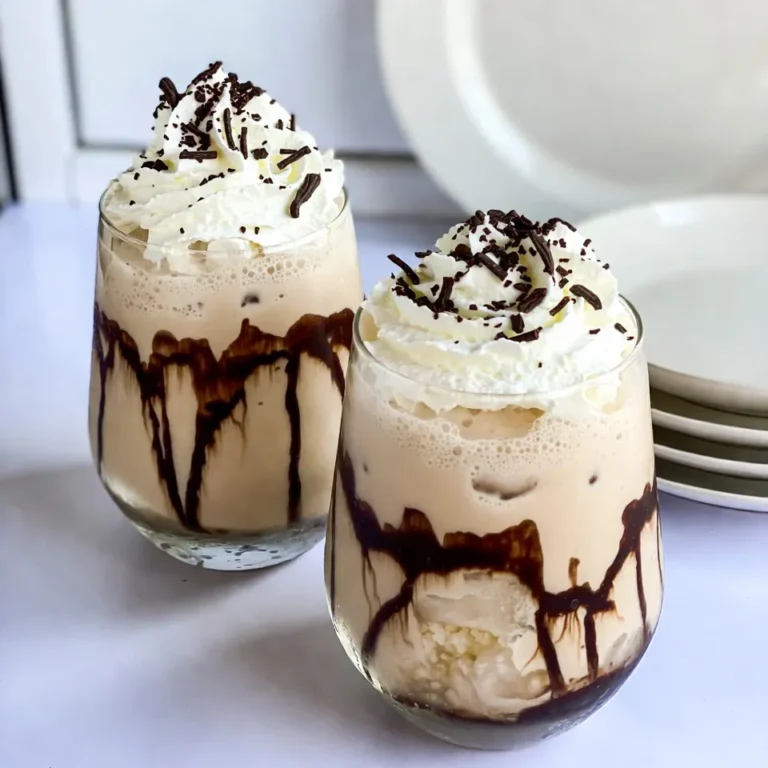
Nonalcoholic Eggnog Mudslide Creamy Holiday Treat
Peppermint Christmas Cream Pie Festive and Creamy Treat
PREV
1
2
3
…
48
NEXT