FREE DINNER EBOOK!
Get your copy!
Cookie Policy
GDPR Policy
Disclaimer
Terms Of Use
Visit my other site:
Fun Cookie Recipes
Home
Dinner
Desserts
Drinks
Appetizers
Contact
About
Privacy Policy
Home
Dinner
Desserts
Drinks
Appetizers
Contact
About
Privacy Policy
Cookie Policy
GDPR Policy
Disclaimer
Terms Of Use
Visit my other site:
Fun Cookie Recipes
HOME / CATEGORIES /
Latest
Mistletoe Margarita Delightful Festive Holiday Drink
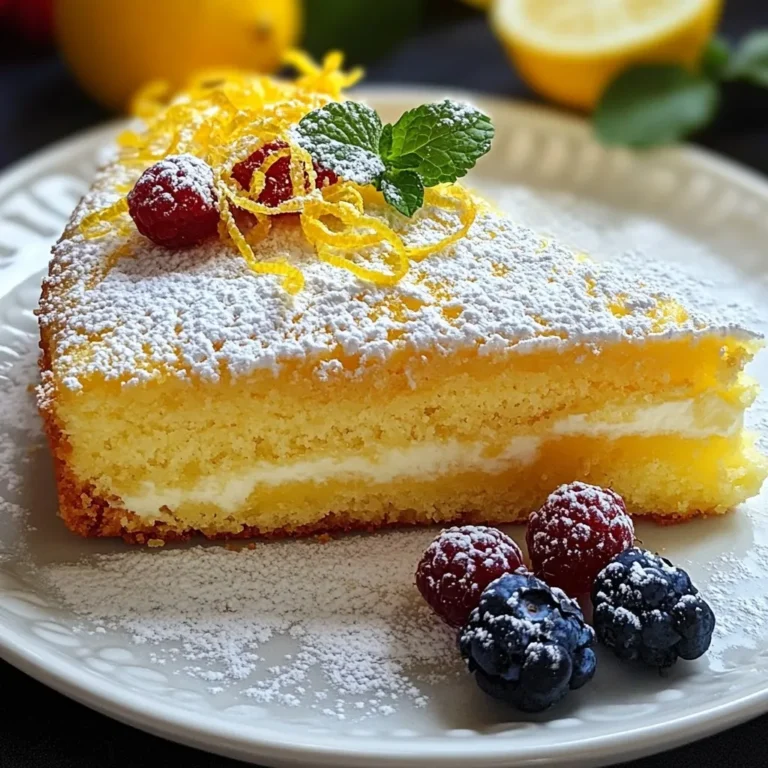
Italian Lemon Custard Cake Delightful Flavor Treat
Pumpkin Cheesecake Truffles Irresistible and Easy Treat
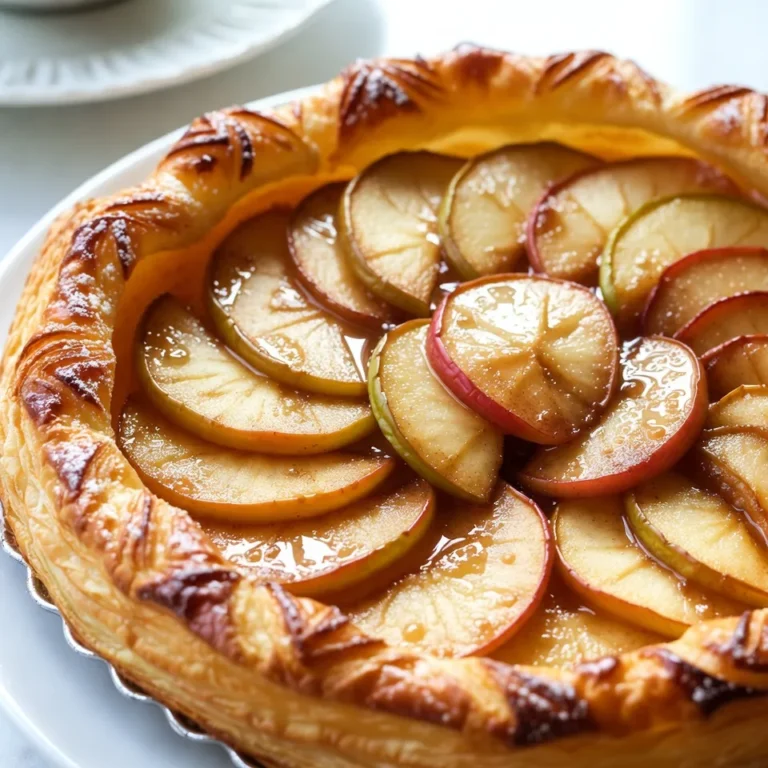
Puff Pastry Apple Tart Delightful Dessert Recipe
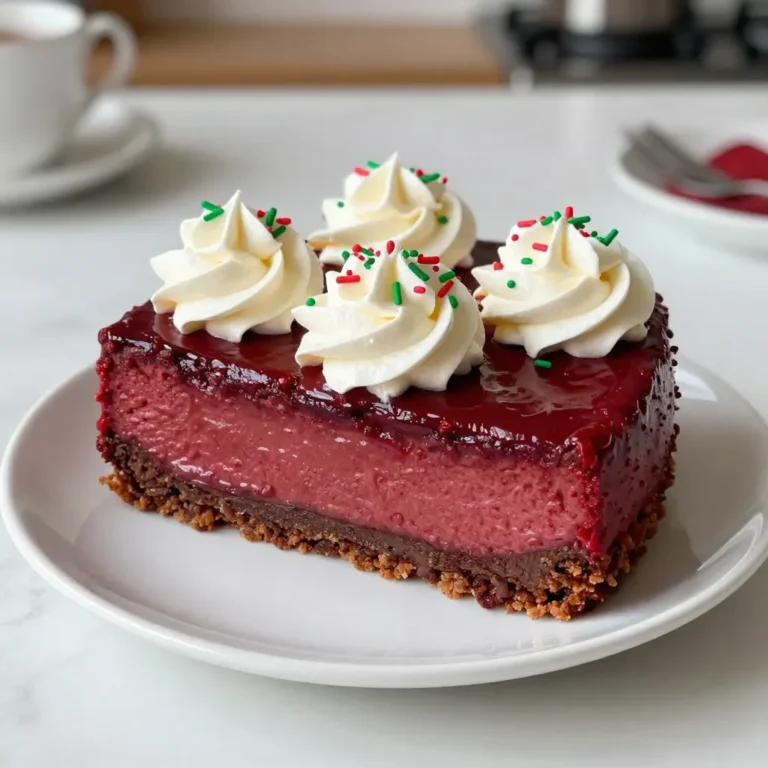
Red Velvet Christmas Cheesecake Festive Holiday Treat
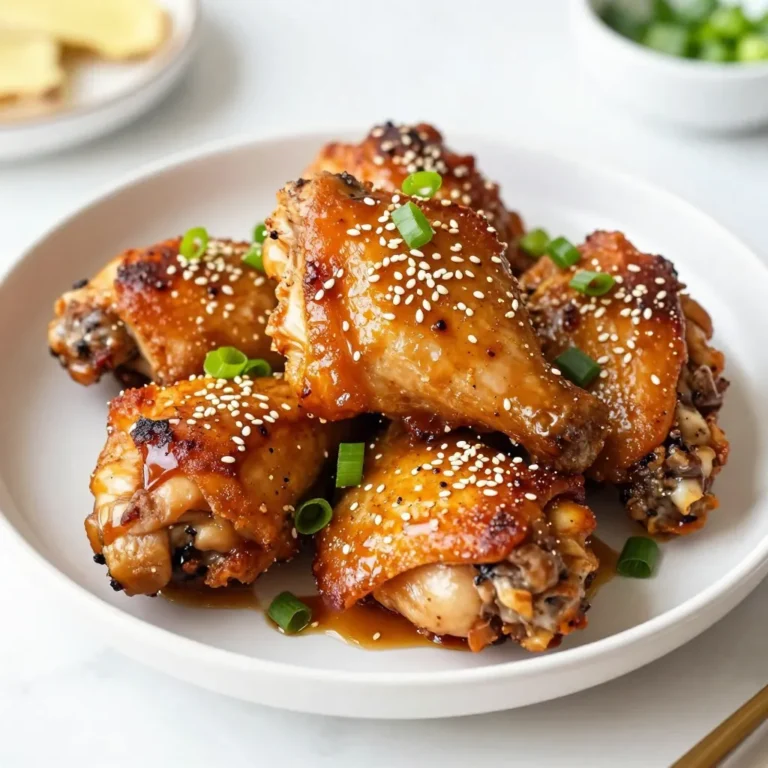
Air Fryer Soy Garlic Chicken Thighs Tasty Delight
Broccoli Leek Potato Soup Flavorful and Creamy Delight
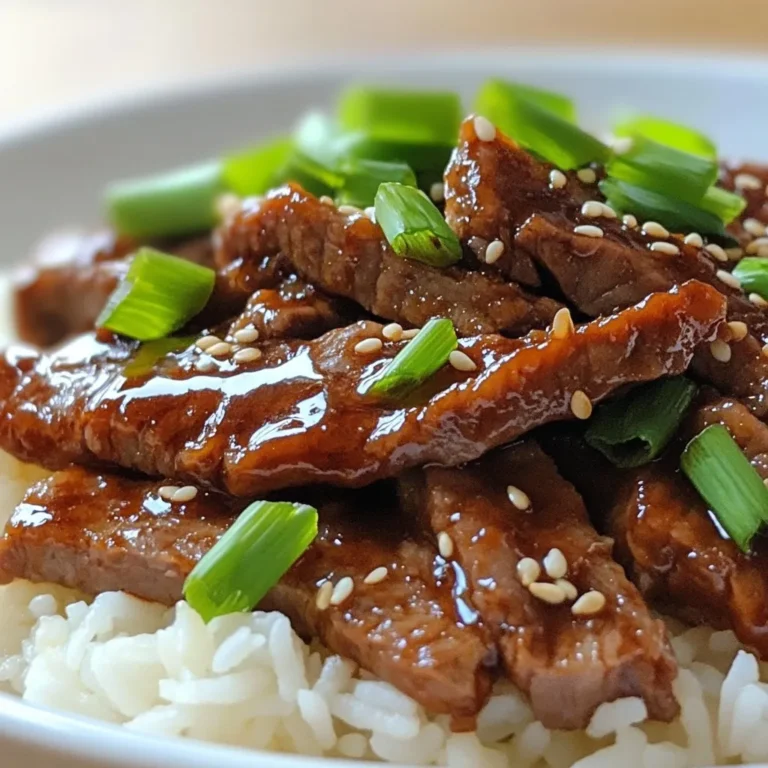
Mongolian Beef Flavorful and Simple Dinner Recipe
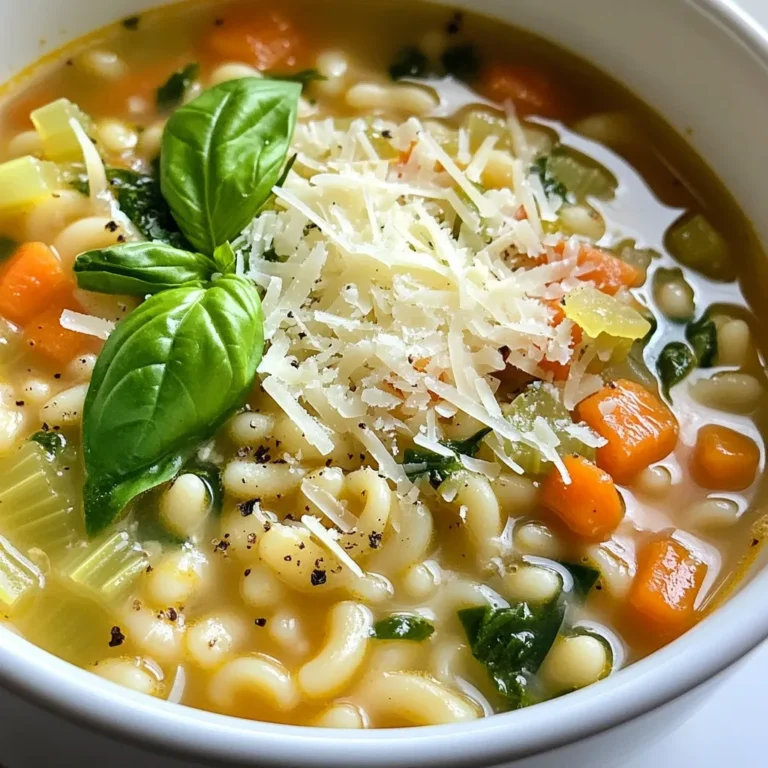
Cozy Italian Pastina Soup Perfect for Cold Days
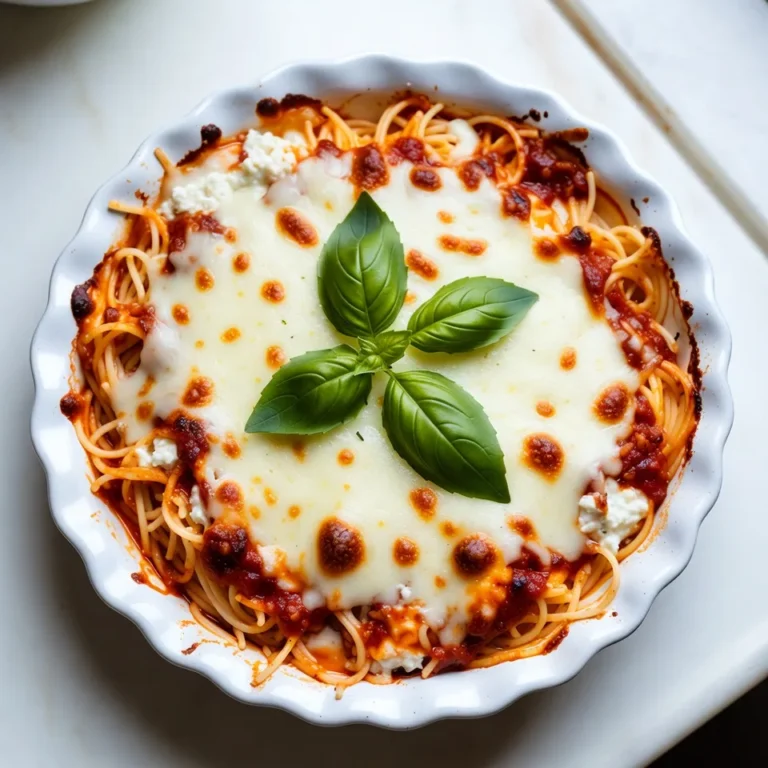
Cheesy Spaghetti Pie Hearty and Satisfying Meal
PREV
1
2
3
4
…
48
NEXT