FREE DINNER EBOOK!
Get your copy!
Cookie Policy
GDPR Policy
Disclaimer
Terms Of Use
Visit my other site:
Fun Cookie Recipes
Home
Dinner
Desserts
Drinks
Appetizers
Contact
About
Privacy Policy
Home
Dinner
Desserts
Drinks
Appetizers
Contact
About
Privacy Policy
Cookie Policy
GDPR Policy
Disclaimer
Terms Of Use
Visit my other site:
Fun Cookie Recipes
HOME / CATEGORIES /
Latest
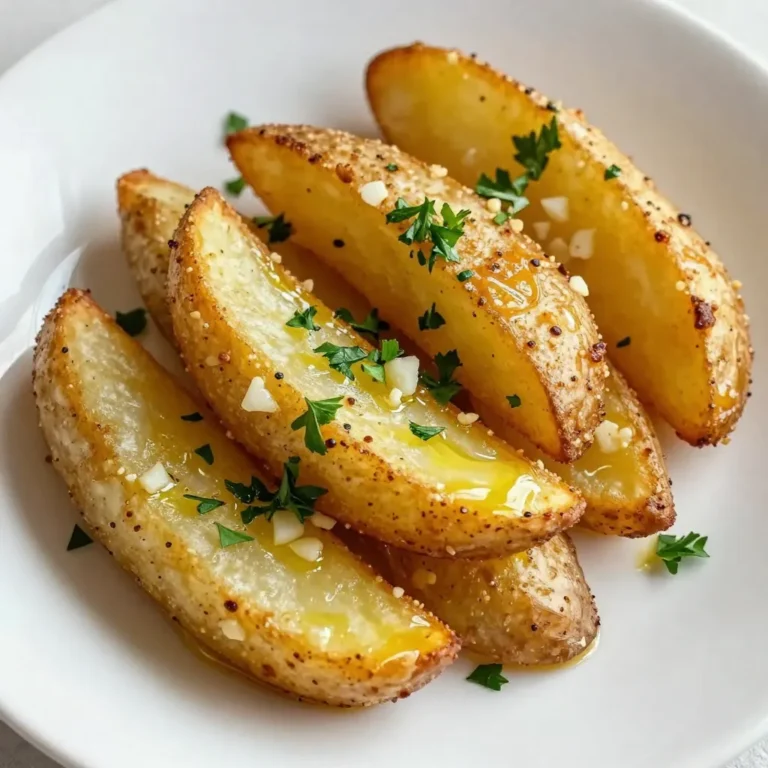
Garlic Parmesan Potato Wedges Crispy and Flavorful Dish
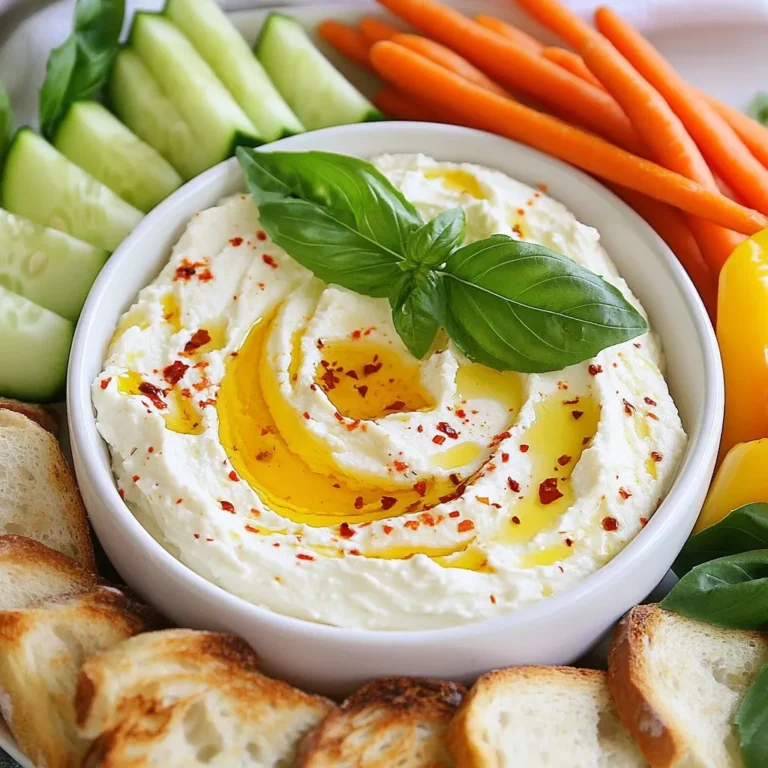
Ricotta Dip with Hot Honey Flavorful and Simple Delight
Soft Gingerbread Man Cookies Delightful Holiday Treat
Buttery Croissant Bread Loaf Rich and Flaky Delight
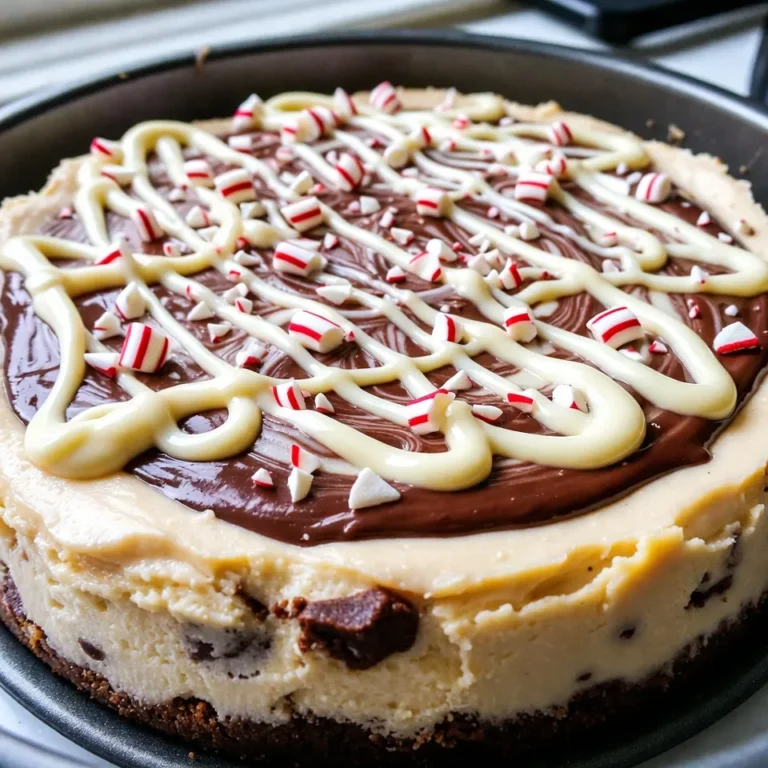
No-Bake Peppermint Bark Cheesecake Delightfully Easy
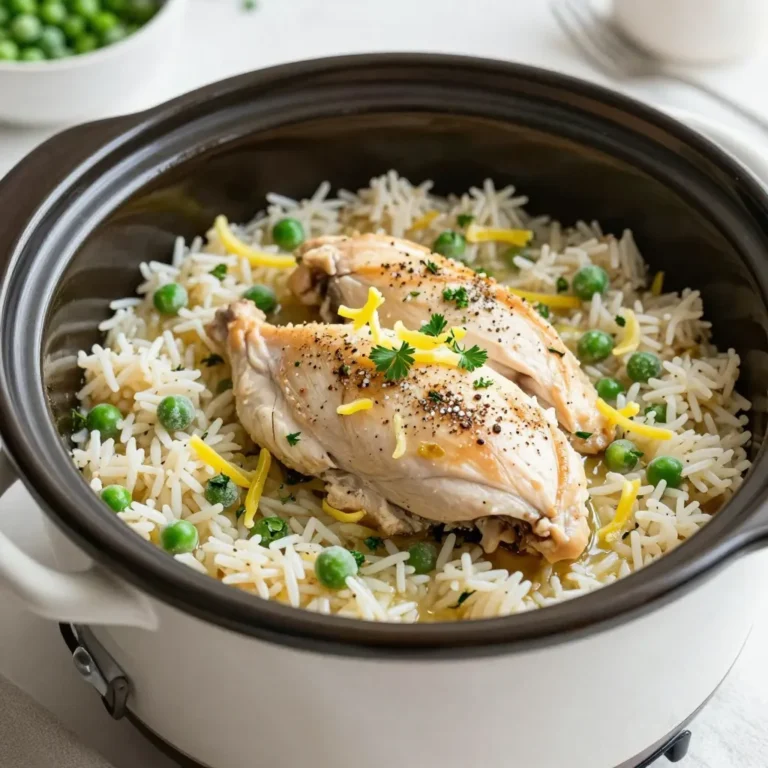
Slow Cooker Lemon Herb Chicken and Rice Delight
Cheesy Pull-Apart Christmas Bread Festive Delight
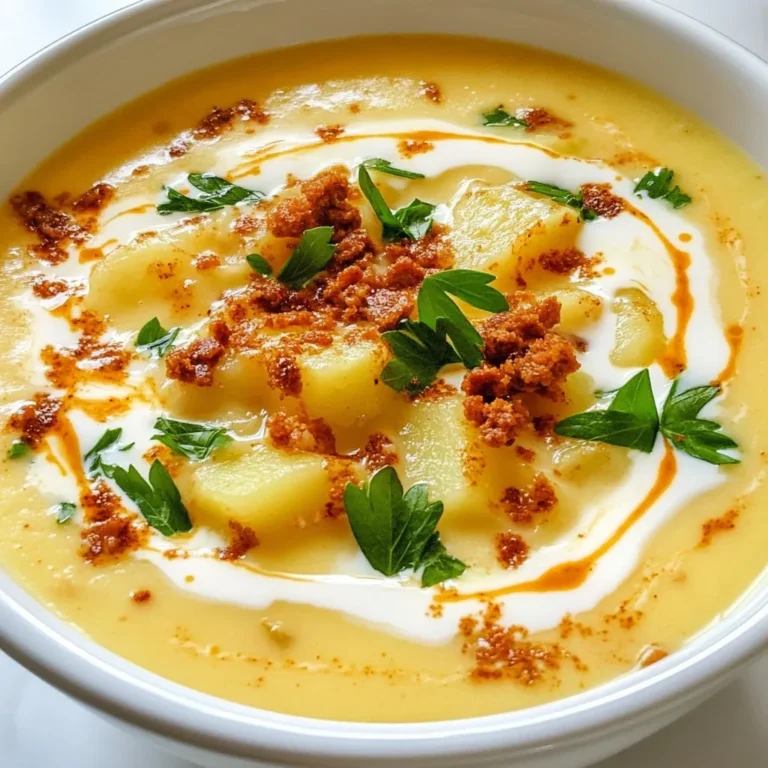
Creamy Chorizo Potato Soup Comforting and Simple Dish
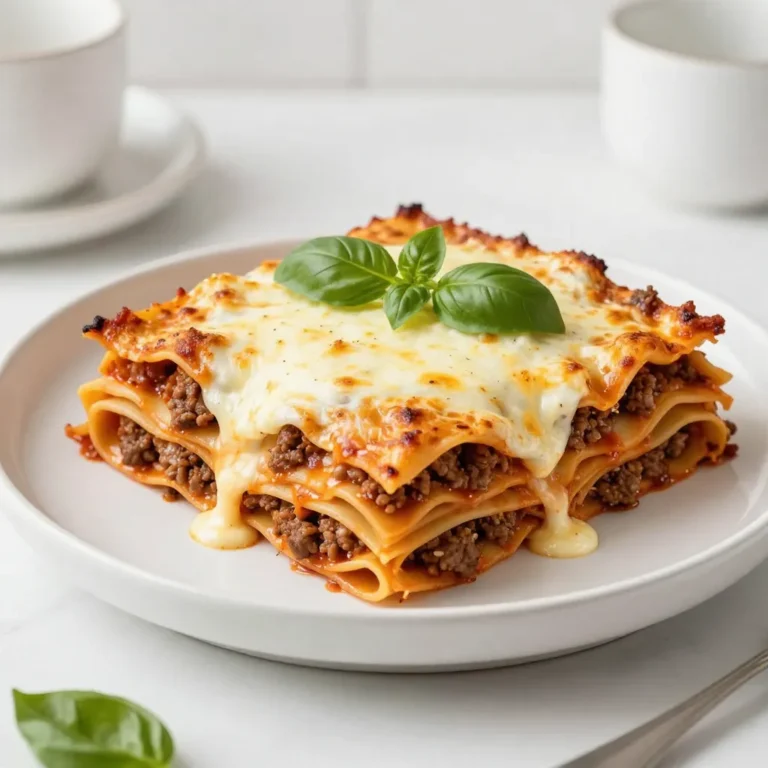
Easy Homemade Lasagna Quick and Delicious Recipe
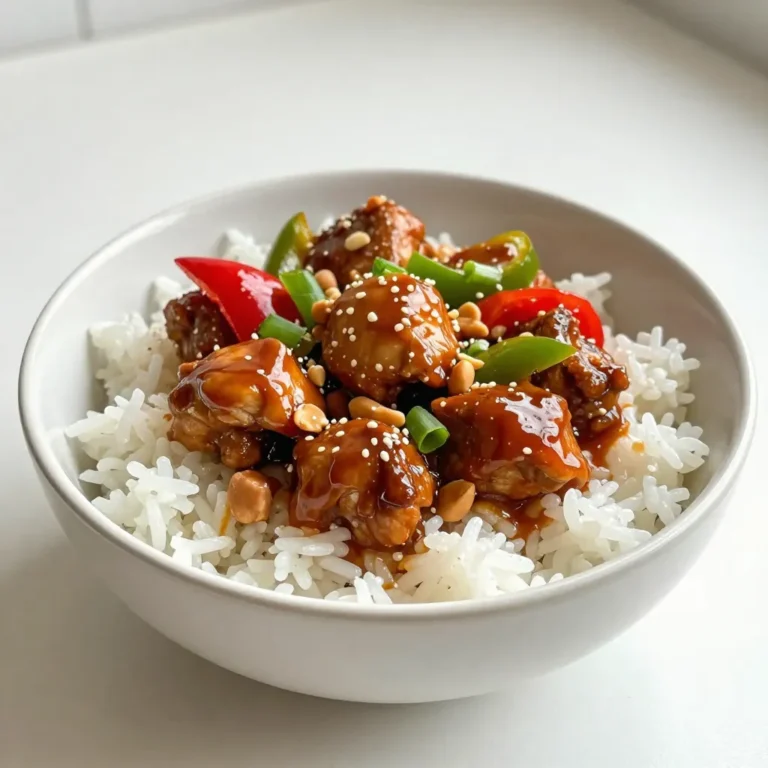
Crockpot Kung Pao Chicken Tasty and Simple Dish
PREV
1
…
3
4
5
…
48
NEXT