FREE DINNER EBOOK!
Get your copy!
Cookie Policy
GDPR Policy
Disclaimer
Terms Of Use
Visit my other site:
Fun Cookie Recipes
Home
Dinner
Desserts
Drinks
Appetizers
Contact
About
Privacy Policy
Home
Dinner
Desserts
Drinks
Appetizers
Contact
About
Privacy Policy
Cookie Policy
GDPR Policy
Disclaimer
Terms Of Use
Visit my other site:
Fun Cookie Recipes
HOME / CATEGORIES /
Latest
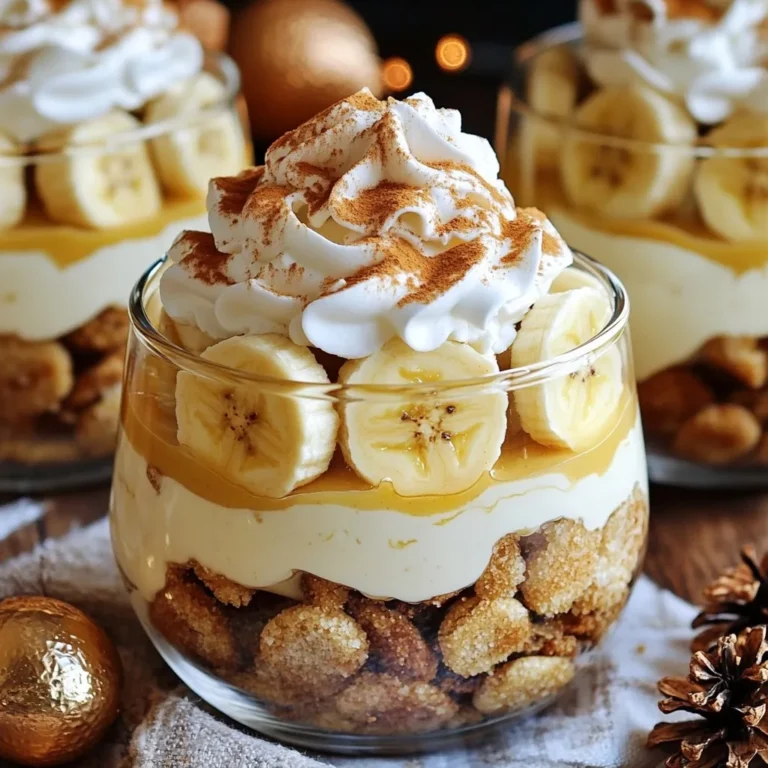
Eggnog Banana Pudding Simple and Creamy Delight
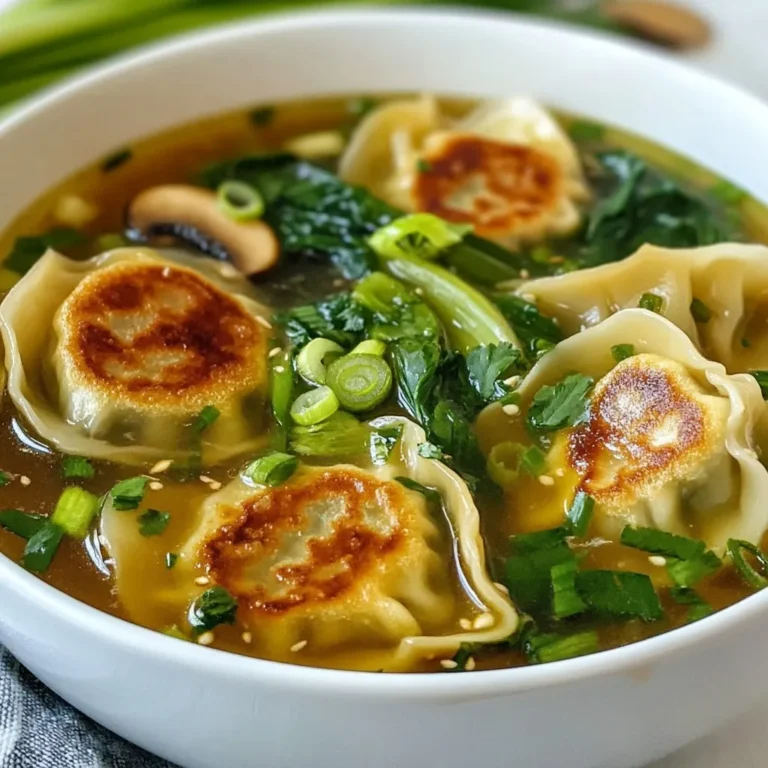
Minute Potsticker Soup Quick and Flavorful Recipe
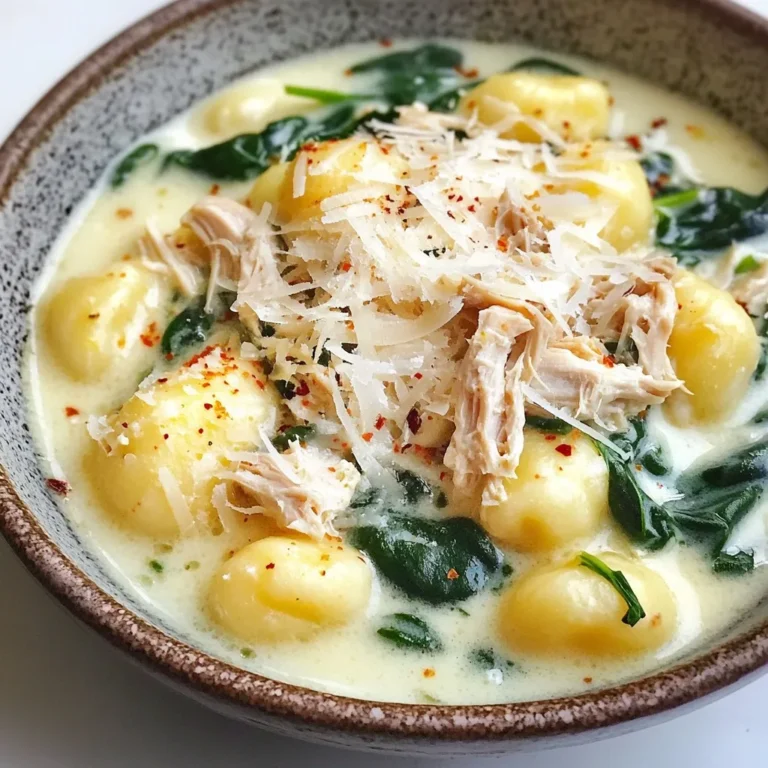
Savory Olive Garden Chicken Gnocchi Soup Recipe
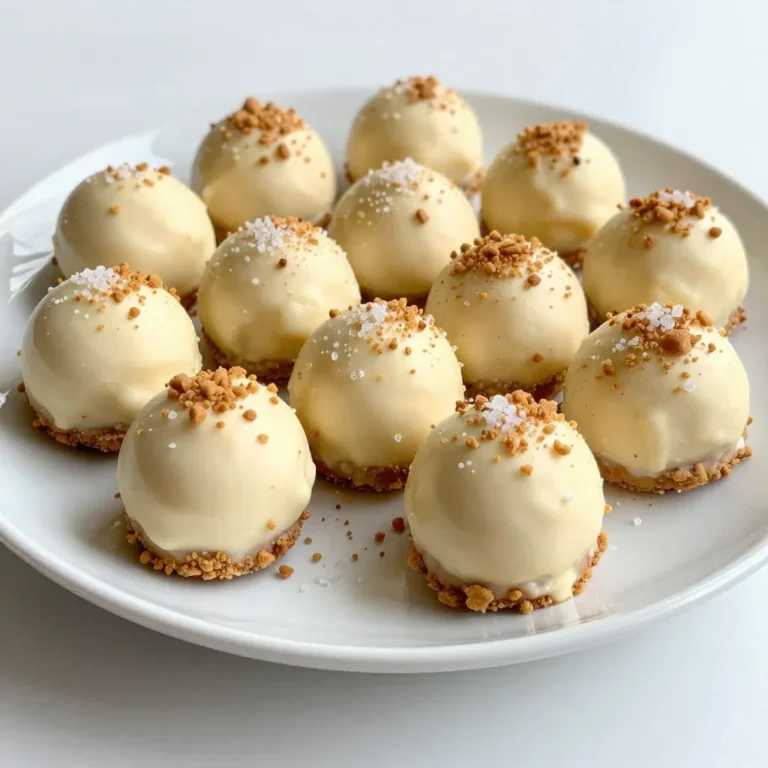
Biscoff Cheesecake Truffles Delightful and Simple Treat
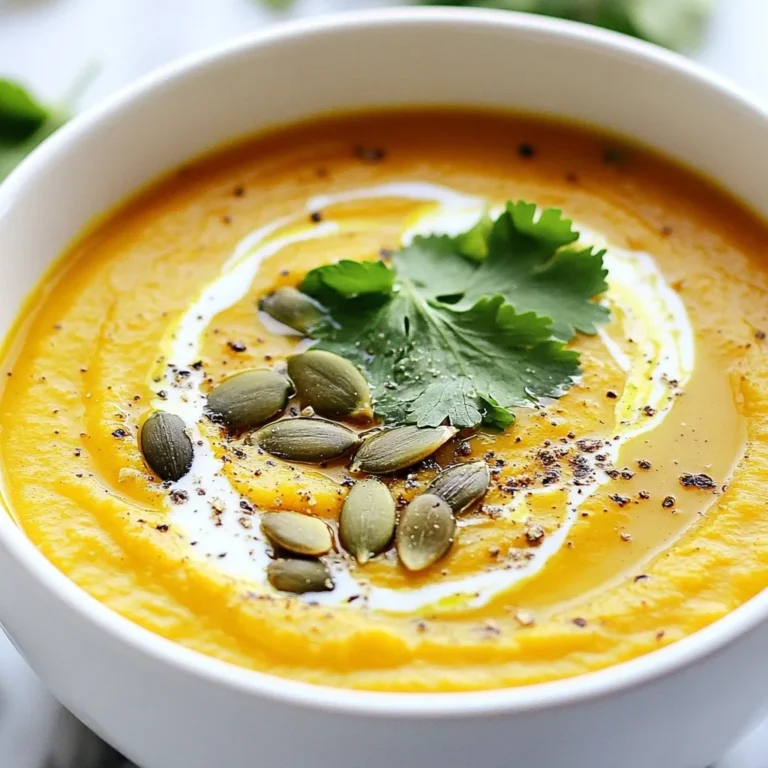
Roasted Butternut Squash Soup Comforting and Warm Dish
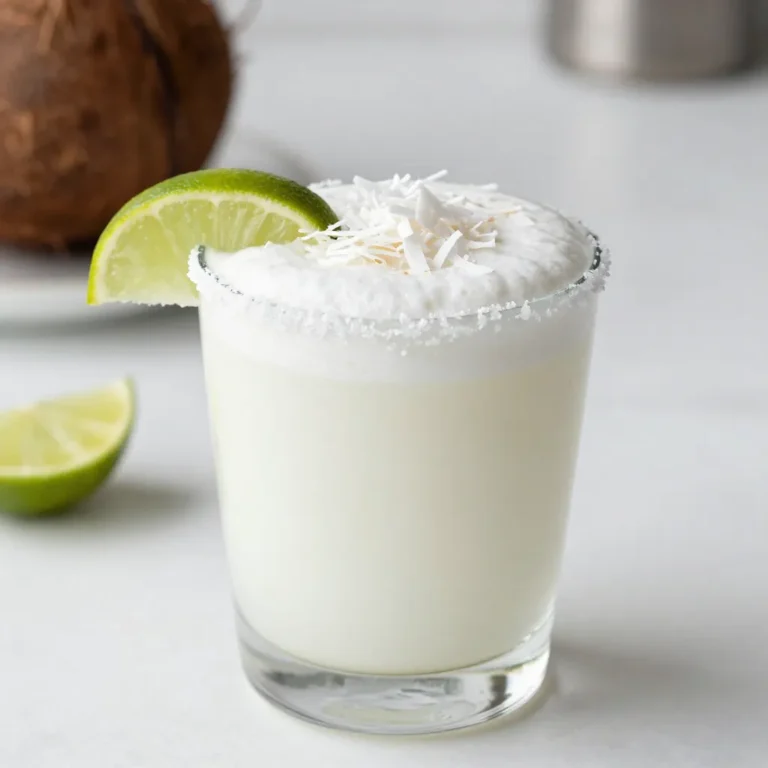
Coconut White Christmas Margarita Festive and Bright
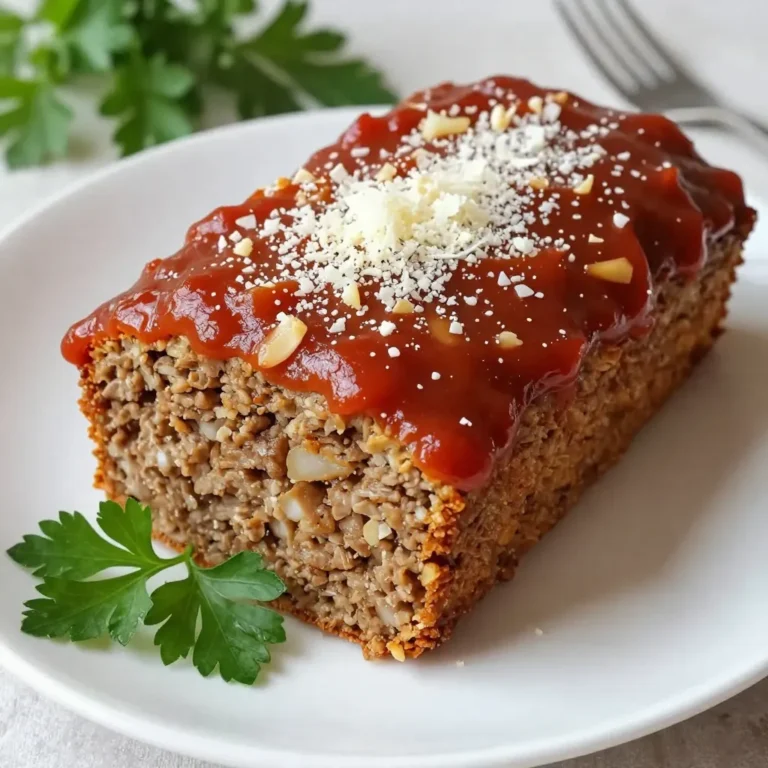
Garlic Parmesan Meatloaf Savory and Comforting Meal
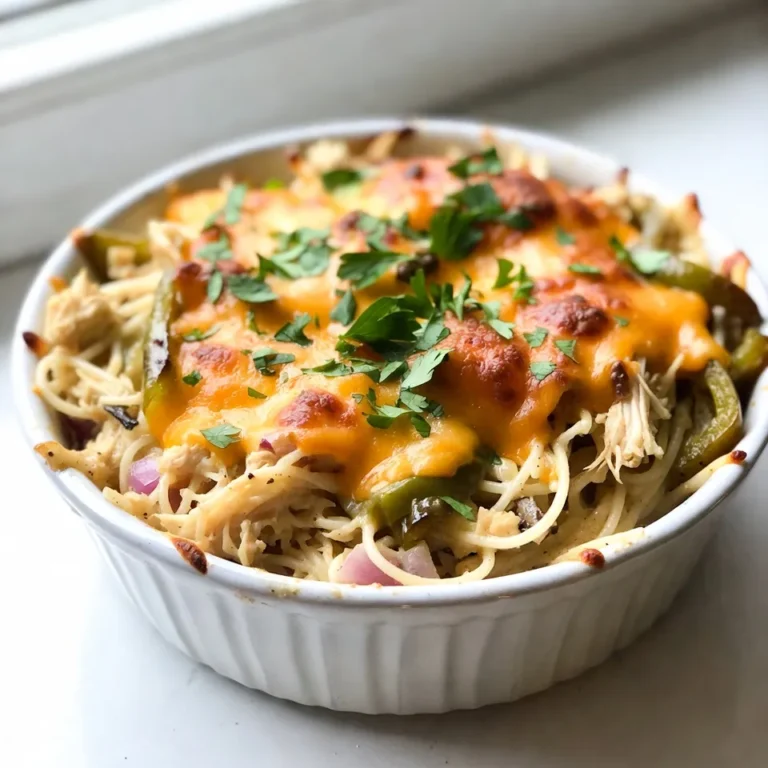
Monterey Chicken Spaghetti Bake Hearty Family Dish
Peanut Butter Penguin Cookies Delightful Treat Recipe
Churro Saltine Toffee Deliciously Crunchy Treat
PREV
1
…
4
5
6
…
48
NEXT