FREE DINNER EBOOK!
Get your copy!
Cookie Policy
GDPR Policy
Disclaimer
Terms Of Use
Visit my other site:
Fun Cookie Recipes
Home
Dinner
Desserts
Drinks
Appetizers
Contact
About
Privacy Policy
Home
Dinner
Desserts
Drinks
Appetizers
Contact
About
Privacy Policy
Cookie Policy
GDPR Policy
Disclaimer
Terms Of Use
Visit my other site:
Fun Cookie Recipes
HOME / CATEGORIES /
Latest
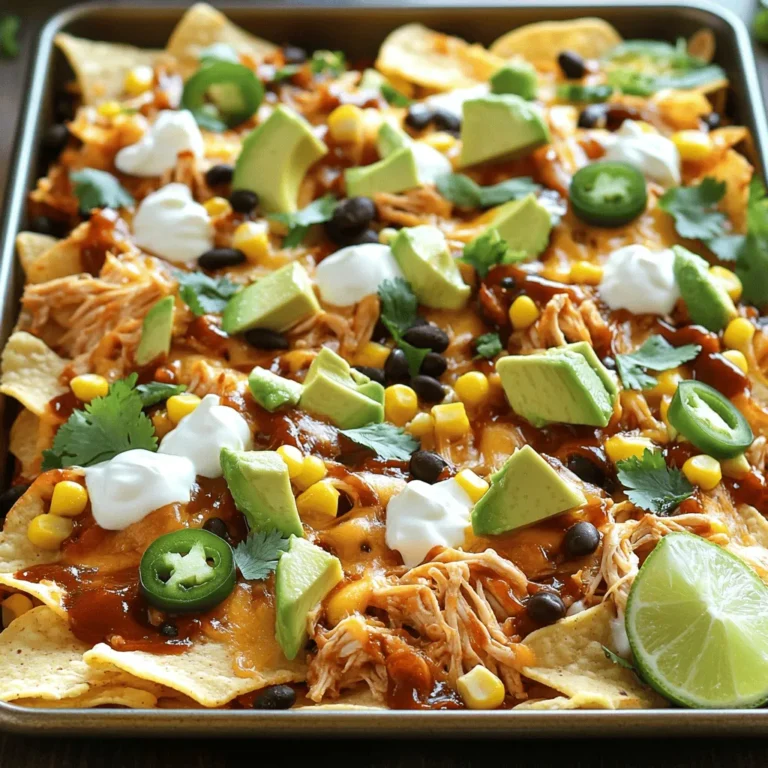
BBQ Chicken Nacho Sheet Pan Flavorful Crowd Pleaser
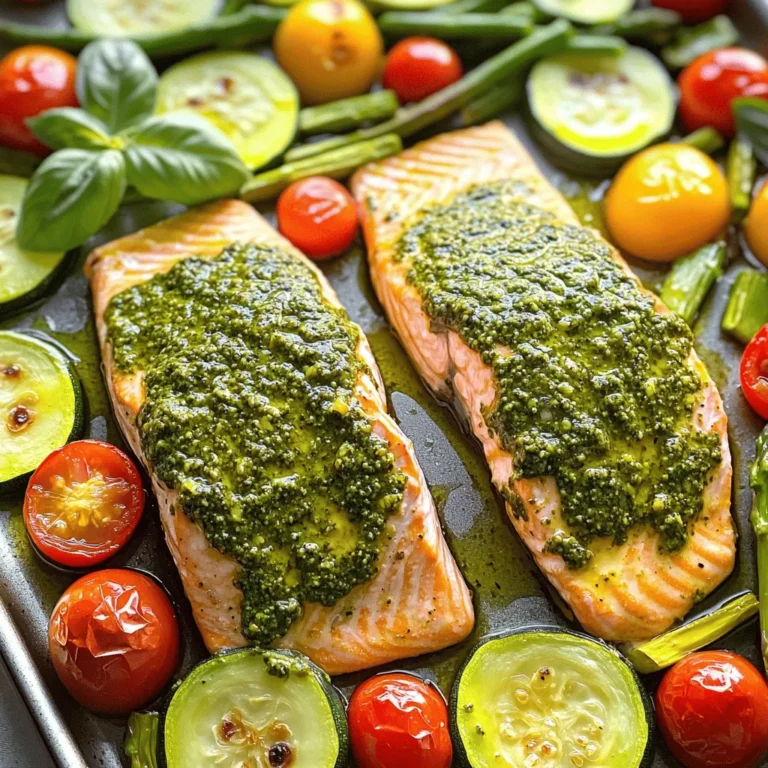
Sheet-Pan Pesto Salmon with Roasted Vegetables Delight
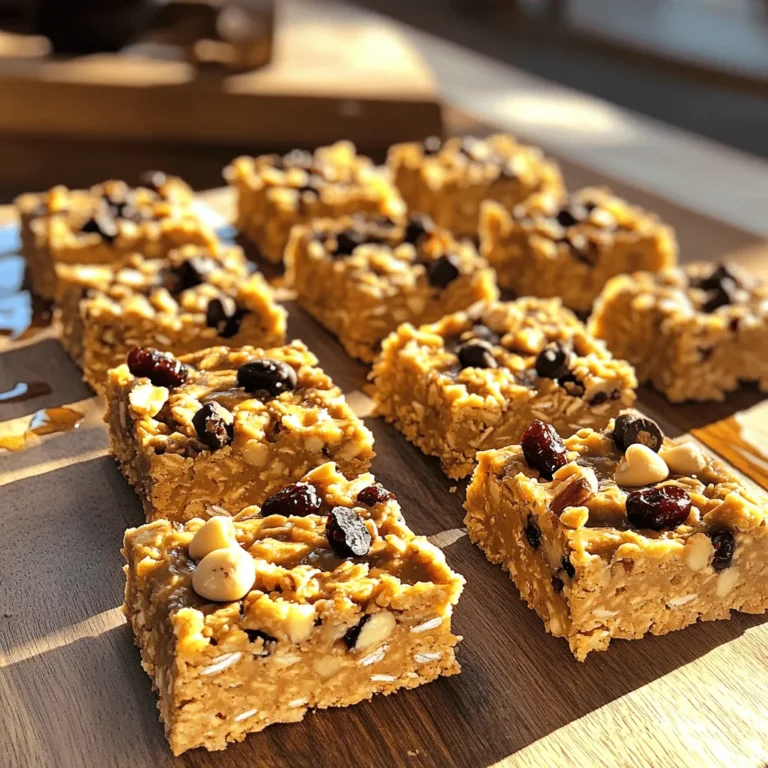
Easy No-Bake Peanut Butter Oat Bars Quick and Simple
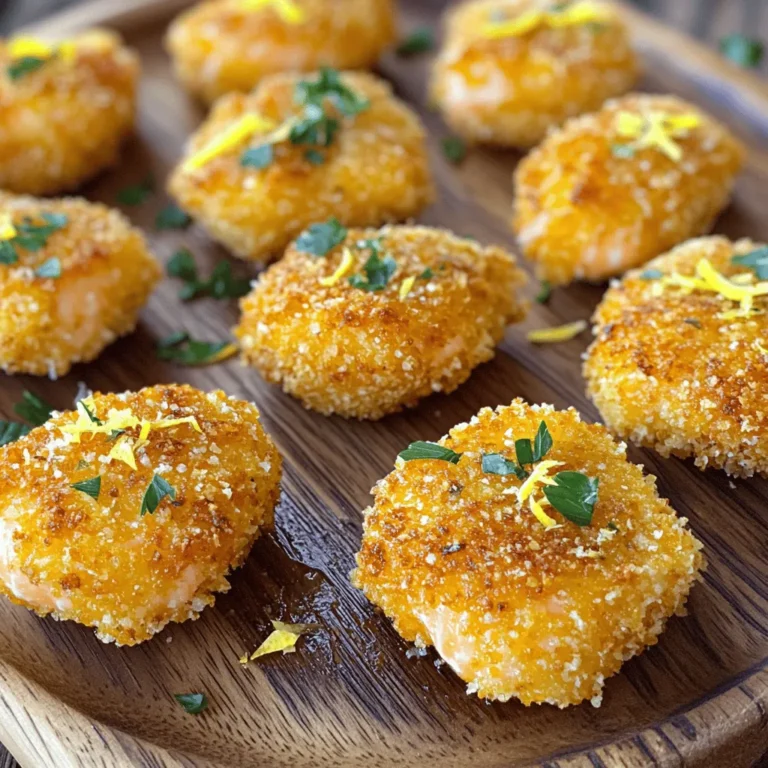
Lemon Pepper Salmon Nuggets Crispy and Flavorful Treat
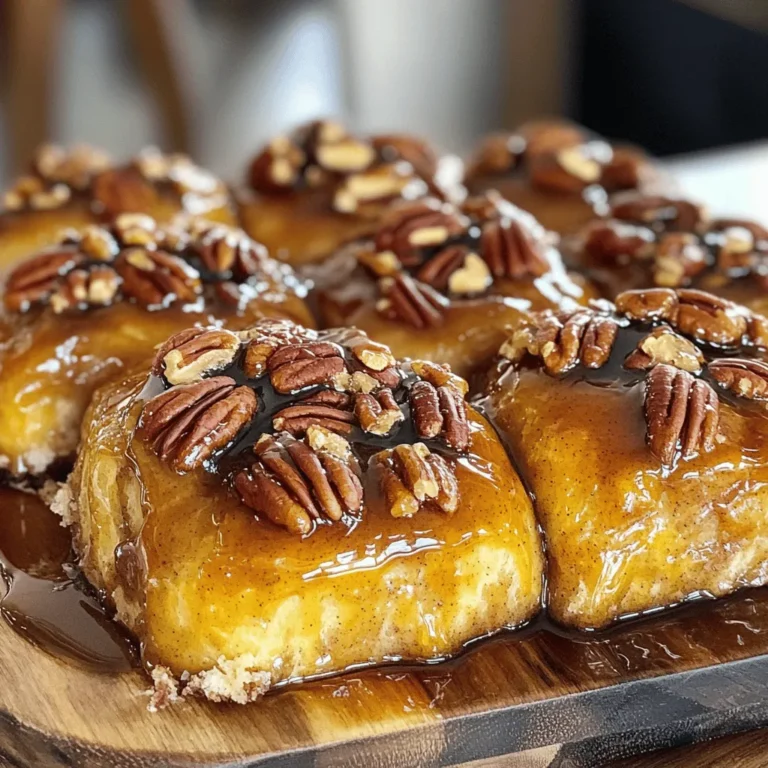
Maple Pecan Sticky Buns Irresistible Breakfast Treat
Creamy Chicken Wild Rice Soup One Pot Delight
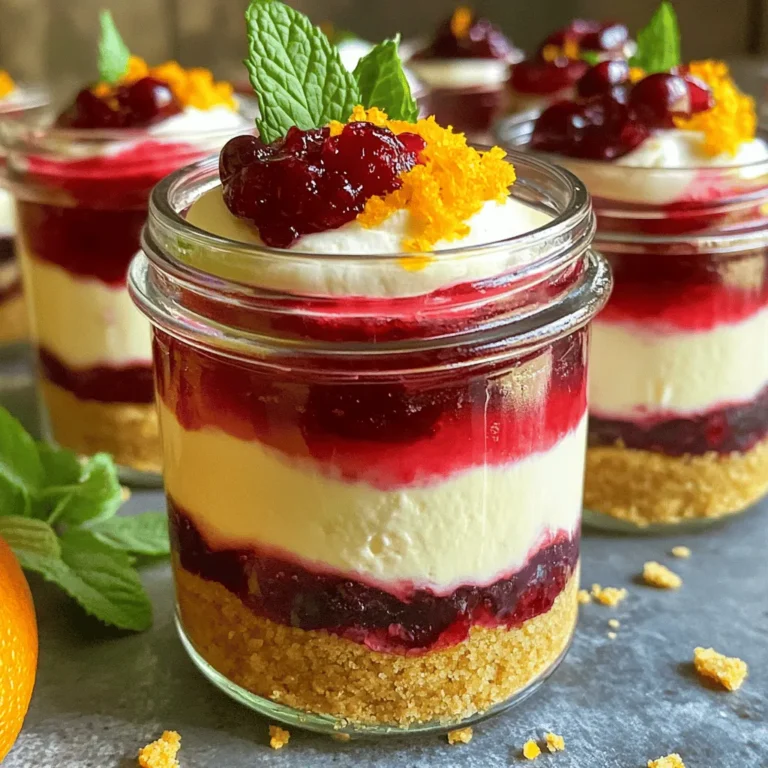
Cranberry Orange Cheesecake Jars Delightful Dessert Treat
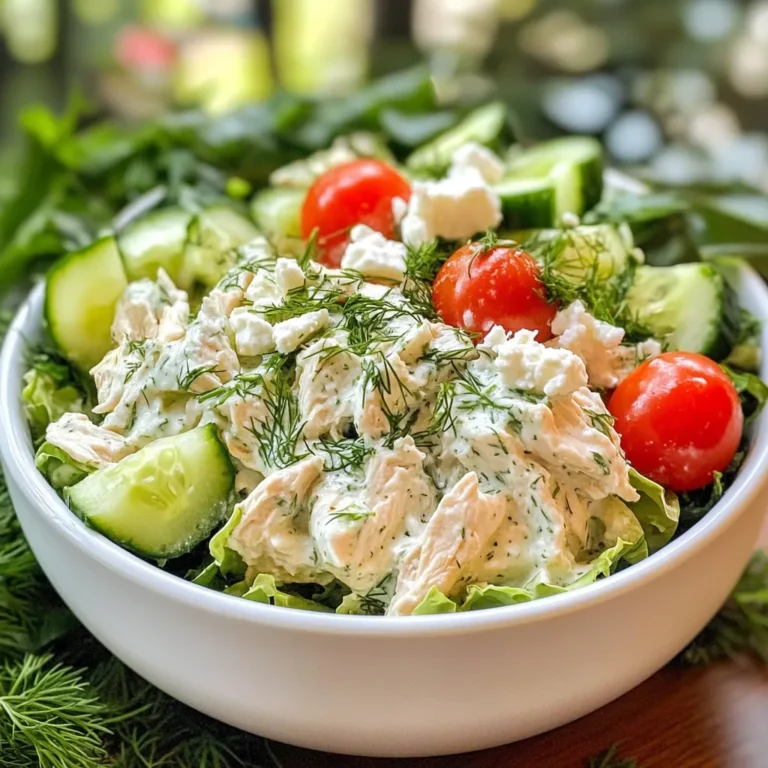
Tzatziki Chicken Salad Simple and Fresh Meal Idea
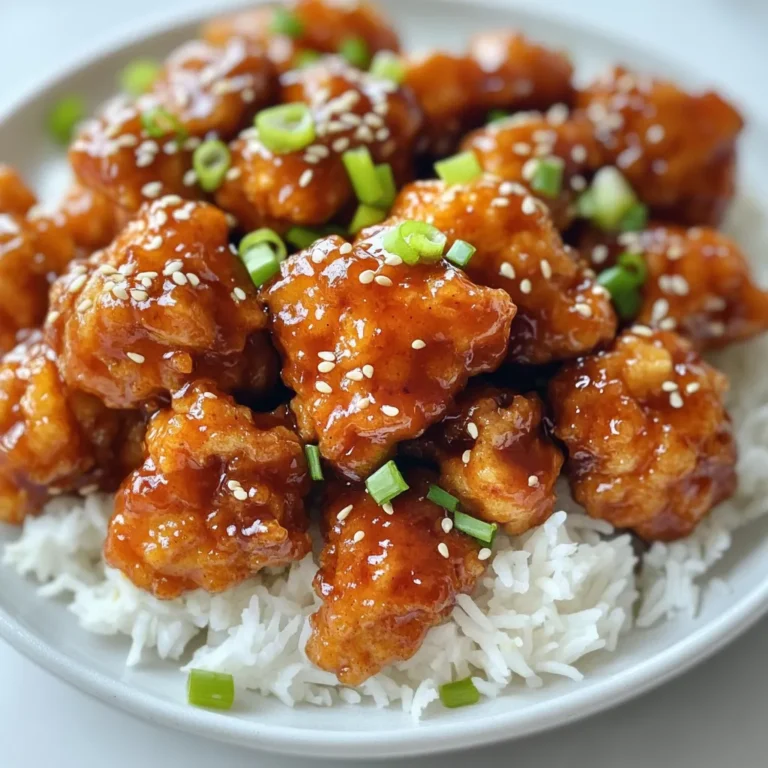
General Tso’s Chicken Flavorful and Crispy Delight
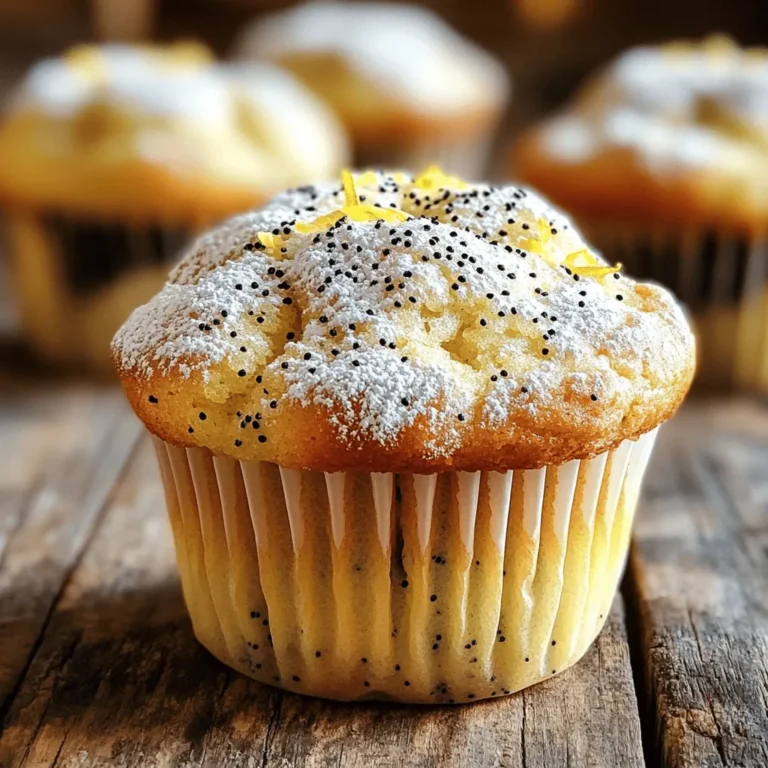
Bakery-Style Lemon Poppy Seed Muffins Recipe
PREV
1
…
7
8
9
…
18
NEXT