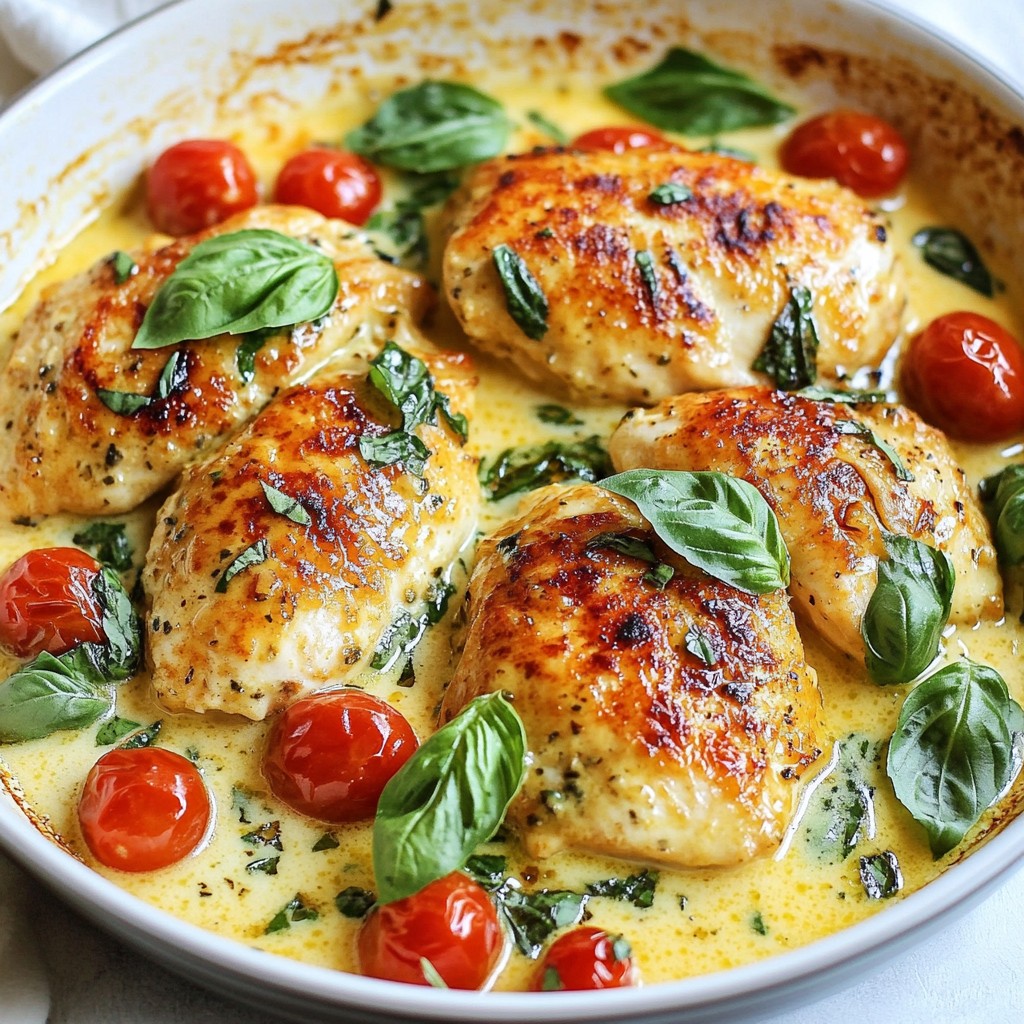
If you love bold flavors and easy meals, you’re in the right place. This Baked Caesar Chicken with Parmesan recipe will wow your taste buds and delight your dinner guests. With just a few simple ingredients, you'll make a dish that is crispy on the outside and juicy on the inside. Ready to dive in? Let’s prepare a delicious meal that brings the Caesar salad to your chicken plate!
Why I Love This Recipe
- Easy Preparation: This recipe requires minimal prep time, making it perfect for busy weeknight dinners.
- Flavorful Coating: The combination of Caesar dressing and panko breadcrumbs creates a deliciously crispy and flavorful crust.
- Healthy Option: Using boneless, skinless chicken breasts keeps this dish light and healthy while still satisfying.
- Versatile Serving: This baked chicken pairs well with a variety of sides, making it a versatile choice for any meal.
Ingredients
Complete Ingredient List
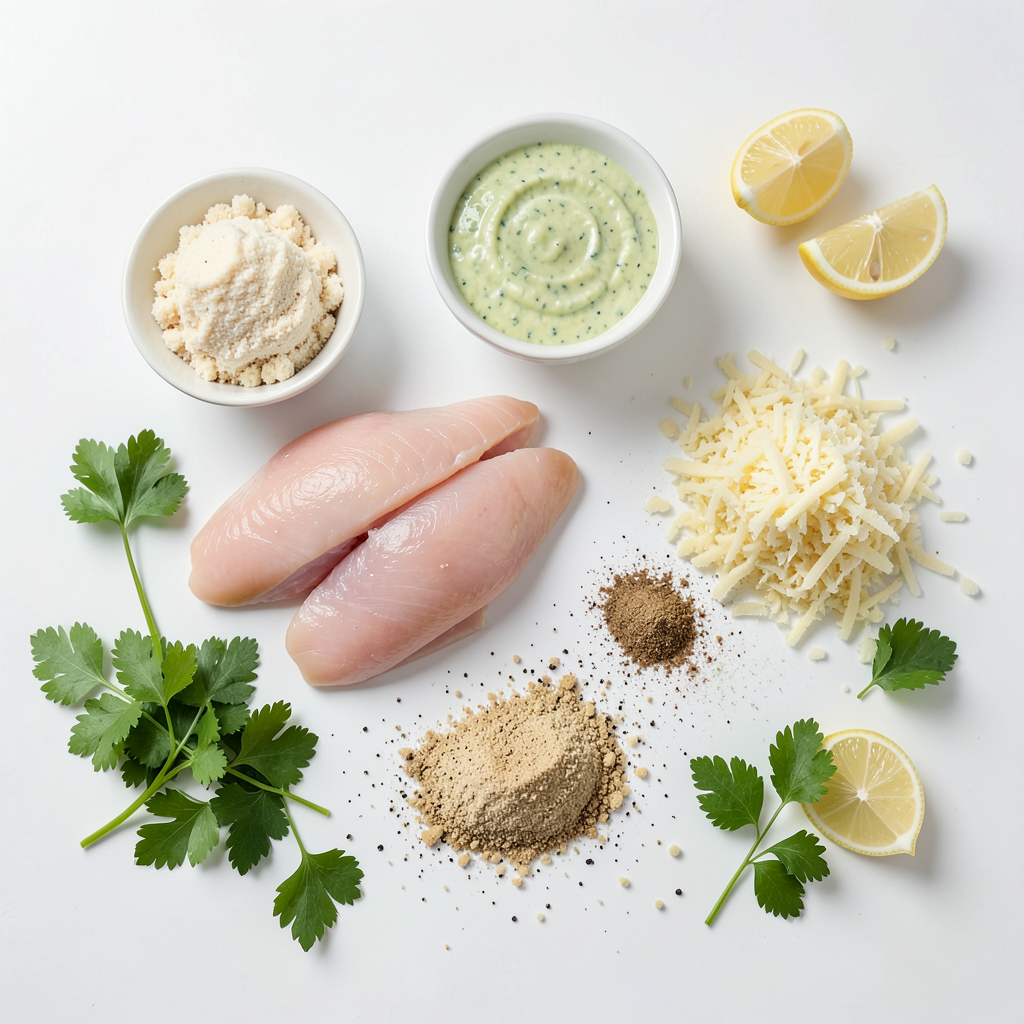
To make Baked Caesar Chicken with Parmesan, you will need:
- 4 boneless, skinless chicken breasts
- ½ cup Caesar dressing
- 1 cup panko breadcrumbs
- ½ cup freshly grated Parmesan cheese
- 1 teaspoon garlic powder
- 1 teaspoon onion powder
- ½ teaspoon freshly ground black pepper
- ½ teaspoon sea salt
- Fresh parsley, chopped (for garnish, optional)
- Lemon wedges (for serving, optional)
These simple items create a dish full of flavor. The chicken gets moist from the dressing. The panko and Parmesan give a great crunch.
Necessary Tools and Equipment
For this recipe, gather the following tools:
- Oven
- Mixing bowls
- Baking sheet
- Spatula
- Measuring cups and spoons
- Cooking spray or parchment paper
These tools help you mix, coat, and bake your chicken. Make sure everything is ready before you start.
Optional Garnishes and Add-ons
To enhance your dish, consider these options:
- Fresh parsley for a pop of color
- Lemon wedges for a zesty kick
- Extra Caesar dressing for drizzling
Using these garnishes adds a nice touch. They make your meal look great and taste even better!
Step-by-Step Instructions
Prepping the Chicken
Start by preheating your oven to 400°F (200°C). This helps the chicken cook evenly. Next, grab a large mixing bowl. Place the boneless, skinless chicken breasts inside. Pour in the Caesar dressing. Make sure each piece is well-coated. Let the chicken marinate for about 15 minutes. This step is key for flavor.
Preparing the Coating
While the chicken marinates, it’s time to make the coating. In a separate bowl, combine the panko breadcrumbs, freshly grated Parmesan cheese, garlic powder, onion powder, black pepper, and sea salt. Mix everything well until evenly distributed. This coating gives the chicken a nice crunch and flavor.
Baking the Chicken to Perfection
Once the chicken has marinated, take it out of the dressing. Let any extra dressing drip off. Now, dredge each chicken breast into the breadcrumb mixture. Press down firmly so the coating sticks well. Place the coated chicken on a lined baking sheet. Make sure to leave space between each piece. This helps them crisp up.
Now, transfer the baking sheet to your preheated oven. Bake for 25-30 minutes. The chicken should reach an internal temperature of 165°F (75°C). Look for a golden brown and crispy coating. After baking, let the chicken rest for 5 minutes. This makes it juicy and tender. You can garnish it with fresh parsley and serve with lemon wedges for extra zest.
Tips & Tricks
How to Ensure Crispy Coating
To make your chicken crispy, use panko breadcrumbs. They are lighter and crunchier than regular breadcrumbs. Press the breadcrumbs firmly onto the chicken. This helps them stick better during baking. Space the chicken breasts apart on the baking sheet. This allows hot air to circulate around them, making them crispier. Bake at 400°F (200°C) until golden brown. You want a nice crunch!
Marination Tips for Enhanced Flavor
Marinating is key for great flavor. Coat the chicken in Caesar dressing. Let it sit for at least 15 minutes. This time lets the chicken absorb the dressing's taste. You can marinate for longer if you want a stronger flavor. Just keep it in the fridge. For even more flavor, add garlic powder and onion powder to the dressing. This adds depth to the taste.
Common Mistakes to Avoid
One common mistake is not letting the chicken rest after baking. Let it sit for 5 minutes. This keeps the juices inside, making it moist. Another mistake is overcrowding the baking sheet. If the pieces touch, they won’t crisp up well. Make sure to use a lined baking sheet. This helps with easy cleanup and prevents sticking. Avoid using too much dressing when coating. Too much can make the coating soggy.
Pro Tips
- Marinate Longer for Flavor: For an even richer taste, consider marinating the chicken for 30 minutes to an hour. This allows the flavors to penetrate deeper into the meat.
- Use Fresh Breadcrumbs: If possible, use fresh breadcrumbs instead of store-bought panko for a more homemade flavor and texture. You can make them by processing stale bread in a food processor.
- Monitor Cooking Time: Keep an eye on the chicken during baking. Ovens can vary, so check the internal temperature a few minutes before the suggested time to avoid overcooking.
- Experiment with Seasoning: Feel free to add your favorite herbs or spices to the breadcrumb mixture for extra flavor. Dried oregano or thyme works wonderfully with Caesar dressing.
Variations
Substitutions for Chicken
You can swap the chicken breasts for other meats. Try chicken thighs for extra flavor. If you prefer, use turkey cutlets. They will work well with the Caesar dressing. For a plant-based option, use firm tofu. Just press it to remove excess water before marinating.
Alternative Dressings and Toppings
While Caesar dressing shines here, you can use ranch or blue cheese dressing. Both will give a tasty twist. For toppings, you can add crispy bacon bits for crunch. Consider fresh herbs like basil or cilantro for a fresh taste. A sprinkle of red pepper flakes adds heat if you enjoy spice.
Making it Gluten-Free or Dairy-Free
To make this dish gluten-free, replace panko breadcrumbs with gluten-free crumbs. They give a similar crunch without the gluten. For a dairy-free option, skip the Parmesan cheese. You can use nutritional yeast for a cheesy flavor without dairy. It’s a great choice for vegan diets.
Storage Info
How to Store Leftovers
After enjoying your Baked Caesar Chicken, let any leftovers cool down. Place the chicken in an airtight container. This keeps the chicken fresh and tasty. Store it in the fridge for up to three days. If you want to keep it longer, freezing is a great option.
Reheating Instructions for Best Results
To reheat your chicken, preheat the oven to 350°F (175°C). Place the chicken on a baking sheet. Cover it with foil to keep it moist. Heat for about 15-20 minutes or until warm. If you want a crispy coating, remove the foil for the last few minutes.
Freezing Tips for Long-Term Storage
If you want to freeze the chicken, wrap each piece tightly in plastic wrap. Then, place them in a freezer-safe bag. This helps prevent freezer burn. Label the bag with the date. Your chicken will stay good for about three months. When ready to eat, thaw it in the fridge overnight before reheating.
FAQs
What is the best way to check chicken for doneness?
To check chicken for doneness, you can use a meat thermometer. Insert it into the thickest part of the chicken breast. The safe internal temperature is 165°F (75°C). If you don’t have a thermometer, cut into the chicken. The juices should run clear, and the meat should no longer be pink. This ensures the chicken is cooked through, safe to eat, and juicy.
Can I use regular breadcrumbs instead of panko?
Yes, you can use regular breadcrumbs instead of panko. However, panko gives a crispier texture. Regular breadcrumbs may result in a denser coating. If you choose to use them, consider adding a bit more seasoning to enhance the flavor. You can also mix in some crushed crackers for extra crunch.
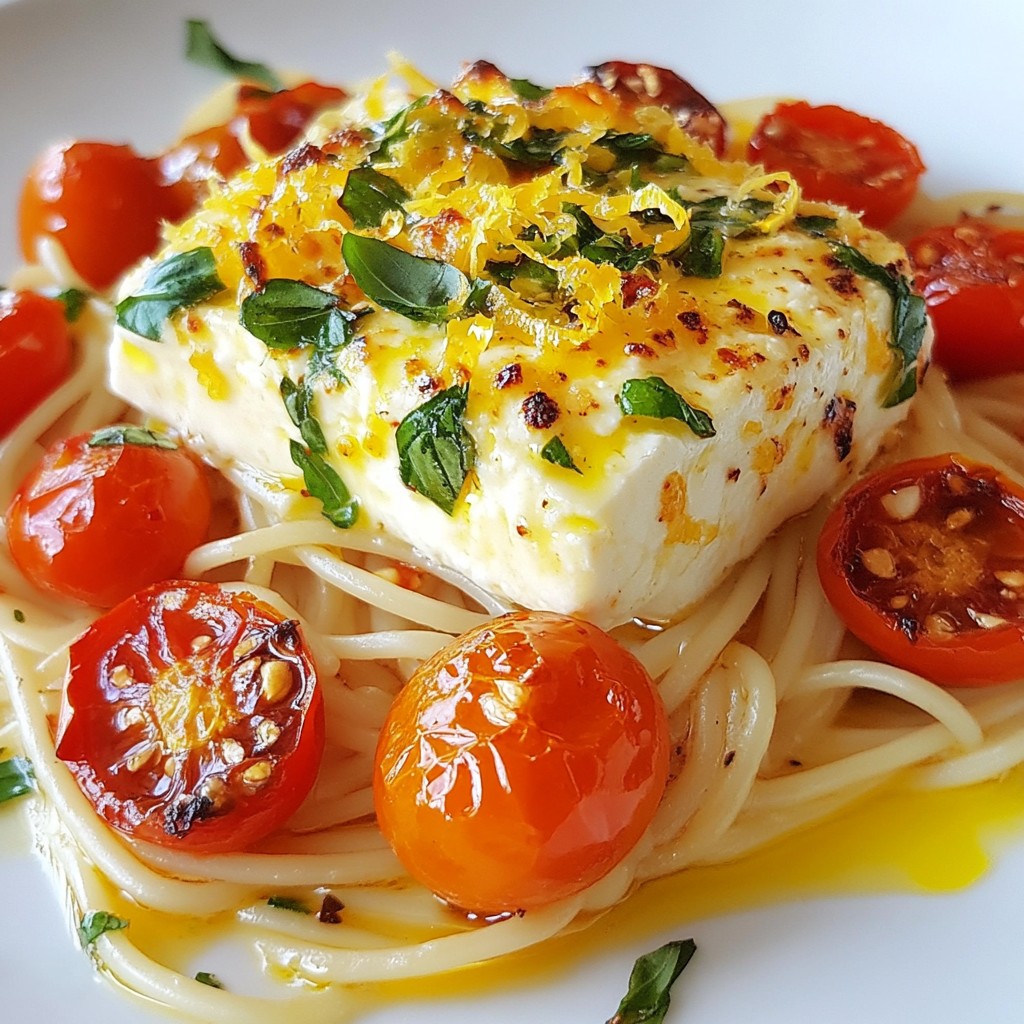
How to serve Baked Caesar Chicken with Parmesan?
To serve Baked Caesar Chicken with Parmesan, place the chicken on a large platter. Garnish with freshly chopped parsley for a pop of color. Arrange lemon wedges around the chicken for a zesty touch. A light drizzle of extra Caesar dressing adds a nice finish. This presentation looks appealing and makes the dish even more delicious.
This blog post covered everything you need for Baked Caesar Chicken. We explored the key ingredients, tools, and tempting garnishes. You learned step-by-step how to prep the chicken, create the coating, and bake it just right. We shared tips for a crispy finish and ways to boost flavor through marination. The variations section offered options for substitutions and dietary needs. Finally, we went over smart storage and reheating practices.
Remember, trying new recipes can lead to delicious meals and fun experiences in the kitchen. Enjoy your cooking!