Looking for a quick and tasty snack? Baked Ham and Cheese Sticks are the answer! This easy recipe combines crispy breading and melty cheese for a bite-sized treat. Whether you’re craving something savory for game night or need a school lunch idea, these sticks will please any crowd. Let’s dive into the ingredients, steps, and tips to make your perfect snack!
Why I Love This Recipe
- Easy to Make: This recipe requires minimal ingredients and steps, making it perfect for a quick snack or appetizer.
- Kid-Friendly: With the combination of ham and cheese, these sticks are sure to be a hit with children and adults alike!
- Customizable: You can easily swap out the ham for turkey or add different spices to the breadcrumbs for a unique twist.
- Perfect for Dipping: These cheesy delights pair wonderfully with marinara sauce or your favorite dipping sauce!
Ingredients
Full List of Ingredients
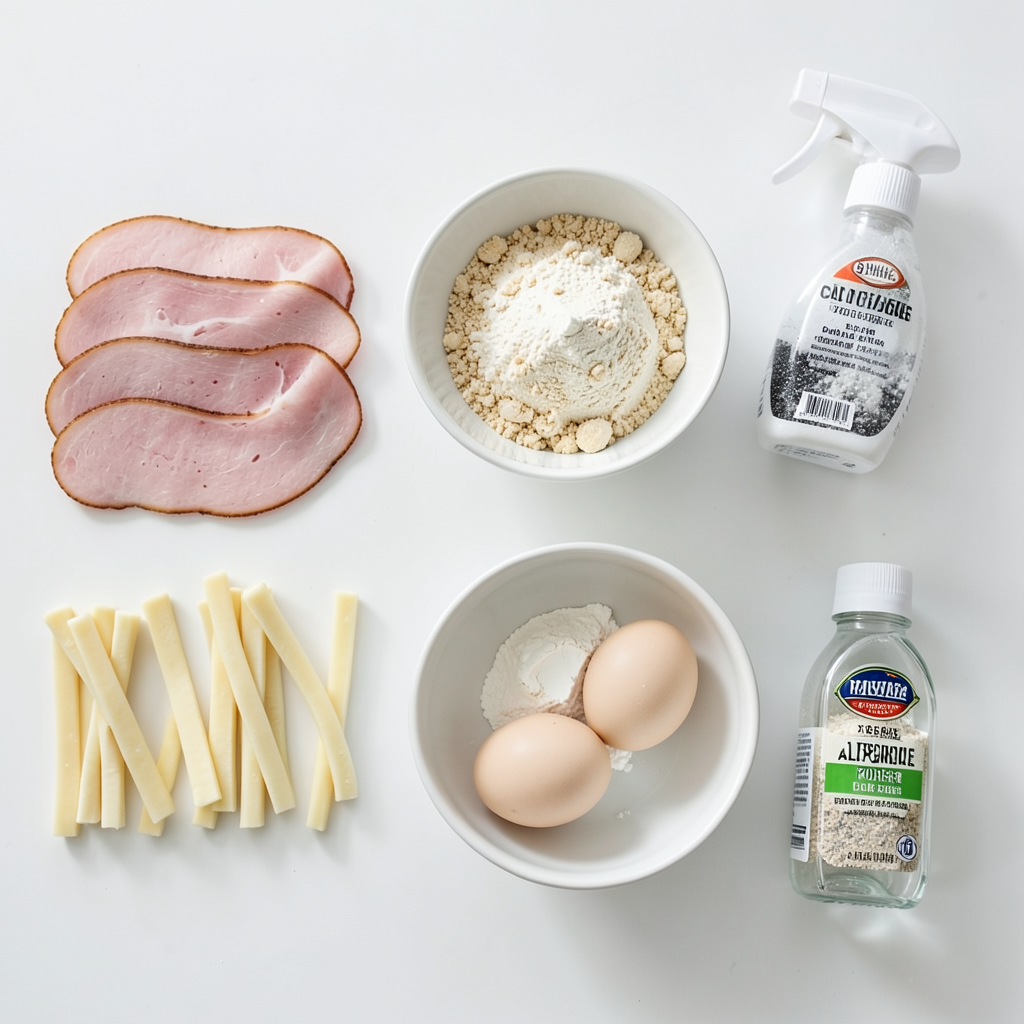
For these baked ham and cheese sticks, you will need:
- 8 slices of deli ham
- 8 string cheese sticks or mozzarella cheese sticks
- 1 cup of breadcrumbs (preferably panko for extra crunch)
- 1/2 cup of all-purpose flour
- 2 large eggs, beaten
- 1 teaspoon garlic powder
- 1 teaspoon onion powder
- Salt and black pepper to taste
- Cooking spray or a drizzle of olive oil for baking
Optional Seasonings and Alternatives
You can add extra flavor to your sticks with these ideas:
- Use smoked paprika for a smoky taste.
- Add Italian seasoning for a herby kick.
- Try spicy mustard in the ham for heat.
- Swap mozzarella for cheddar or pepper jack cheese.
Recommended Quality of Products
When making these bites, quality matters. Choose:
- Fresh deli ham for the best taste.
- High-quality string cheese for creaminess.
- Panko breadcrumbs for a crunchy texture.
- Large, fresh eggs for even coating.
Using these quality ingredients will make your snack taste even better!
Step-by-Step Instructions
Preparation Steps
To start, preheat your oven to 400°F (200°C). This step is key for a crunchy finish. While the oven heats, line a baking sheet with parchment paper. This keeps our sticks from sticking. Next, in a shallow dish, mix breadcrumbs, garlic powder, onion powder, salt, and pepper. Stir well so the flavors blend.
Now, set up your breading station. Pour the flour into one dish and beat two eggs in another. This makes it easy to coat our sticks.
Breading Techniques
Grab a slice of ham. Place a cheese stick at one end and roll the ham around it. Make sure it wraps tightly. This helps keep the cheese inside.
Dip the ham-wrapped cheese stick into the flour. Make sure to coat it well. This layer adds crunch. Next, dip it into the beaten eggs. Let any extra egg drip back into the dish. Finally, roll the stick in the breadcrumb mix. Press gently to ensure the crumbs stick well.
Repeat this process until all sticks are ready. Each one should be coated and ready for baking.
Baking Instructions
Place the coated sticks onto your prepared baking sheet. Lightly spray the sticks with cooking spray or drizzle olive oil over them. This will help them crisp up nicely in the oven.
Now, put the baking sheet into the oven. Bake for 15-20 minutes. Watch for them to turn golden brown and the cheese to melt. When they look perfect, take them out. Let them cool for a few moments before serving. Enjoy these warm, tasty snacks!
Tips & Tricks
Achieving the Perfect Crispiness
To get that perfect crunch, choose panko breadcrumbs. They are light and airy. Coat each stick well. Make sure you press the breadcrumbs on firmly. This helps them stick. Lightly spray the sticks with cooking spray before baking. You can also drizzle olive oil for extra flavor. Bake them at 400°F for 15-20 minutes. They should be golden brown when done.
Common Mistakes to Avoid
One mistake is not wrapping the ham tightly around the cheese. This can cause the cheese to ooze out while baking. Another pitfall is skipping the flour step. The flour helps the egg and breadcrumbs stick better. Don’t overcrowd the baking sheet. Give each stick some space to crisp up.
Flavor Enhancements
You can boost flavor with simple spices. Try adding some smoked paprika or cayenne pepper to the breadcrumbs for a kick. You can also mix in dried herbs like oregano or basil. For a richer taste, use sharp cheddar cheese instead of string cheese. A side of marinara sauce for dipping adds a nice touch too!
Pro Tips
- Choose the Right Ham: Opt for a thicker deli ham to ensure it holds its shape during baking and provides a better flavor contrast with the cheese.
- Breadcrumb Variations: Experiment with different types of breadcrumbs, such as seasoned or herb-infused panko, to add extra flavor and texture.
- Freeze Before Baking: For an even more satisfying crunch, freeze the assembled sticks for about 30 minutes before baking. This helps the cheese stay intact while cooking.
- Dipping Sauce Ideas: Pair your Cheesy Ham Delight Sticks with a variety of dipping sauces like honey mustard, ranch, or spicy sriracha for an exciting flavor experience.
Variations
Substitutions for Different Cheeses
You can switch out the cheese in this recipe. Instead of string cheese, try mozzarella, cheddar, or pepper jack. Each cheese adds a new flavor. Cheddar gives a sharp taste, while pepper jack adds a spicy kick. Make sure to cut the cheese into sticks for easy wrapping.
Meat Alternatives for a Different Flavor
If you want to mix things up, use turkey or chicken instead of ham. Thin slices work best. You can even try prosciutto for a salty, rich flavor. Each meat will change the taste, so feel free to explore what you like best.
Additional Ingredients to Experiment With
Add herbs or spices to the breadcrumbs for extra flavor. Try Italian seasoning, cayenne pepper, or even dried basil. You can also add sliced jalapeños for heat. For a sweet twist, a touch of honey mustard inside the roll can surprise your taste buds. These simple changes can make your snack unique!
Storage Info
Best Practices for Storing Leftovers
To keep your baked ham and cheese sticks fresh, store them in an airtight container. Make sure they cool down first. Layer parchment paper between sticks to avoid sticking. This method keeps them crispy longer, which is key for taste. You can store them in the fridge for up to three days.
Reheating Instructions
Reheating these sticks is simple. Preheat your oven to 350°F (175°C). Place the sticks on a baking sheet. Heat them for about 10 minutes. This will help restore their crunch. You can also use an air fryer for about 5 minutes at 350°F (175°C) for a quicker option.
Freezing Options and Tips
If you want to freeze the sticks, wrap each one tightly in plastic wrap. Then, put them in a freezer bag. This helps prevent freezer burn. You can freeze them for up to three months. When ready to eat, bake from frozen at 400°F (200°C) for about 20-25 minutes. Enjoy your snack anytime!
FAQs
How can I make these gluten-free?
To make baked ham and cheese sticks gluten-free, simply swap the all-purpose flour and breadcrumbs. Use gluten-free flour and gluten-free breadcrumbs. Many brands offer great options that work well. Always check labels to ensure they are truly gluten-free. This way, you can enjoy the same crispy texture without the gluten.
What can I serve as a dip?
These sticks pair well with many dips. I love serving them with marinara sauce. It adds a nice zing and flavor. You can also try ranch dressing for a creamy touch. For a kick, serve with spicy mustard or sriracha. Each dip brings a new twist to your snack!
Can I prepare these in advance?
Yes, you can prepare these sticks ahead of time. Once you coat them, place them on a baking sheet and cover with plastic wrap. Store them in the fridge for up to a day. When you're ready to bake, just remove the wrap and pop them in the oven. This saves time when you want a quick snack!
This blog post covered key ingredients, step-by-step instructions, and useful tips to make delicious dishes.
You now have a guide on enhancing flavors, choosing quality products, and storing leftovers properly. Remember, experimenting with variations will bring your dishes to life.
By following these tips, you will ensure great taste and crispy texture. Enjoy your cooking!