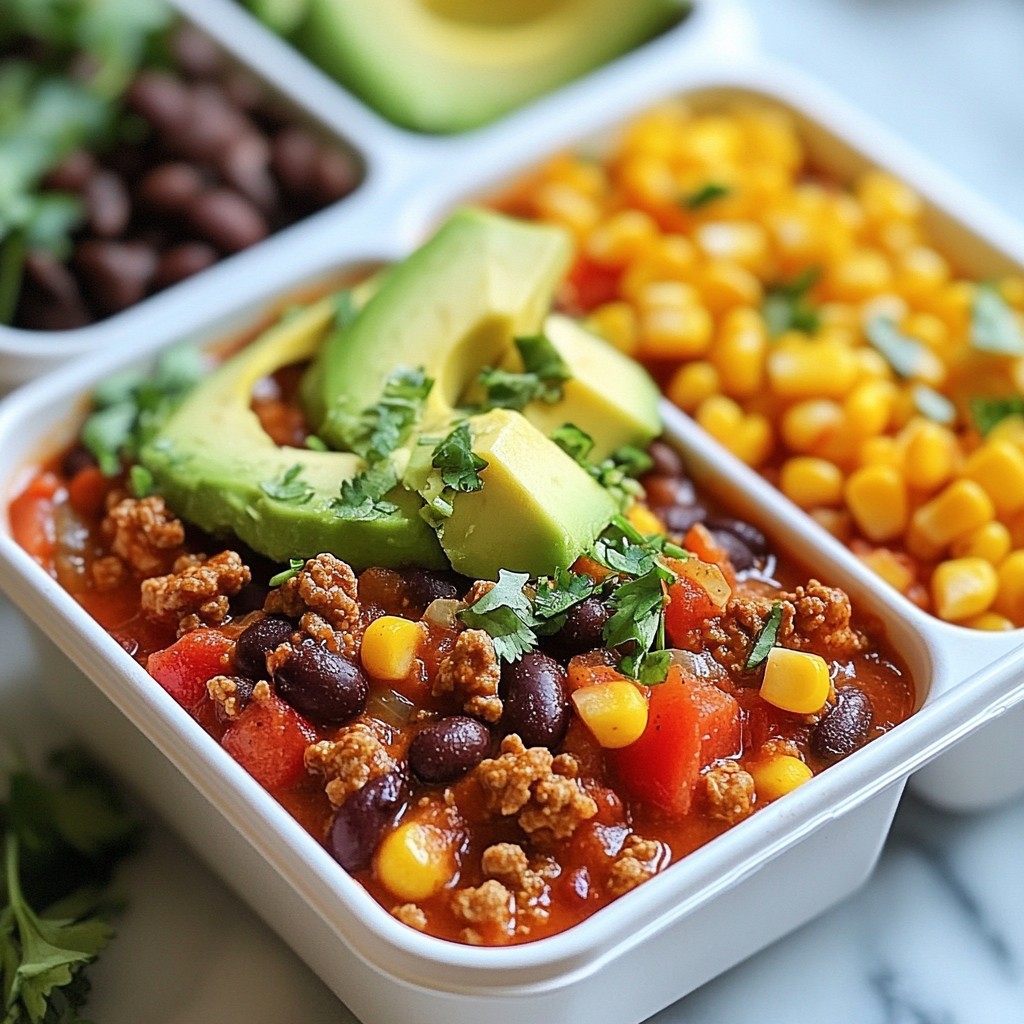
If you’re looking for an easy and tasty way to save money, you’ve found it! My Budget Meal Prep Chili is packed with flavor and perfect for your meal prep routine. You can whip this up in no time, and it’s made with affordable ingredients. Get ready to discover the joys of hearty chili and learn how you can customize it to fit your taste and budget. Let’s dive in!
Why I Love This Recipe
- Budget-Friendly: This chili is made with economical ingredients, making it perfect for meal prep on a budget.
- Nutritious and Filling: Packed with protein, fiber, and vitamins, this chili is both healthy and satisfying.
- Customizable: You can easily modify the recipe by adding your favorite vegetables or adjusting the spice level to your liking.
- Easy to Make: With simple steps and minimal prep time, this recipe is perfect for busy weeknights.
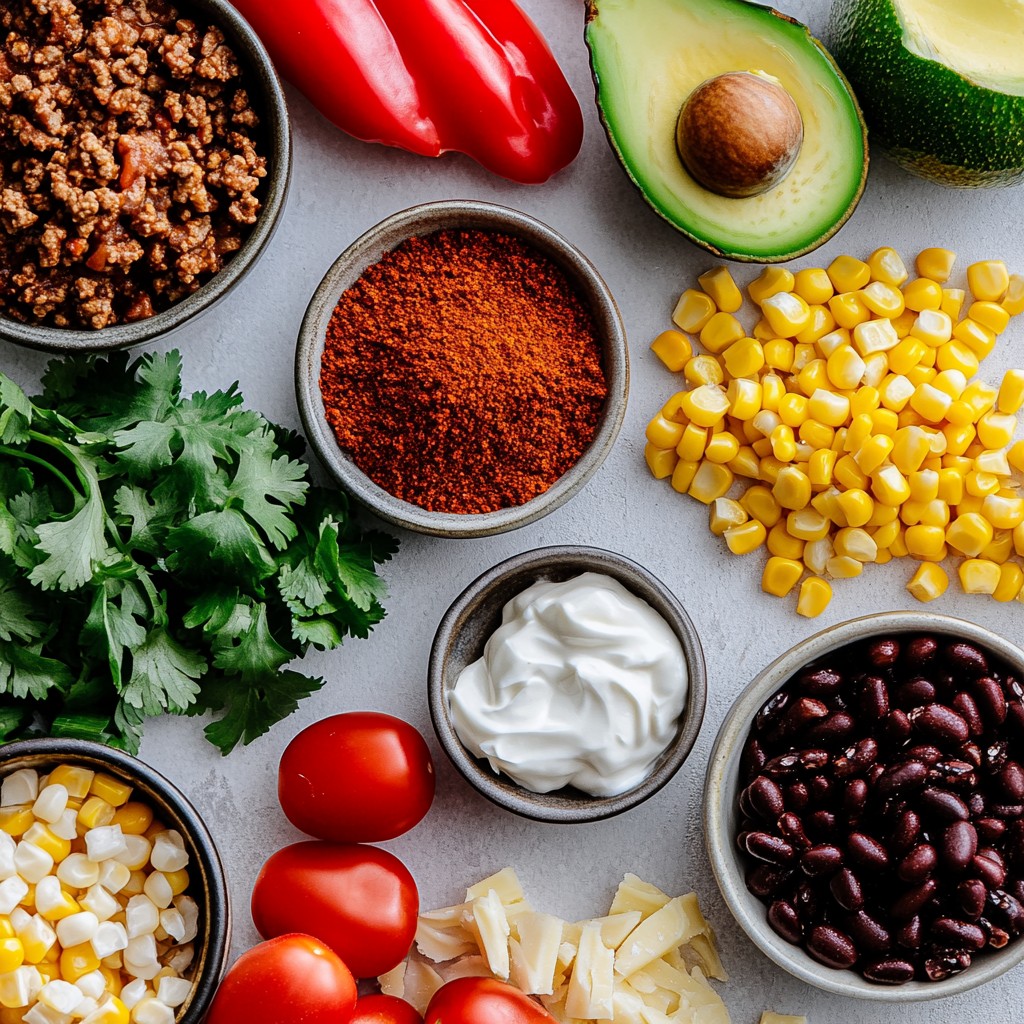
Ingredients
Main Ingredients for Budget Meal Prep Chili
- 1 pound ground turkey or beef (or a plant-based alternative)
- 1 can (15 oz) black beans, drained and rinsed
- 1 can (15 oz) kidney beans, drained and rinsed
- 1 can (28 oz) crushed tomatoes
- 1 medium onion, diced
- 2 cloves garlic, minced
- 1 bell pepper (any color), diced
- 1 tablespoon chili powder
- 1 teaspoon ground cumin
- 1 teaspoon smoked paprika
- Salt and black pepper, to taste
- 2 tablespoons olive oil
- 1 cup corn (fresh or frozen)
- Optional toppings: Diced avocado, fresh cilantro, shredded cheese, sour cream
This chili recipe is all about flavor and ease. You can choose ground turkey, beef, or even a plant-based meat. Each option gives a unique taste while keeping costs down. Beans add protein and fiber. I use black and kidney beans because they blend well.
Now, let’s talk about the veggies. Onions and bell peppers are key for flavor. They add sweetness and depth. Garlic brings an extra kick. The crushed tomatoes create a nice base. They make the chili rich and hearty.
Spices are crucial. Chili powder, cumin, and smoked paprika are my top picks. They bring warmth and a bit of smokiness. Don’t forget salt and black pepper to balance everything.
Lastly, toppings! Diced avocado adds creaminess. Fresh cilantro gives a pop of color and taste. Shredded cheese and sour cream make it even more delicious.
Step-by-Step Instructions
Preparation Steps
1. Sautéing vegetables
Heat 2 tablespoons of olive oil in a large pot over medium heat. Add 1 diced onion and 1 diced bell pepper. Cook for about 5-7 minutes. Stir often until soft. The onion should look clear and soft.
2. Adding meat and spices
Next, add 2 cloves of minced garlic. Cook for 1 minute. This makes the garlic smell great. Add 1 pound of ground turkey or beef. Use a spoon to break the meat apart. Cook for 5-7 minutes until it turns brown. Sprinkle in 1 tablespoon chili powder, 1 teaspoon ground cumin, and 1 teaspoon smoked paprika. Add salt and black pepper to taste. Stir well and cook for 2 more minutes to make the spices pop.
3. Incorporating beans and tomatoes
Carefully pour in 1 can of crushed tomatoes. Mix it with the meat and veggies. Now, add 1 can of black beans and 1 can of kidney beans. Don't forget to add 1 cup of corn. Stir everything well to combine.
Cooking Instructions
1. Bringing to a boil and simmering
Bring the mixture to a boil on medium-high heat. Once boiling, reduce the heat to low. Cover the pot and let it simmer for 20-30 minutes. Stir occasionally so it does not stick.
2. Adjusting seasoning to taste
After simmering, taste the chili. Adjust seasonings if needed. For more heat, add diced jalapeños or cayenne pepper.
3. Cooling and transferring to storage
Once done, remove the pot from heat. Let it cool slightly. Transfer the chili to meal prep containers. Enjoy customizing your bowl with toppings like avocado or cheese!
Tips & Tricks
Budget-Friendly Shopping Tips
When you shop for chili, select affordable ingredients. Here are some tips to help you save:
- Ground meat options: Buy ground turkey or beef on sale. Consider plant-based meat for a cost-effective choice.
- Canned beans: Look for store brands. They often taste great and cost less.
- Crushed tomatoes: Buy in bulk for savings. Check for deals at local stores.
- Seasonal vegetables: Choose fresh produce that is in season. They are often cheaper and taste better.
Seasonal Vegetable Alternatives
If bell peppers are too pricey, use frozen ones. They are just as tasty and often cheaper. You can also swap out other veggies. Try carrots or zucchini when they are in season. These changes keep your chili vibrant and budget-friendly.
Meal Prep Techniques
To make meal prep easy and effective, follow these techniques:
- Batch cooking best practices: Cook a large pot of chili at once. It saves time and energy. You can enjoy meals all week.
- Portioning for storage: Use meal prep containers. Fill each container with your chili. This helps with portion control and keeps your meals fresh. Add toppings like diced avocado or cheese separately to avoid sogginess.
By using these tips and tricks, you can create a delicious chili while staying within your budget. Happy cooking!
Pro Tips
- Ingredient Substitutions: If you're looking to save on costs or dietary preferences, feel free to swap out ground turkey for ground chicken or even a plant-based meat alternative for a vegetarian version.
- Flavor Enhancement: To elevate the flavors, consider adding a splash of Worcestershire sauce or a tablespoon of apple cider vinegar during the simmering process.
- Batch Cooking: This chili freezes well! Make a double batch and store individual portions in the freezer for quick meals on busy days.
- Spice Level Adjustment: Adjust the heat by adding more spices or fresh peppers. Start with a small amount and taste as you go to suit your spice tolerance.
Variations
Dietary Adjustments
You can easily change this chili to fit your diet. For a vegetarian or vegan option, swap the ground meat for a plant-based alternative. You can use lentils or crumbled tofu as great substitutes. They add protein and texture without meat.
If you need a gluten-free option, check your spices and beans. Most should be safe, but always read labels. You can also serve the chili with gluten-free bread or corn chips.
Flavor Enhancements
To make your chili more exciting, adjust the spice levels. If you like heat, add diced jalapeños or cayenne pepper. For a milder flavor, skip the heat or use sweet bell peppers.
You can also mix in extra ingredients. Try corn, diced zucchini, or even chopped spinach for added nutrition.
For toppings, get creative! Diced avocado, fresh cilantro, or shredded cheese can add great flavor. A dollop of sour cream also gives it a nice creaminess. Serve these toppings on the side for a fun meal prep experience.
Storage Info
Best Practices for Storing Chili
To keep your chili fresh, cool it down before you store it. Let it sit for about 30 minutes after cooking. This helps prevent bacteria growth. Once cool, transfer it to containers. I recommend using airtight glass or plastic containers. These will keep the chili from getting soggy and preserve its taste.
Shelf Life and Reheating
You can store chili in the fridge for up to four days. If you want to keep it longer, freeze it. Chili can last in the freezer for up to three months. When you’re ready to eat, thaw it in the fridge overnight. For reheating, use a pot on the stove for the best flavor. Stir it occasionally until hot. You can also microwave it, but be sure to cover it. This will keep it moist and prevent splatters.
FAQs
What are the best beans to use for chili?
The best beans for chili are black beans and kidney beans. They add great flavor and texture. You can mix different beans, too. This adds depth to your chili. If you want a twist, try pinto beans or chickpeas. They all work well together.
Can I freeze Budget Meal Prep Chili?
Yes, you can freeze Budget Meal Prep Chili. It freezes well and keeps its taste. Let the chili cool before you freeze it. Use airtight containers or freezer bags. This helps avoid freezer burn. When you are ready to eat it, just thaw in the fridge overnight.
How can I make my chili spicier?
To make your chili spicier, add diced jalapeños or cayenne pepper. You can also use hot sauce for a kick. Start with small amounts, then taste and adjust. This way, you control the heat level. Remember, you can always add more spice, but you can't take it away!
What are some serving suggestions for chili?
Serve chili with toppings like diced avocado, fresh cilantro, or shredded cheese. You can also add sour cream for creaminess. Pair it with cornbread or tortilla chips for crunch. This makes your meal even better. Enjoy it with friends or family for a cozy dinner!
In this blog post, we explored how to prepare budget-friendly meal prep chili. We discussed key ingredients, preparation steps, and cooking instructions. I shared tips for smart shopping and efficient meal prep. You can adapt the chili for different diets and enhance flavors easily. Proper storage can help preserve your chili for longer. Remember, cooking can be fun and creative while staying on budget. I hope this guide helps you make delicious chili that fits your needs and tastes.