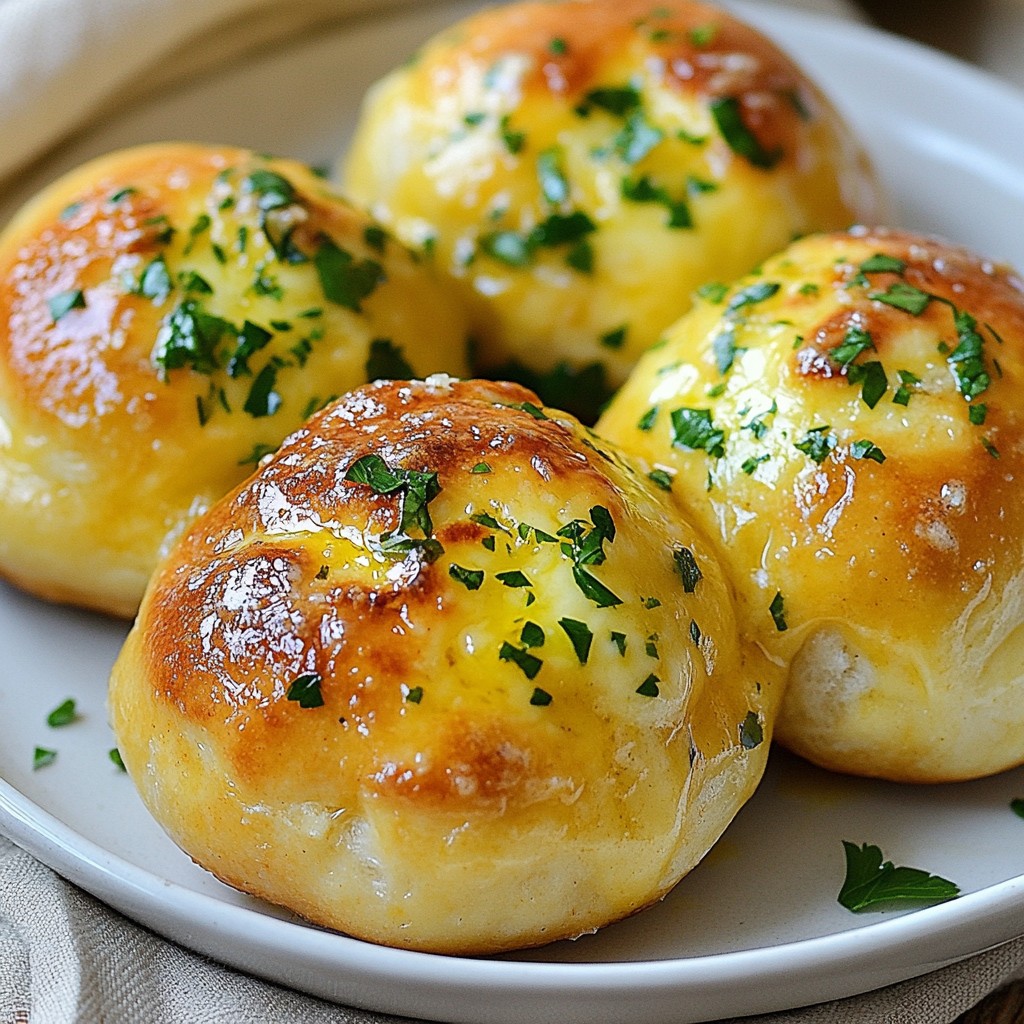
Craving a snack packed with flavor? Look no further! Buttery Garlic Cheese Bombs are easy to make and super tasty. In this post, I'll guide you step by step through the ingredients, preparation, and even share tips to make them extra cheesy. Whether it's a game day treat or a cozy night in, these cheese bombs will satisfy your hunger. Let’s dive into this delicious recipe!
Why I Love This Recipe
- Easy to Make: This recipe uses simple ingredients and can be prepared quickly, making it perfect for beginners and busy cooks alike.
- Cheesy Goodness: The gooey mozzarella cheese inside creates a delightful surprise with every bite, satisfying any cheese lover's cravings.
- Flavor-Packed: The combination of garlic and Italian herbs in the buttery coating elevates these cheese bombs to a whole new level of deliciousness.
- Perfect for Sharing: These cheese bombs are great for gatherings, parties, or movie nights, encouraging everyone to dig in and enjoy together.
Ingredients
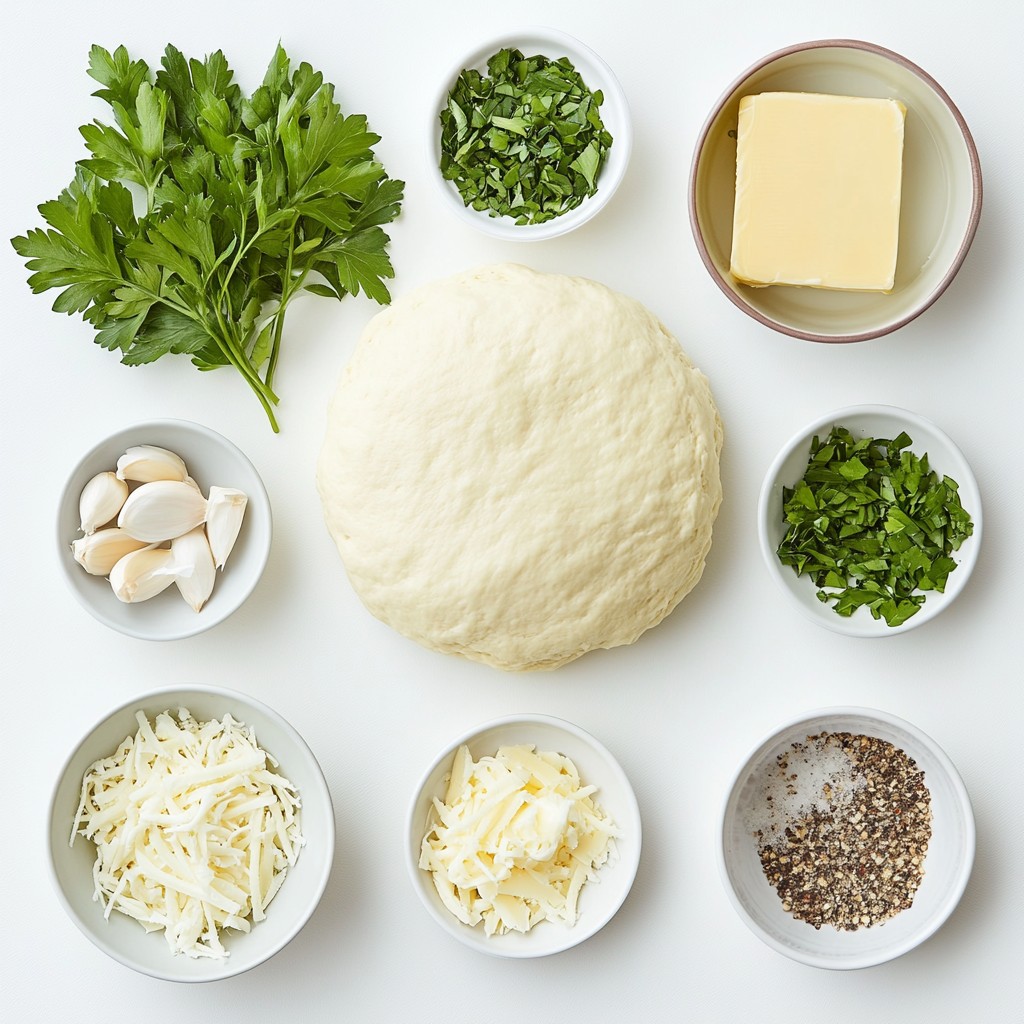
Complete list of ingredients with measurements
- 1 can refrigerated biscuit dough (8 pieces)
- 1 cup shredded mozzarella cheese
- 4 tablespoons unsalted butter, melted
- 3 cloves garlic, minced
- 1 teaspoon mixed dried Italian herbs (oregano, basil, thyme)
- ½ teaspoon garlic powder
- Fresh parsley, finely chopped, for garnish
- Salt and black pepper, to taste
Suggested alternatives for dietary restrictions
- Use gluten-free biscuit dough for a gluten-free version.
- Substitute mozzarella with dairy-free cheese for a vegan option.
- For lower fat, use a light butter spread.
- If you dislike garlic, try using onion powder instead.
Importance of each ingredient in the recipe
- Biscuit dough creates the soft outer layer, which holds the filling.
- Mozzarella cheese gives that gooey, cheesy center that everyone loves.
- Butter adds richness and helps achieve a golden color when baked.
- Garlic brings a bold flavor, making each bite tasty.
- Italian herbs enhance the overall taste with aromatic notes.
- Garlic powder provides an extra kick of garlic flavor.
- Fresh parsley adds color and freshness, making the dish appealing.
- Salt and pepper balance the flavors and enhance the taste of each ingredient.
Step-by-Step Instructions
Preparation steps for biscuit dough
Start by preheating your oven to 375°F (190°C). This heat will help the cheese bombs cook evenly. Next, grease a baking sheet lightly or line it with parchment paper. This step makes cleanup much easier later.
Now, open the can of refrigerated biscuit dough. Gently pull apart the biscuits, and place them on a clean surface. Use your hands to flatten each biscuit slightly. Make them into small discs, about 3 inches wide. This will give enough room for the cheese filling.
Detailed baking process
Once your dough discs are ready, grab a mixing bowl. In this bowl, whisk together 4 tablespoons of melted unsalted butter, 3 cloves of minced garlic, and 1 teaspoon of mixed dried Italian herbs. Add in ½ teaspoon of garlic powder, salt, and black pepper. Mix until everything is well combined. Set this flavorful mix aside for later.
Now, take each flattened biscuit and place about 2 tablespoons of shredded mozzarella cheese in the center. Make sure to keep the cheese in the middle, so it doesn't spill out. Next, gather the edges of the biscuit around the cheese. Pinch the seams tightly to form a ball. Place each cheese-filled ball seam side down on the baking sheet. Space them a bit apart to let them rise.
Brush the tops of each cheese bomb with the garlic butter mixture. Make sure they are well coated for that rich flavor. Now, bake in the preheated oven for about 12-15 minutes. Watch them closely to avoid over-baking. They will turn a beautiful golden brown when done.
Tips for perfecting cheese filling and sealing
To ensure the cheese stays inside, pinch the seams tightly. You want to avoid any leaks while baking. Also, if you want extra cheese, you can add more to the center. Just be careful not to overfill, as it may spill out.
For the best flavor, brush additional garlic butter on the bombs right after baking. This will give them a nice shine and boost the taste. Finally, sprinkle freshly chopped parsley on top for a splash of color. Enjoy these warm, cheesy treats!
Tips & Tricks
How to make the cheese bombs extra cheesy
To boost the cheesy goodness, add more cheese! Use about 3 tablespoons of mozzarella per biscuit. You can mix in other cheeses too. Try cheddar or pepper jack for a kick. Cut the cheese into small cubes for a gooey center. This trick makes every bite cheesy and delicious.
Time-saving kitchen hacks
Want to save time? Use pre-minced garlic from the store. It cuts prep time in half. You can also use a pizza cutter to slice the biscuits quickly. If you have kids, let them help flatten the dough. This makes cooking fun and fast. Preheat the oven while you prepare the dough to save even more time.
Best practices for achieving golden brown color
To get that perfect golden brown, brush on the garlic butter evenly. This adds flavor and helps with browning. Bake the cheese bombs until they are golden, about 12-15 minutes. If they are not brown, leave them in a bit longer. Keep an eye on them to avoid burning. Let them cool for a few minutes before serving to keep the cheese melty.
Pro Tips
- Use Fresh Garlic: Freshly minced garlic will provide a stronger and more vibrant flavor compared to pre-minced garlic. It enhances the overall taste of your cheese bombs.
- Experiment with Cheese: While mozzarella is delicious, feel free to mix in other cheeses like cheddar or pepper jack for added flavor and a fun twist on the classic recipe.
- Check for Doneness: Ovens can vary significantly, so keep a close eye on the cheese bombs during the last few minutes of baking to ensure they don’t over-bake.
- Serve with Dipping Sauces: Pair these cheese bombs with marinara sauce, ranch dressing, or even a spicy aioli for a delicious dipping experience!
Variations
Different cheese options for flavor twists
You can use many types of cheese in your cheese bombs. Mozzarella is great, but why not try cheddar for a sharper taste? Gouda adds a creamy touch. If you like blue cheese, it gives a bold flavor. Mix and match to find your favorite combo.
Herb and spice variations
Changing the herbs and spices can make a big difference. Try adding fresh basil or cilantro for a bright taste. A pinch of red pepper flakes adds a nice kick. You can also use taco seasoning for a fun twist. Experiment with what you love!
Ideas for additional fillings (e.g., meats or vegetables)
Want to make your cheese bombs heartier? Add cooked sausage, pepperoni, or bacon. You could also use veggies like spinach or mushrooms. Chopped jalapeños can spice things up. Get creative with what you have at home!
Storage Info
Best ways to store leftovers
To keep your buttery garlic cheese bombs fresh, place them in an airtight container. You can leave them at room temperature for a day. For longer storage, move them to the fridge. They will stay good for about three days. Make sure they cool completely before packing them up. This helps avoid sogginess from steam.
Reheating methods for optimal taste
When you want to enjoy your leftover cheese bombs, reheating them properly is key. The best way is to use an oven. Preheat your oven to 350°F (175°C). Place the cheese bombs on a baking sheet and heat them for about 10 minutes. This helps restore their crispiness. You can also use a microwave, but this may make them soft. If you choose the microwave, heat them in short bursts of 20 seconds until warm.
Freezing instructions for future enjoyment
Freezing these cheese bombs is a great way to save them for later. First, allow them to cool completely. Then, wrap each bomb in plastic wrap. Place them in a freezer bag or an airtight container. They will last in the freezer for up to three months. When you’re ready to eat them, thaw them in the fridge overnight. To enjoy them warm, reheat in the oven as described above.
FAQs
Can I use homemade biscuit dough instead?
Yes, you can use homemade biscuit dough for these cheese bombs. Using your dough can add a personal touch. Just make sure the dough is the same thickness as store-bought dough. This helps keep the cheese inside. If your dough is too thick, it might not cook well.
How to make Buttery Garlic Cheese Bombs ahead of time?
To make these cheese bombs ahead, you can prepare them up to the baking stage. Form the balls and place them on the baking sheet. Cover them with plastic wrap and store them in the fridge for up to 24 hours. When you're ready to bake, just add a few extra minutes to the baking time. This keeps the cheese bombs fresh and tasty.
What dipping sauces pair well with these cheese bombs?
These cheese bombs pair great with several dipping sauces. Marinara sauce is a classic choice, adding a nice tomato flavor. You could also try ranch dressing for a creamy dip. Garlic butter is another tasty option, enhancing the garlic flavor. Feel free to mix and match based on your taste!
In this blog post, we explored the key ingredients and steps for making cheese bombs. We discussed alternatives for different diets and tips for perfecting each bite. I shared helpful tricks to boost flavor and save time. Additionally, we covered variations and storage methods for your leftovers. Remember, these cheese bombs are versatile and fun to make. They can fit any taste or occasion, so get creative. Enjoy your cooking journey, and make every bite count!