If you crave a dessert that brings together the best of both worlds, look no further than fudgy brookie bars! These delightful treats combine rich brownie layers with gooey cookie dough for a truly indulgent experience. Whether you're hosting a gathering or simply satisfying your sweet tooth, this recipe is all you need. Let me show you how to whip up these irresistible chocolate delights that will leave everyone wanting more!
Why I Love This Recipe
- Decadent Flavor: These fudgy brookie bars combine the best of both worlds—rich brownies and classic chocolate chip cookies, creating an irresistible treat for all chocolate lovers.
- Easy to Make: This recipe is straightforward and requires minimal effort, making it perfect for both novice bakers and experienced ones looking for a quick indulgence.
- Customizable: You can easily modify the recipe by adding nuts, using different types of chocolate, or even incorporating your favorite candies to make it your own.
- Perfect for Sharing: These bars are great for gatherings, parties, or simply sharing with friends and family, ensuring everyone gets a taste of something delicious.
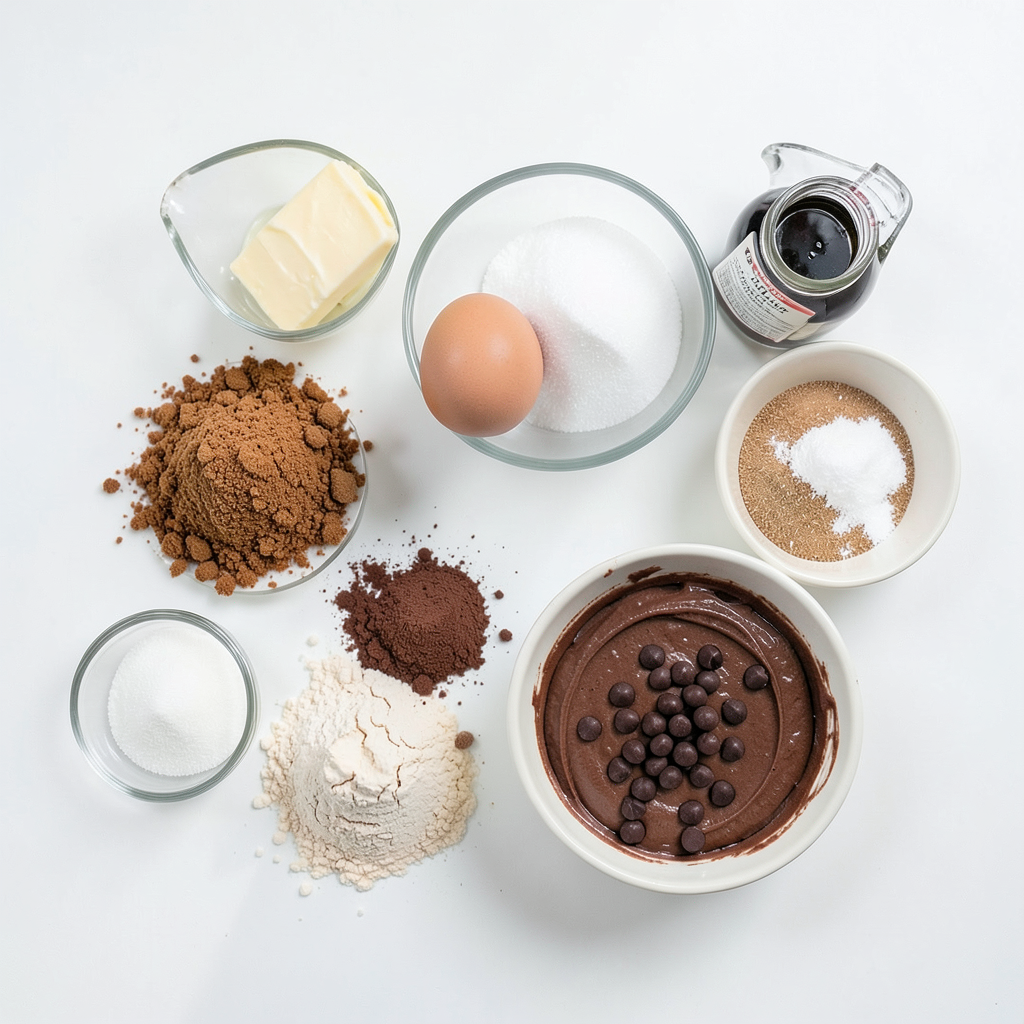
Ingredients
List of Ingredients
- 1 cup unsalted butter, melted
- 1 cup packed brown sugar
- 1/2 cup granulated sugar
- 2 large eggs
- 2 teaspoons vanilla extract
- 1 1/2 cups all-purpose flour
- 1/2 cup unsweetened cocoa powder
- 1 teaspoon baking powder
- 1/2 teaspoon sea salt
- 1 cup chocolate chips (milk or dark)
- 1 cup prepared brownie batter (store-bought or homemade)
- 1 cup prepared cookie dough (chocolate chip, store-bought or homemade)
Ingredient Substitutions
If you want to switch up the butter, try coconut oil or margarine. You can use brown sugar or maple syrup for a sweet twist. If you need gluten-free options, almond flour works great instead of regular flour.
These swaps can keep your brookie bars tasty while meeting your needs. Remember, the key is to maintain the same amount of wet to dry ingredients. This way, your bars stay soft and fudgy!
Step-by-Step Instructions
Preparation Steps
- Preheat the oven to 350°F (175°C).
- Prepare a 9x13-inch baking pan by greasing it or lining it with parchment paper.
Mixing Ingredients
- In a large bowl, mix 1 cup of melted unsalted butter with 1 cup of packed brown sugar and 1/2 cup of granulated sugar. Whisk until smooth.
- Add 2 large eggs and 2 teaspoons of vanilla extract to the butter mixture. Beat until creamy.
- In another bowl, sift together 1 1/2 cups of all-purpose flour, 1/2 cup of cocoa powder, 1 teaspoon of baking powder, and 1/2 teaspoon of sea salt.
Assembling the Layers
- Spread half of the brownie batter evenly in the prepared pan.
- Take 1 cup of cookie dough and break it into small pieces. Distribute these pieces over the brownie layer, pressing lightly.
- Pour the remaining brownie batter over the cookie dough layer. Spread it out evenly to cover everything.
Baking Instructions
- Place the pan in your preheated oven and bake for 25-30 minutes.
- Check if they are done by inserting a toothpick into the center. It should come out with moist crumbs, not wet batter.
Tips & Tricks
Achieving the Perfect Fudgy Texture
To get that fudgy texture, do not overmix your batter. Mixing too much adds air and makes the bars cakey. Mix until you see no dry flour. The batter should be thick and a bit lumpy.
Baking time is crucial. Bake the bars for 25 to 30 minutes. They are done when a toothpick comes out with moist crumbs. Avoid overbaking, as this will dry them out.
Presentation Tips
Cut the bars into squares and arrange them on a nice plate. This adds a touch of elegance. You can also dust them with powdered sugar for a sweet look. A drizzle of melted chocolate on top gives them a gourmet touch.
Common Mistakes to Avoid
Watch out for two common mistakes: overbaking or underbaking. Overbaking makes the bars dry. Underbaking leaves them gooey in the center.
Layer distribution is also key. Spread the brownie layer evenly to avoid uneven baking. Ensure the cookie dough is evenly distributed too. This helps each bite taste balanced and delicious.
Pro Tips
- Use Room Temperature Ingredients: For the best texture, ensure your eggs and any other refrigerated ingredients are at room temperature before mixing. This helps create a smoother batter.
- Don’t Overmix: Once you combine the wet and dry ingredients, mix just until incorporated. Overmixing can lead to dense bars instead of the desired fudgy texture.
- Test for Doneness: Check your bars a few minutes before the minimum baking time. For fudgy bars, a toothpick should come out with moist crumbs, not clean.
- Cool Completely: Allow the bars to cool completely in the pan before cutting. This helps them set properly and makes it easier to cut into neat squares.
Variations
Nut Additions
You can boost the flavor and crunch with nuts. Walnuts or pecans work well. Just chop them roughly and mix them into the brownie batter. Aim for about 1/2 cup of nuts for a good balance. The nuts add texture and a nice contrast to the fudgy bars. They pair perfectly with chocolate, enhancing its rich taste.
Flavoring Options
Want to change things up? You can add espresso or peppermint extract for a twist. Just 1 teaspoon of espresso will deepen the chocolate flavor. If you love mint, add 1/2 teaspoon of peppermint extract. You can also use different types of chocolate, like white chocolate or bittersweet chocolate chips. Each choice creates a unique flavor profile.
Dietary Variations
If you need vegan options, swap out the eggs with flaxseed or applesauce. Use a plant-based butter too. For a low-carb version, try almond flour instead of all-purpose flour. You can also use sugar alternatives like erythritol or monk fruit sweetener. These swaps help you enjoy the bars while sticking to your diet.
Storage Info
Storing and Freezing
To store your Fudgy Brookie Bars, let them cool first. Once they cool, cover them tightly with plastic wrap or foil. This keeps them fresh. You can also place them in an airtight container. They are best stored at room temperature. If you want to freeze them, cut the bars into squares. Wrap each piece in plastic wrap, then place them in a freezer bag. This method prevents freezer burn. When you’re ready to enjoy them, thaw the bars in the fridge overnight.
Shelf Life
At room temperature, these bars stay fresh for about 3 to 4 days. Just keep them in a cool, dry place. If you store them in the fridge, they can last for about a week. Freezing extends their life up to 3 months. Just remember to reheat them gently for the best taste. These tips ensure every bite of your Fudgy Brookie Bars is soft and delicious.
FAQs
How do I know when my Fudgy Brookie Bars are done?
You can tell your Fudgy Brookie Bars are done by looking for a few signs. They should look set on the edges and slightly soft in the center. When you insert a toothpick into the middle, it should come out with moist crumbs, not wet batter. This means they are ready to cool.
Can I make these bars ahead of time?
Yes, you can make these bars ahead of time! Store them in an airtight container at room temperature for up to three days. If you want to keep them longer, freeze them. Just wrap each bar in plastic wrap and place them in a freezer bag. They can last for up to three months this way.
What are the best ways to reheat Brookie Bars?
To reheat your Brookie Bars, you can use the oven or microwave. For the oven, preheat it to 350°F (175°C) and warm the bars for about 10 minutes. If you're short on time, place a bar in the microwave for 10-15 seconds. Both methods will restore that warm, gooey texture.
Can I use a different pan size?
You can use a different pan size, but you need to adjust the baking time. If you use a smaller pan, the bars will bake faster, so check them 5-10 minutes earlier. For a larger pan, they may take longer to bake. Always rely on the toothpick test to check for doneness.
This blog post covered the steps to make delicious Fudgy Brookie Bars. We explored ingredients, substitutions, and how to achieve perfect texture. I shared tips to avoid common mistakes and variations to make these bars your own. Remember, baking is fun and open to creativity. You can adapt this recipe to fit your tastes and dietary needs. Enjoy the process and treat yourself to a sweet reward!