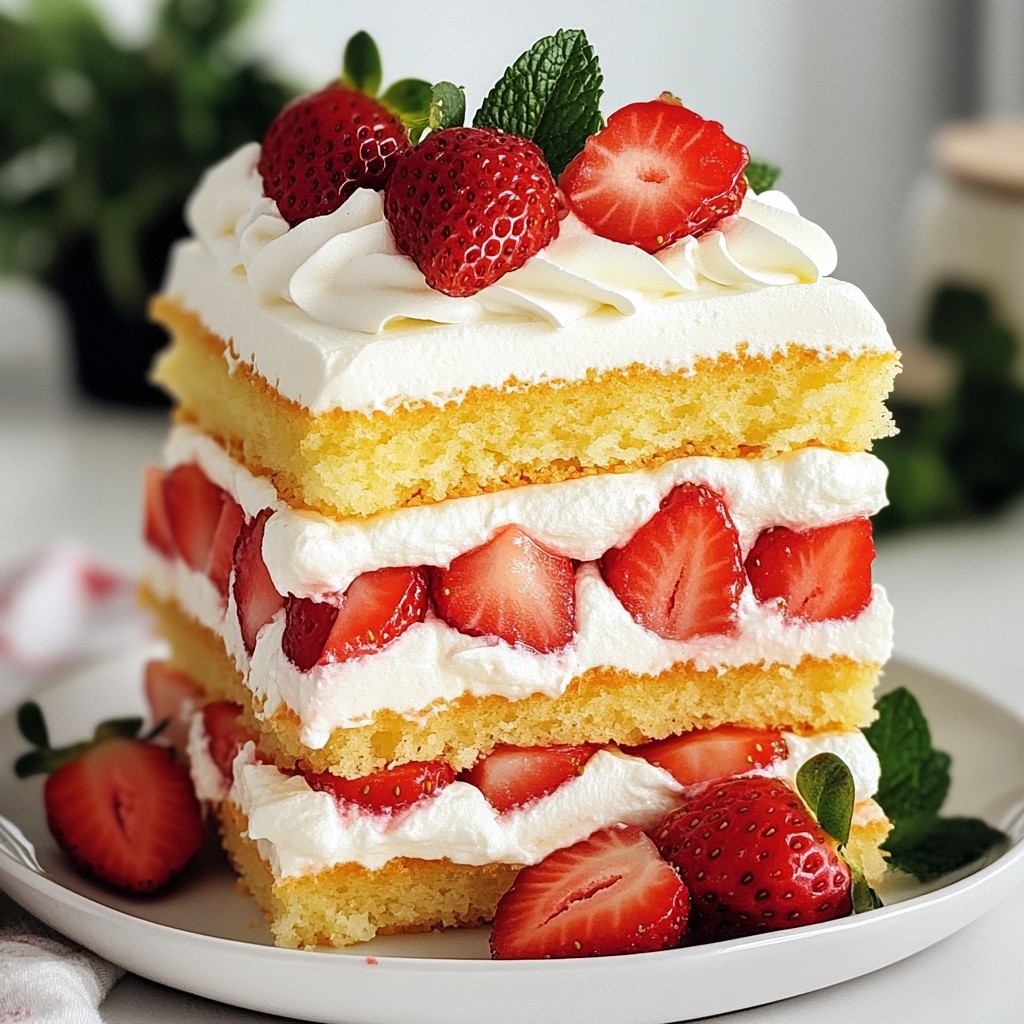
Looking to impress your friends with a delightful dessert? Let me introduce you to Japanese Strawberry Shortcake Sponge Cake! This light and fluffy cake features ripe strawberries and rich whipped cream. In this guide, I’ll walk you through each step, from gathering the right ingredients to perfecting the sponge. It’s easier than you think! You’ll impress everyone with your baking skills in no time. Let’s dive in and make something special!
Why I Love This Recipe
- Deliciously Light: This Japanese Strawberry Shortcake is incredibly airy and light, making it the perfect treat for any occasion.
- Fresh Ingredients: Using fresh strawberries elevates the flavor and adds a beautiful, vibrant color to the cake.
- Impressive Presentation: With its stunning layers of sponge, whipped cream, and strawberries, this cake is sure to impress your guests.
- Easy to Make: The straightforward steps make this dessert accessible for bakers of all skill levels, ensuring success every time.
Ingredients
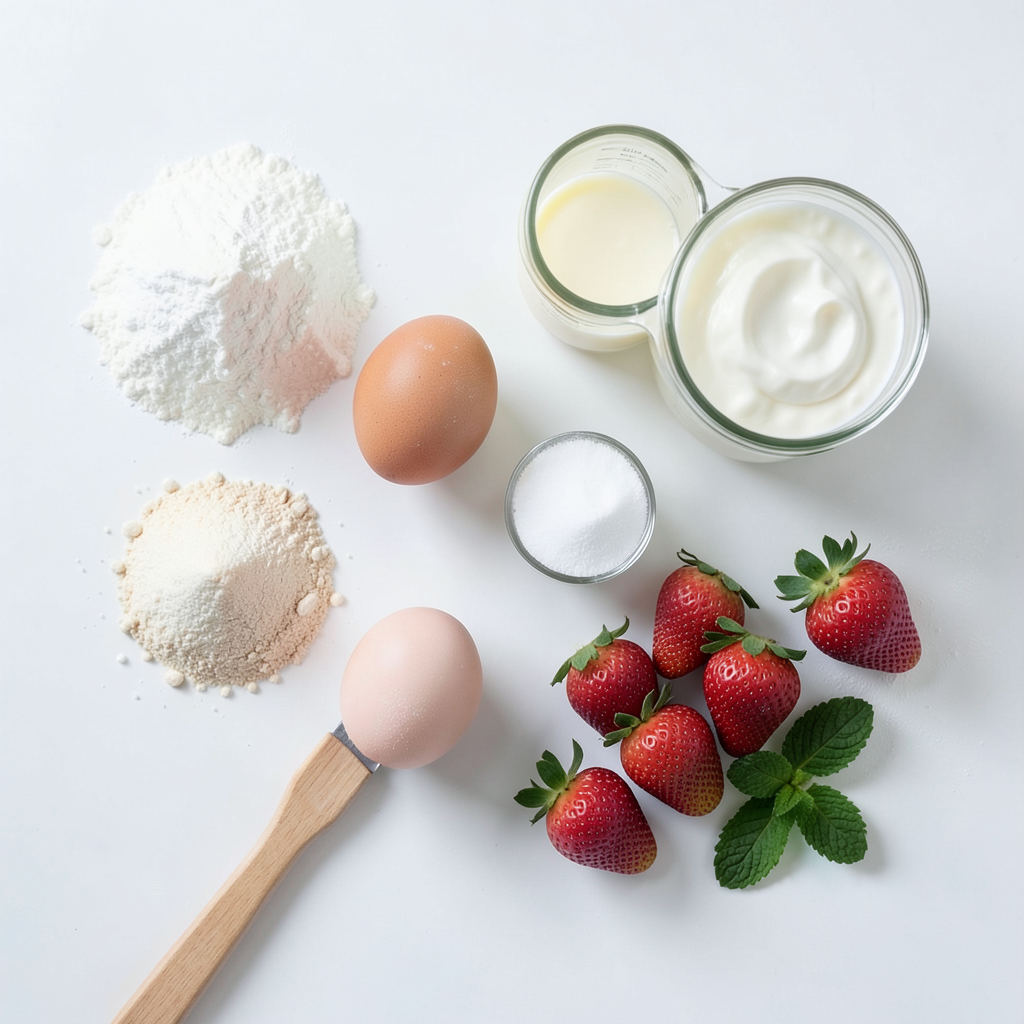
List of Ingredients
- 1 cup all-purpose flour
- 1/2 cup granulated sugar
- 1/2 teaspoon baking powder
- 1/4 teaspoon salt
- 3 large eggs, at room temperature
- 1/4 cup milk, warmed
- 1 teaspoon pure vanilla extract
- 1 cup heavy whipping cream, chilled
- 2 tablespoons powdered sugar
- 1 pound fresh strawberries, hulled and sliced
- Optional: fresh mint leaves for garnish
Ingredient Notes
Using high-quality strawberries makes a big difference. Look for ripe, bright red berries. They should be sweet and juicy. Room temperature eggs are key for a fluffy cake. They mix better with other ingredients. Warm milk helps blend all the flavors.
Common Substitutions
If you want a dairy-free option, use coconut cream or almond milk in place of heavy cream. You can also use a dairy-free whipped cream. For a lighter cake, consider using egg whites only, but keep the yolks for the cream.
Step-by-Step Instructions
Preheating and Preparing the Cake Pan
First, set your oven to preheat at 350°F (175°C). This step is key for even baking. Next, grab an 8-inch round cake pan. Lightly grease it with butter or oil. Then, line the bottom with parchment paper. This trick helps the cake come out easily.
Making the Cake Batter
In a medium bowl, whisk together 1 cup of all-purpose flour, 1/2 teaspoon of baking powder, and 1/4 teaspoon of salt. In a large bowl, beat 3 large eggs and 1/2 cup of granulated sugar. Use a hand mixer on medium speed for about 5 minutes. The mix should look light and fluffy. Add in 1/4 cup of warmed milk and 1 teaspoon of pure vanilla extract. Stir until everything is well mixed.
Now, carefully fold the dry mix into the wet mix. Use a spatula for this. Be gentle so the batter stays airy. You don’t want to overmix it!
Baking the Sponge Cake
Pour the cake batter into the prepared pan. Spread it evenly. Place the pan in your preheated oven. Bake for 20-25 minutes. To check if it's done, insert a toothpick in the center. If it comes out clean, your cake is ready! Let it cool in the pan for 5 minutes. Then, turn it out onto a wire rack to cool completely.
Preparing Whipped Cream
While the cake cools, let’s make the whipped cream. In a chilled mixing bowl, beat 1 cup of heavy whipping cream. Use a hand mixer on medium-high speed. Beat until soft peaks begin to form. Gradually add 2 tablespoons of powdered sugar while mixing. Keep beating until you see stiff peaks. Your whipped cream should look light and fluffy.
Assembling and Frosting the Cake
When the sponge cake is cool, slice it in half horizontally. Use a serrated knife for a clean cut. Put the bottom layer on a serving plate. Spread a thick layer of whipped cream on top. Next, place a layer of sliced strawberries over the cream. Carefully place the top layer of the sponge cake on.
Now, spread the remaining whipped cream all over the cake. Make sure to cover the top and sides. Decorate with more sliced strawberries. Add fresh mint leaves for a pretty touch.
Chilling the Assembled Cake
Cover the cake with plastic wrap. Refrigerate for at least 30 minutes. This helps the layers set nicely. When you slice into it, you'll see the beautiful layers of sponge, cream, and strawberries. Enjoy your delightful creation!
Tips & Tricks
Tips for Perfecting the Sponge Texture
To make the perfect sponge cake, follow these tips:
- Use fresh eggs at room temperature. They whip better.
- Whisk the batter gently. Overmixing can make it dense.
- Use a light hand when folding the dry ingredients. This keeps the air in.
Whipping Cream Tips for Stability
For stable whipped cream, try these ideas:
- Chill your mixing bowl and beaters before whipping. This helps the cream whip faster.
- Use heavy whipping cream. It holds its shape well.
- Add powdered sugar slowly. This helps create structure and sweetness.
Common Mistakes to Avoid
Here are mistakes to watch out for:
- Don’t skip the cooling step. A hot cake can melt the cream.
- Avoid using cold eggs. They don’t whip as well.
- Don’t rush the folding process. It impacts the final texture.
Presentation Tips for Serving
To serve your cake beautifully, consider these tips:
- Use a cake stand for an elegant look.
- Slice the cake carefully to show off the layers.
- Garnish with fresh mint leaves. They add a nice touch.
Pro Tips
- Use Room Temperature Eggs: Eggs at room temperature whip better and create a fluffier cake. Take them out of the fridge about 30 minutes before you start baking.
- Don’t Overmix the Batter: To keep the cake light and airy, gently fold the dry ingredients into the wet ingredients until just combined. Overmixing can lead to a dense texture.
- Chill Your Whipping Cream: Ensure your heavy cream is very cold before whipping. This helps it whip up faster and achieve stiff peaks more easily.
- Let the Cake Cool Completely: Allow the cake to cool fully before assembling. This prevents the whipped cream from melting and ensures clean layers.
Variations
Seasonal Fruit Alternatives
You can change the fruit based on the season. Try peaches, raspberries, or blueberries. Each fruit brings a new taste and color. For a summer twist, use fresh peaches. They pair well with whipped cream. In fall, apples can add a warm flavor. Just slice them thinly and layer on the cream.
Chocolate Strawberry Shortcake Variation
If you love chocolate, add cocoa to the cake. Replace 2 tablespoons of flour with cocoa powder. This gives the cake a rich flavor. You can also make chocolate whipped cream. Use cocoa powder in the cream for a double chocolate treat. This twist makes the cake even more fun.
Gluten-Free Version
To make a gluten-free cake, swap all-purpose flour for a gluten-free blend. Be sure to check that the blend has a good structure. This way, your cake stays fluffy. You can also use almond or coconut flour for a unique taste. Just be careful with the amount, as they absorb moisture differently.
Storage Info
How to Store Leftovers
After enjoying this delightful cake, store any leftovers properly. First, cover the cake with plastic wrap. This keeps it moist and fresh. Place it in the fridge for up to three days. Avoid stacking other items on top, as this can squash the cake.
Freezing Tips for the Cake
You can freeze the Japanese Strawberry Shortcake if you have extra. Slice the cake into individual pieces. Wrap each slice tightly in plastic wrap. Then, place the wrapped slices in a freezer bag. Label the bag with the date. The cake can stay frozen for up to three months. Thaw in the fridge when you want to enjoy a piece.
Best Practices for Keeping Fresh Strawberries
Keep your strawberries fresh to enjoy them longer. Store unwashed strawberries in the fridge. Place them in a container lined with paper towels. This helps absorb moisture. Wash strawberries only before use to avoid spoilage. Use them within a week for the best taste and quality.
FAQs
What is the origin of Japanese Strawberry Shortcake?
Japanese Strawberry Shortcake has roots in Western cake traditions. The cake became popular in Japan during the post-war era. It blends Western sponge cake with Japanese flavors. The use of fresh strawberries and whipped cream adds a light touch. This cake is often enjoyed at celebrations and birthdays. It reflects a perfect harmony of taste and texture.
Can I make this cake ahead of time?
Yes, you can make this cake ahead of time. However, it is best to assemble it close to serving. You can bake the sponge cake a day ahead. Wrap it tightly and store it at room temperature. You can also prepare the whipped cream in advance. Just keep it chilled until you are ready to assemble.
What are the best strawberries to use?
Fresh strawberries are key to this cake's success. Look for ripe, sweet strawberries with bright color. They should be firm but not too hard. Organic strawberries often have better flavor. Avoid any berries that are bruised or overripe. The best strawberries will enhance the cake's overall taste.
How do I know when the cake is fully baked?
To check if the cake is fully baked, use a toothpick. Insert it into the center of the cake. If it comes out clean, the cake is done. The edges should pull away slightly from the pan. The top should be golden and spring back when touched. If you see wet batter on the toothpick, bake a few more minutes.
We covered the key steps to make a great Japanese Strawberry Shortcake. You learned about the best ingredients and how to prepare them. I shared tips for making a perfect sponge and whipping stable cream. You also discovered fun variations and how to store leftovers.
Remember, practice makes perfect. Enjoy creating your delicious cake and impressing your friends and family!