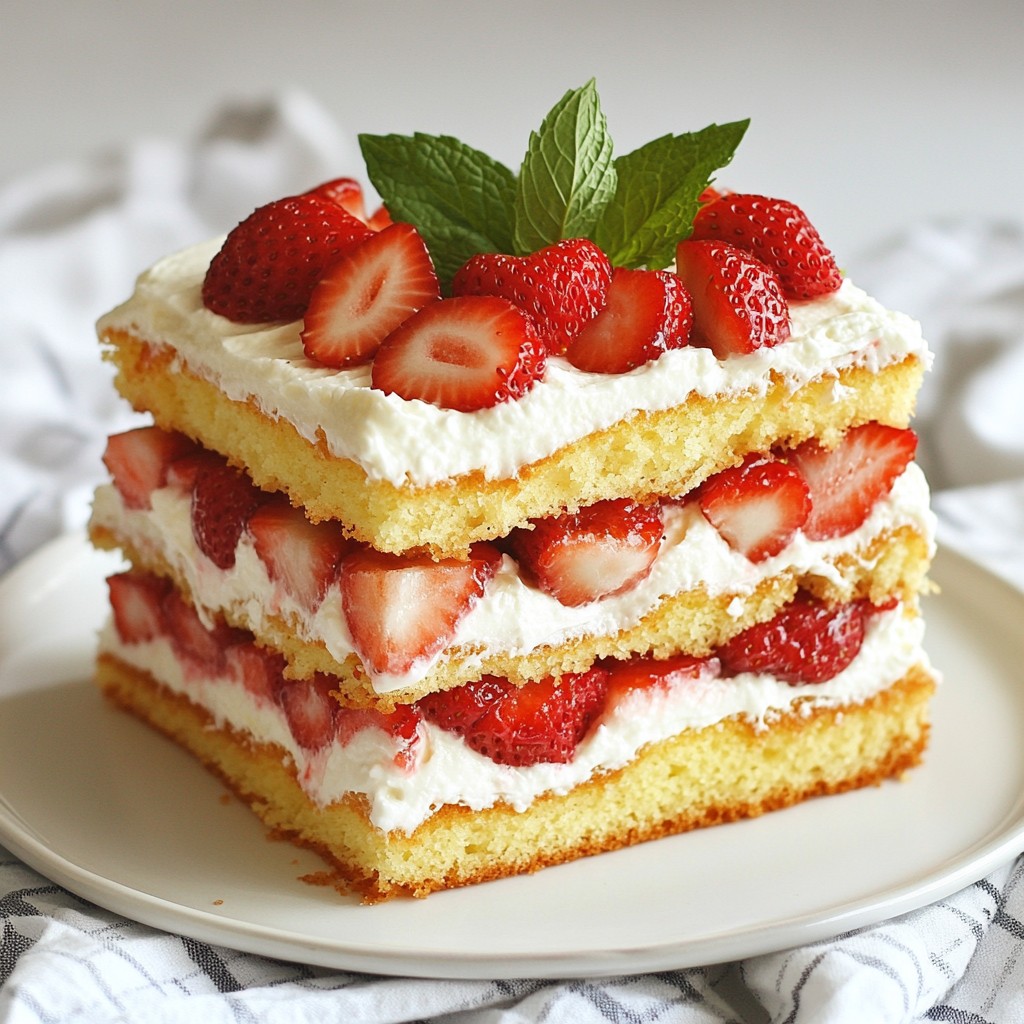
Craving a sweet treat that's both light and refreshing? My Layered Strawberry Sponge Cake is the perfect choice! With fluffy layers, juicy strawberries, and rich whipped cream, it's ideal for any gathering. In this guide, I'll share step-by-step instructions, tips, and variations to make this dessert your own. Dive in to discover how easy it is to create this delightful cake that everyone will love!
Error: Error code: 429 - {'error': {'message': 'You exceeded your current quota, please check your plan and billing details. For more information on this error, read the docs: https://platform.openai.com/docs/guides/error-codes/api-errors.', 'type': 'insufficient_quota', 'param': None, 'code': 'insufficient_quota'}}
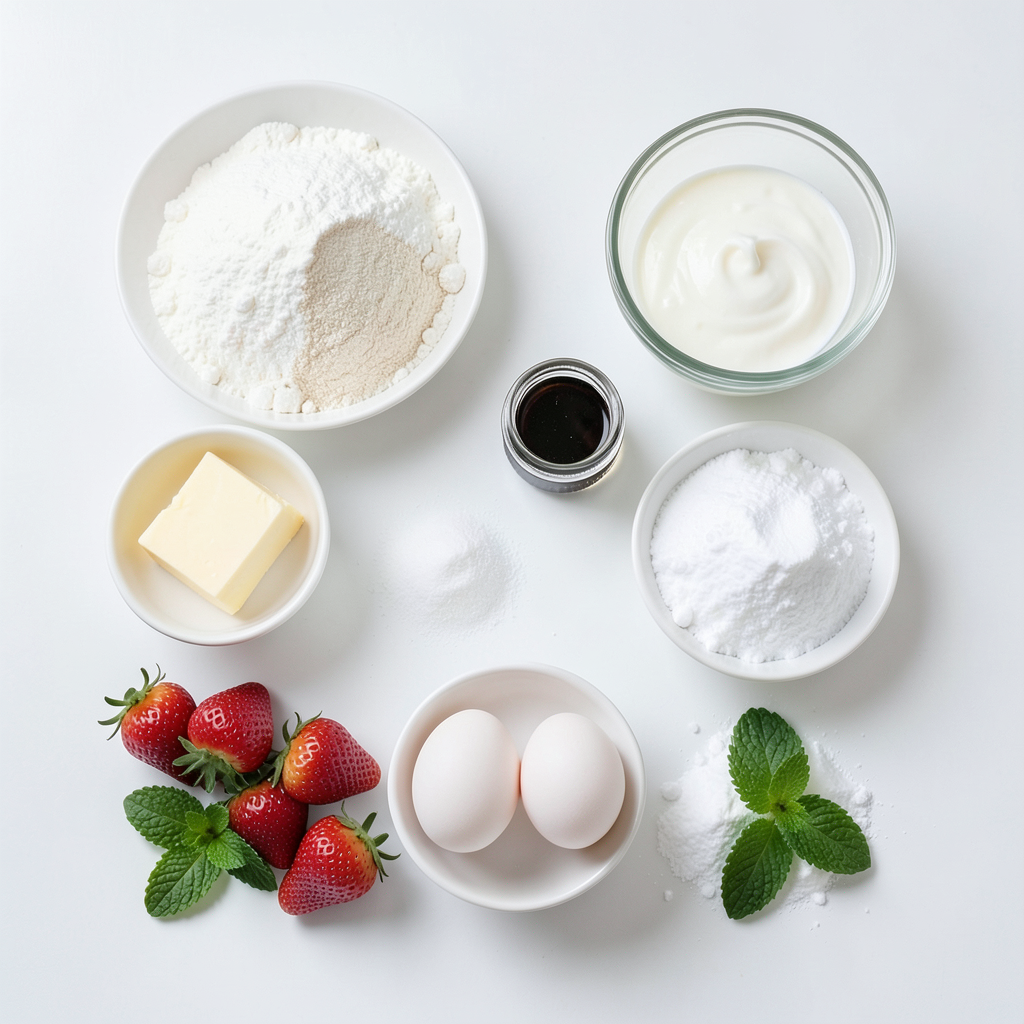
Ingredients
List of Ingredients
- 2 cups all-purpose flour
- 1 ½ cups granulated sugar
- 1 cup unsalted butter, at room temperature
- 4 large eggs
- ½ cup whole milk
- 2 teaspoons baking powder
- 1 teaspoon pure vanilla extract
- ½ teaspoon salt
- 2 cups fresh strawberries, hulled and sliced
- 1 cup heavy whipping cream
- 2 tablespoons powdered sugar
- Fresh mint leaves for garnish
Gathering your ingredients is crucial for success. Each item plays a big role in the flavor and texture of the cake.
All-purpose flour gives the cake its structure. Granulated sugar creates sweetness and helps the cake rise. Unsalted butter adds richness and moisture.
Eggs bind the ingredients together. Whole milk keeps the cake soft. Baking powder helps it rise and become fluffy. Vanilla extract adds a lovely flavor.
Salt balances the sweetness. Fresh strawberries bring a burst of fruitiness. Heavy whipping cream creates that dreamy whipped topping. Powdered sugar sweetens the cream.
Fresh mint leaves make the cake look beautiful. They add color and a hint of freshness.
Make sure your ingredients are ready before you start. This will make your baking process smooth and fun!
Step-by-Step Instructions
Prepping the Cake
1. Preheat your oven to 350°F (175°C).
2. Grease and flour two 9-inch round cake pans. This helps the cakes to come out easily.
3. In a large bowl, cream 1 cup of unsalted butter with 1 ½ cups of granulated sugar. Mix well for about 4-5 minutes until light and fluffy.
4. Add 4 large eggs to the butter-sugar mix one at a time. Mix well after each egg.
5. Stir in 1 teaspoon of pure vanilla extract for extra flavor.
Mixing the Batter
1. In another bowl, whisk together 2 cups of all-purpose flour, 2 teaspoons of baking powder, and ½ teaspoon of salt.
2. Slowly add this dry mix to the wet mix. Alternate with ½ cup of whole milk. Start and end with the flour mix. Mix gently until just combined.
Baking and Cooling Process
1. Divide the batter evenly between the two prepared cake pans. Smooth the tops with a spatula.
2. Bake in the preheated oven for 25-30 minutes. Check with a toothpick. It should come out clean.
3. Once baked, let the cakes cool in the pans for about 10 minutes. Then move them to wire racks to cool completely.
Preparing the Whipped Cream
1. In a mixing bowl, add 1 cup of heavy whipping cream and 2 tablespoons of powdered sugar.
2. Beat with an electric mixer on medium speed until soft peaks form. Be careful not to overbeat.
Assembling the Layered Cake
1. Place one cooled cake layer on a serving plate. Spread half of the whipped cream on top.
2. Add half of the sliced strawberries on the whipped cream.
3. Place the second cake layer on top of the first. Spread the remaining whipped cream on top.
4. Arrange the rest of the sliced strawberries on the whipped cream.
5. For a lovely finish, garnish with fresh mint leaves around the edges.
Tips & Tricks
Baking Tips
- To ensure even baking, rotate your cake pans halfway through. This helps the heat spread evenly.
- Avoid a dense cake by not overmixing your batter. Mix until just combined.
Whipped Cream Perfecting Tips
- For the right consistency, beat the cream until soft peaks form. This makes it fluffy.
- Add flavors to your whipped cream. Use vanilla, almond extract, or cocoa powder for fun twists.
Presentation Tips
- Garnish with fresh mint leaves and a sprinkle of powdered sugar for a pop of color.
- Serve slices on pretty plates. This makes your dessert look even more inviting.
Error: Error code: 429 - {'error': {'message': 'You exceeded your current quota, please check your plan and billing details. For more information on this error, read the docs: https://platform.openai.com/docs/guides/error-codes/api-errors.', 'type': 'insufficient_quota', 'param': None, 'code': 'insufficient_quota'}}
Variations
Cake Flavor Variations
You can switch up the sponge cake flavor to keep things fresh. Try an almond or lemon-infused sponge cake. Just add almond extract or lemon zest to your batter. This change gives the cake a nice twist. If you crave something richer, consider adding a chocolate layer. You can easily make a chocolate sponge. Just mix in cocoa powder into your dry ingredients. This adds depth to your cake and pairs well with strawberries.
Fruit Substitutions
Strawberries are delicious, but other fruits work too. Raspberries and blueberries make great substitutes. You could even create a mixed berry version. Just use equal amounts of your chosen berries. This adds variety and color. Plus, different fruits bring their own flavors, making each bite unique.
Frosting Options
Frosting can change the whole vibe of the cake. Instead of whipped cream, consider cream cheese frosting. It adds a tangy richness that pairs well with fruit. If you want a more decadent touch, try a chocolate ganache layer. Just melt chocolate with cream and pour it over your cake. This makes the dessert extra indulgent and satisfying.
Storage Info
Refrigeration
To store leftover cake, place it in an airtight container. Wrap it with plastic wrap if you don't have one. This keeps the cake fresh and moist. You can refrigerate it for up to three days.
To maintain freshness, avoid cutting too many slices at once. Each time you cut the cake, air gets in, which can dry it out. If you know you won’t finish it soon, consider freezing the layers instead.
Freezing
To freeze cake layers, let them cool completely first. Wrap each layer in plastic wrap, then place them in a freezer bag. This helps prevent freezer burn. You can freeze the layers for up to three months.
To thaw and serve, take the layers out of the freezer. Place them in the fridge overnight to thaw slowly. If you're in a hurry, you can let them sit at room temperature for about an hour. Once thawed, layer them again with whipped cream and strawberries, and enjoy!
FAQs
How do I make a gluten-free Layered Strawberry Sponge Cake?
To make a gluten-free version, use a gluten-free flour blend. Many blends work well, but ensure it has a good structure. You might also add extra eggs for moisture. Follow the same mixing and baking steps as in the regular recipe.
Can I make this cake ahead of time?
Yes, you can make this cake ahead. Bake the layers and let them cool completely. Wrap each layer in plastic wrap and store in the fridge for up to three days. When ready to serve, assemble it with whipped cream and strawberries.
What type of strawberries work best for this recipe?
Fresh, ripe strawberries work best. Look for berries that are bright red and firm. Avoid overripe or mushy strawberries, as they can make the cake soggy. If you can, buy local strawberries for the best flavor.
How do I know when my cake is done baking?
Check if your cake is done by inserting a toothpick into the center. If it comes out clean or with a few crumbs, the cake is ready. The edges should also pull away slightly from the pan.
Can I substitute the heavy cream for another ingredient?
Yes, you can use coconut cream or whipped topping as a substitute. Both options work well and can add unique flavors. If using coconut cream, chill it first for the best texture.
This blog post shared simple steps for making a delightful Layered Strawberry Sponge Cake. We covered key ingredients, from flour to fresh strawberries, and walked through the process, from baking to assembling. I offered tips on perfecting whipped cream and presented variations to keep things fun. Remember, you can store leftovers easily and enjoy this cake later. Baking should be fun, so don’t hesitate to add your twist. Try new flavors and share your results. Your cake journey starts now—happy baking!