If you're craving a rich, creamy dessert that’s as stunning as it is delicious, let me introduce you to the Loaf Pan Burnt Basque Cheesecake. This delightful recipe takes simple ingredients and turns them into a showstopper. I’ll guide you through each step, ensuring your cheesecake has that signature burnt top and smooth texture. Ready to impress your friends and family? Let's dive in and make dessert magic together!
Why I Love This Recipe
- Decadent Flavor: This cheesecake offers a rich, creamy taste that perfectly balances sweetness with a slight tang from the cream cheese.
- Unique Presentation: The burnt top adds a visually striking element that makes it stand out at any gathering.
- Simple Ingredients: Made with easy-to-find ingredients, this recipe is approachable for bakers of all levels.
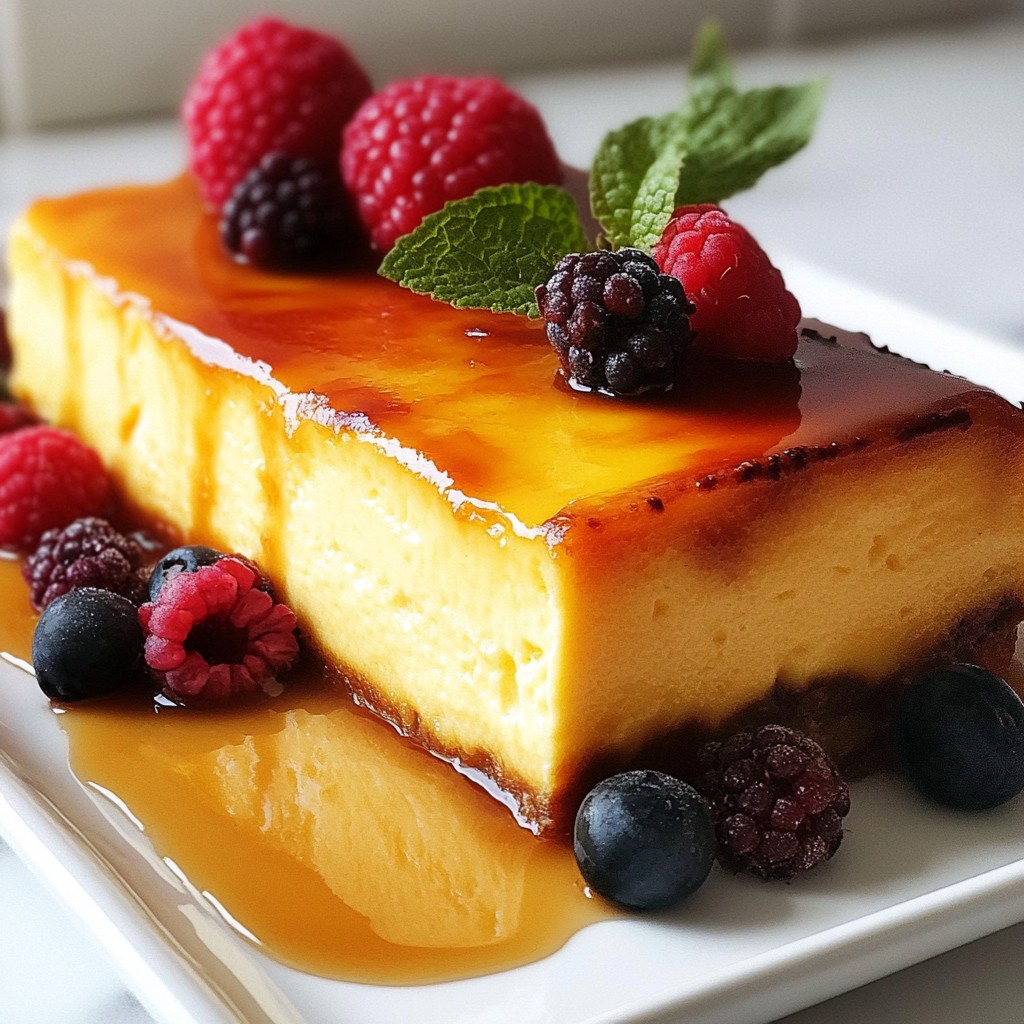
- Versatile Serving Options: Whether enjoyed plain or dressed up with berries or caramel, this cheesecake can be customized to suit any occasion.
Ingredients
Main Ingredients
- 2 cups cream cheese
- 1 cup granulated sugar
- 4 large eggs
- 1 cup heavy cream
- 1 teaspoon vanilla extract
- 1/4 cup all-purpose flour
- 1/4 teaspoon salt
Optional Garnishes
- Fresh berries
- Caramel sauce
- Whipped cream
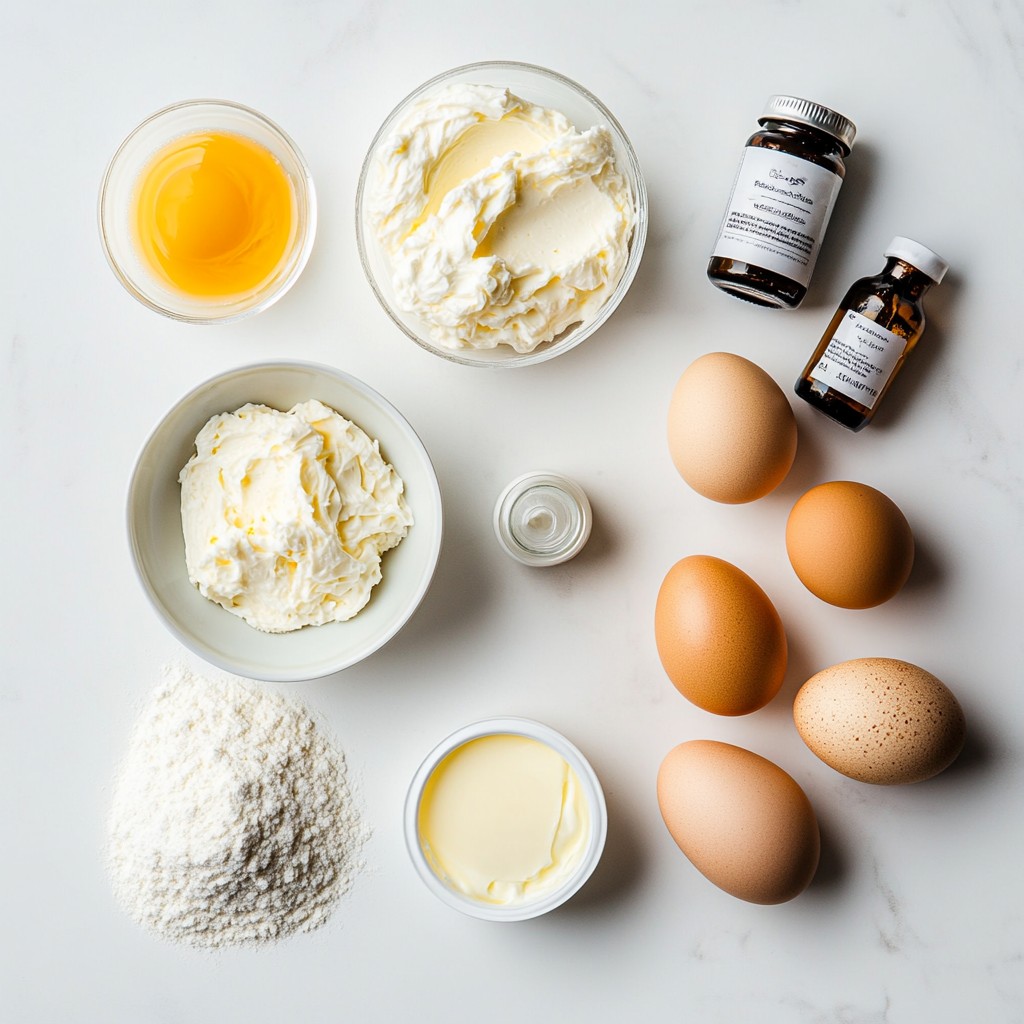
To create the perfect loaf pan burnt Basque cheesecake, you need a few key ingredients. First, cream cheese is the base. It gives the cheesecake its rich and creamy texture. Granulated sugar adds sweetness and balances the flavors well.
Next, you will use four large eggs. Eggs provide structure and help the cheesecake set. Heavy cream adds extra richness, making each bite smooth. A teaspoon of vanilla extract enhances the taste with a warm, sweet aroma.
You’ll also need a little flour and salt. The flour helps stabilize the cheesecake, while the salt brings out the flavors.
For your optional garnishes, fresh berries add freshness and color. Caramel sauce gives a sweet, sticky finish. Whipped cream adds a light, airy touch. Using these ingredients, you will create a delightful dessert that everyone will love.
Step-by-Step Instructions
Preparing Your Loaf Pan
- Preheat oven to 400°F (200°C).
- Line a 9 x 5-inch loaf pan with parchment paper.
Start by setting your oven to 400°F (200°C). This high heat helps create the signature burnt top. Next, grab a 9 x 5-inch loaf pan. Line it with parchment paper, allowing some paper to hang over the edges. This overhang is key, as it helps you lift the cheesecake out easily later.
Mixing the Batter
- Cream together cream cheese and sugar.
- Incorporate eggs one at a time.
- Add heavy cream and vanilla extract.
In a large bowl, take the softened cream cheese and sugar. Beat them together until the mix is smooth and creamy. This usually takes about 2-3 minutes. Then, add the eggs one at a time. Mix well after each addition to ensure everything blends nicely. Finally, pour in the heavy cream and vanilla extract. Mix until there are no streaks left in the batter.
Finalizing the Mixture
- Sift in flour and salt.
- Gently fold to combine.
- Pour into the prepared loaf pan.
Now it's time to add the dry ingredients. Sift the flour and salt right over the batter. Use a spatula to gently fold everything together. Be careful not to overmix; you want a smooth batter without losing air. Once it looks good, pour it into your prepared loaf pan. Use a spatula to smooth the top so it bakes evenly.
Baking the Cheesecake
- Bake for 50-60 minutes.
- Look for a golden brown top and wobbly center.
Put the loaf pan in your preheated oven. Bake for 50-60 minutes. Watch for that golden brown top. The center should still wobble a bit. This wobble means it will set nicely as it cools.
Cooling Process
- Cool at room temperature for 30 minutes.
- Refrigerate for at least 4 hours.
Once baking is done, let the cheesecake cool in the pan at room temperature for 30 minutes. After that, put it in the fridge. Chill for at least 4 hours, or even overnight, for the best texture.
Serving the Cheesecake
- Lift out using parchment paper.
- Slice with a hot knife.
- Serve chilled.
When you’re ready to serve, gently lift the cheesecake out using the parchment paper edges. To slice, use a hot knife — this helps create clean edges. Serve it chilled. Enjoy each creamy, rich bite of this delightful cheesecake!
Tips & Tricks
Ensuring a Smooth Batter
- Use room temperature ingredients: Cold ingredients can create lumps. Soft cream cheese mixes better.
- Mix properly between each egg addition: Add one egg, mix well, then add the next. This keeps the batter smooth.
Avoiding Common Issues
- Tips to prevent overmixing: Mix just until combined. Stop mixing as soon as you see no dry flour. Overmixing can lead to a dense texture.
- Baking tips for the perfect texture: Bake until the top is dark brown. The center should jiggle slightly when done. This means it will set perfectly as it cools.
Presentation Suggestions
- Rustic serving ideas: Place the cheesecake on a wooden board. Add fresh berries or a light drizzle of caramel for a pop of color.
- Pairing with beverages: This cheesecake goes well with coffee or tea. The warm drink balances the rich flavors of the cheesecake.
Pro Tips
- Use Room Temperature Ingredients: Make sure your cream cheese and eggs are at room temperature before mixing. This helps achieve a smooth batter and prevents lumps.
- Don’t Overbake: The key to a perfect Basque cheesecake is to keep the center slightly wobbly. Keep an eye on it in the last few minutes of baking to avoid overcooking.
- Chill Before Serving: Allowing the cheesecake to chill for at least 4 hours after baking enhances its flavor and texture, making it creamier and easier to slice.
- Experiment with Flavors: Feel free to add citrus zest or a splash of liqueur to the batter for a unique twist on the traditional flavor of the cheesecake.
Variations
Flavor Modifications
You can change the taste of your burnt Basque cheesecake easily. Adding citrus zest brings a fresh kick. Try lemon or orange zest for a bright twist. You can also infuse the cheesecake with spices. A pinch of cinnamon or nutmeg adds warmth. Just mix these flavors into your batter for extra depth.
Dietary Adjustments
If you need gluten-free options, use gluten-free flour instead of all-purpose flour. This swap keeps the texture smooth while making it safe for those with gluten sensitivities. For vegan adaptations, replace the eggs with a mix of aquafaba and a flaxseed meal. You can use a vegan cream cheese to keep the creaminess intact.
Serving Alternatives
Want to make mini cheesecakes? Just pour the batter into small ramekins instead of a loaf pan. Bake them for about 30-40 minutes. You can also add tasty toppings. Drizzle chocolate sauce or spoon fruit compote over the cheesecake. These additions make each bite a delightful surprise.
Storage Info
Storing Leftovers
To keep your leftover cheesecake fresh, wrap it well. Use plastic wrap or aluminum foil. This will seal in moisture and flavor. Store it in the fridge for up to five days. If you want to enjoy it later, freezing is a great option.
Freezing the Cheesecake
To freeze the cheesecake, first, let it cool completely. Then, wrap it tightly in plastic wrap. Place it in an airtight container for extra protection. You can freeze it for up to three months. When ready to eat, move it to the fridge overnight to thaw.
Best Practices for Freshness
Always keep the cheesecake covered in the fridge. This prevents it from drying out. It also stops strong odors from affecting the taste. For best results, avoid placing it near strong-smelling foods. Enjoy your cheesecake at its freshest!
FAQs
What is a Burnt Basque Cheesecake?
A burnt Basque cheesecake is a creamy and rich dessert. It has a dark, caramelized top and a soft, custard-like center. This style of cheesecake comes from the Basque region of Spain. It stands out because it is baked at a high temperature. The burnt top gives it a unique flavor that pairs well with its creamy inside.
Can I use a different pan?
You can use other pans, like a round cake pan or tart pan. If you choose a different size, adjust the baking time. A smaller pan may need less time, while a larger one may need more. Just keep an eye on it while it bakes. The key is to watch for that golden brown top.
How do I know when the cheesecake is done?
Look for a golden brown top when it’s done. The edges should be set, but the center should be slightly wobbly. You can also gently shake the pan. If the center jiggles like jelly, it needs more time. Remember, it will firm up as it cools.
Is it necessary to chill the cheesecake?
Yes, chilling helps improve the texture and flavor. The cheesecake tastes better after spending time in the fridge. Chilling also allows the flavors to blend nicely. Aim to chill it for at least 4 hours or overnight for the best results.
Can I make this cheesecake ahead of time?
Absolutely! This cheesecake is great for make-ahead options. You can bake it a day or two before serving. Just store it in the fridge after it cools. It stays fresh and tastes amazing. Just remember to slice it with a hot knife for neat pieces.
In this post, we explored how to make a delicious Burnt Basque Cheesecake. I shared key ingredients, step-by-step instructions, and some useful tips to enhance your baking. You learned about variations, storage options, and answered common questions.
Baking this cheesecake is fun and rewarding. Follow these steps for a creamy treat that impresses everyone. Enjoy your baking journey and share your results! Keep experimenting and delighting your friends with this tasty dessert.