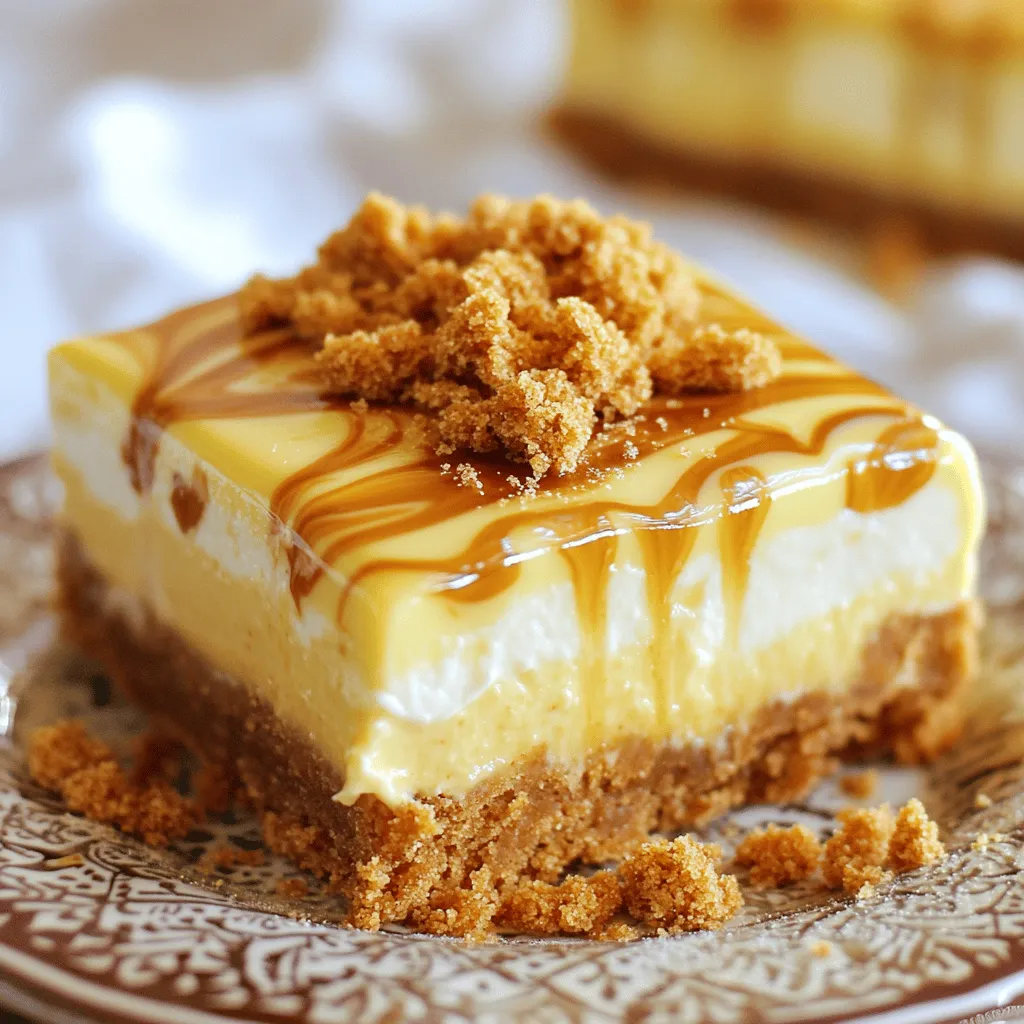
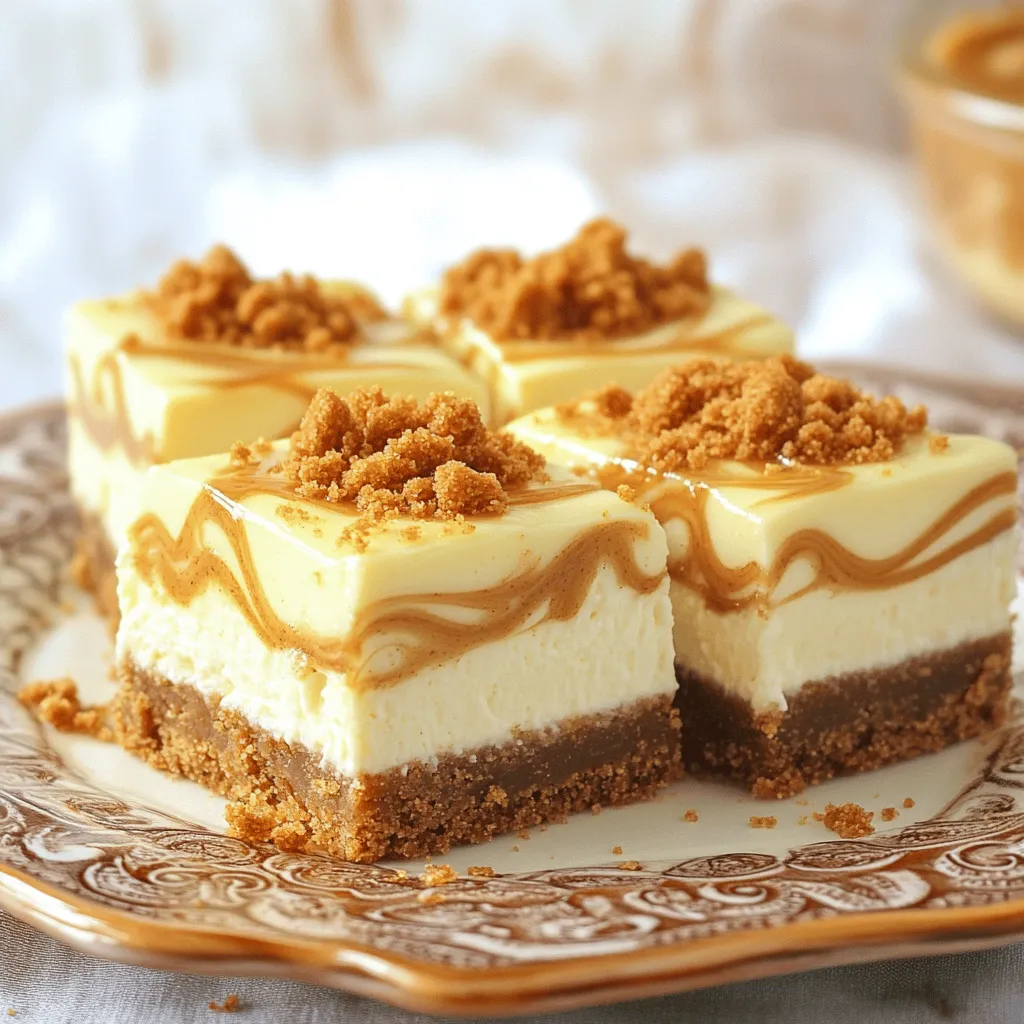
Craving a sweet treat that’s quick and easy? I’ve got just the recipe for you: No Bake Biscoff Cheesecake Bars! These creamy bars combine the rich flavors of Biscoff cookies and spread, making them perfect for any occasion. With simple steps and minimal effort, you can whip up a dessert that delights your taste buds. Ready to impress your friends and family? Let’s dive into making these delicious bars!
Ingredients
List of Main Ingredients
– 200g Biscoff cookies, finely crushed
– 100g unsalted butter, melted
– 400g cream cheese, brought to room temperature
– 100g powdered sugar
– 150g Biscoff spread
– 200ml heavy whipping cream
– A pinch of sea salt
The main ingredients make this dessert rich and tasty. Biscoff cookies give a great flavor and crunch. The cream cheese adds creaminess. Melted butter helps the crust stick together. Powdered sugar sweetens the filling. Biscoff spread gives that special touch. Heavy whipping cream makes the dessert fluffy. A little sea salt balances the sweetness.
Optional Ingredients for Garnish
– Crushed Biscoff cookies
– Full Biscoff cookies
These optional garnishes can make your bars look pretty. Crushed cookies add a nice texture on top. Whole cookies can sit on the bars for a fun touch. They make the dessert look more inviting and tasty.
Tools and Equipment Needed
– Mixing bowls
– Electric mixer
– 8×8 inch baking dish
You will need a few simple tools to make these bars. Mixing bowls help you combine all the ingredients. An electric mixer is key to whipping cream and mixing the filling easily. An 8×8 inch baking dish is perfect for setting the bars. It’s the right size to create nice, even slices.
Step-by-Step Instructions
Preparing the Crust
1. Start by crushing 200g of Biscoff cookies into fine crumbs. You can use a food processor or place them in a bag and crush them with a rolling pin.
2. In a mixing bowl, combine the crushed cookies with 100g of melted unsalted butter. Mix until it looks like wet sand.
3. Press this mixture firmly into the bottom of an 8×8 inch baking dish. Use the back of a measuring cup or your hands for an even layer.
4. Chill the crust in the refrigerator for 15 minutes. This helps it set and hold together nicely.
Making the Cheesecake Filling
1. While the crust chills, pour 200ml of heavy whipping cream into another mixing bowl. Whip it on medium-high speed until stiff peaks form. Set this whipped cream aside.
2. In a separate bowl, beat 400g of room temperature cream cheese with 100g of powdered sugar. Mix on medium speed until smooth and creamy, with no lumps.
3. Gently fold 150g of Biscoff spread into the cream cheese mixture using a rubber spatula. Make sure it blends well for a consistent flavor.
4. Carefully fold in the whipped cream in batches. This keeps the filling light and airy.
Assembling the Bars
1. Spread the cheesecake filling evenly over the chilled crust. Use a spatula to smooth the top for a nice finish.
2. Drizzle some extra Biscoff spread on top. Use a knife or skewer to create a light swirl for a pretty design.
3. Place the dish back in the refrigerator. Chill for at least 4 hours until the bars are fully set and firm.
4. Once set, remove the cheesecake from the fridge and cut it into 12 even bars. Garnish with finely crushed Biscoff cookies for added texture.
Tips & Tricks
Perfecting the Whipping Cream
To get stiff peaks in your whipped cream, start with a cold mixing bowl. Chilling the bowl and beaters helps the cream whip faster. Whip on medium-high speed until the cream forms peaks that hold their shape. This is key for a light cheesecake texture.
Ensuring a Smooth Cheesecake Mixture
Use cream cheese at room temperature. This makes it easier to mix and avoids lumps. Beat the cream cheese and powdered sugar until smooth. When adding Biscoff spread, use a rubber spatula. Gently fold it in to keep air in the mixture. This keeps your cheesecake light and fluffy.
Creative Presentation Ideas
For serving, place the cheesecake bars on a nice platter. Drizzle extra Biscoff spread on top for flair. Garnish with whole Biscoff cookies at an angle. This adds charm and makes your dessert look tempting. Use finely crushed Biscoff cookies to sprinkle on each bar for extra crunch.
Variations
Flavor Enhancements
You can easily change the flavor of your No Bake Biscoff Cheesecake Bars. Here are a few ideas to get you started:
– Adding chocolate or caramel: Drizzle melted chocolate or caramel sauce on top. This adds a rich layer of flavor. You can also fold it into the cheesecake mixture for a twist.
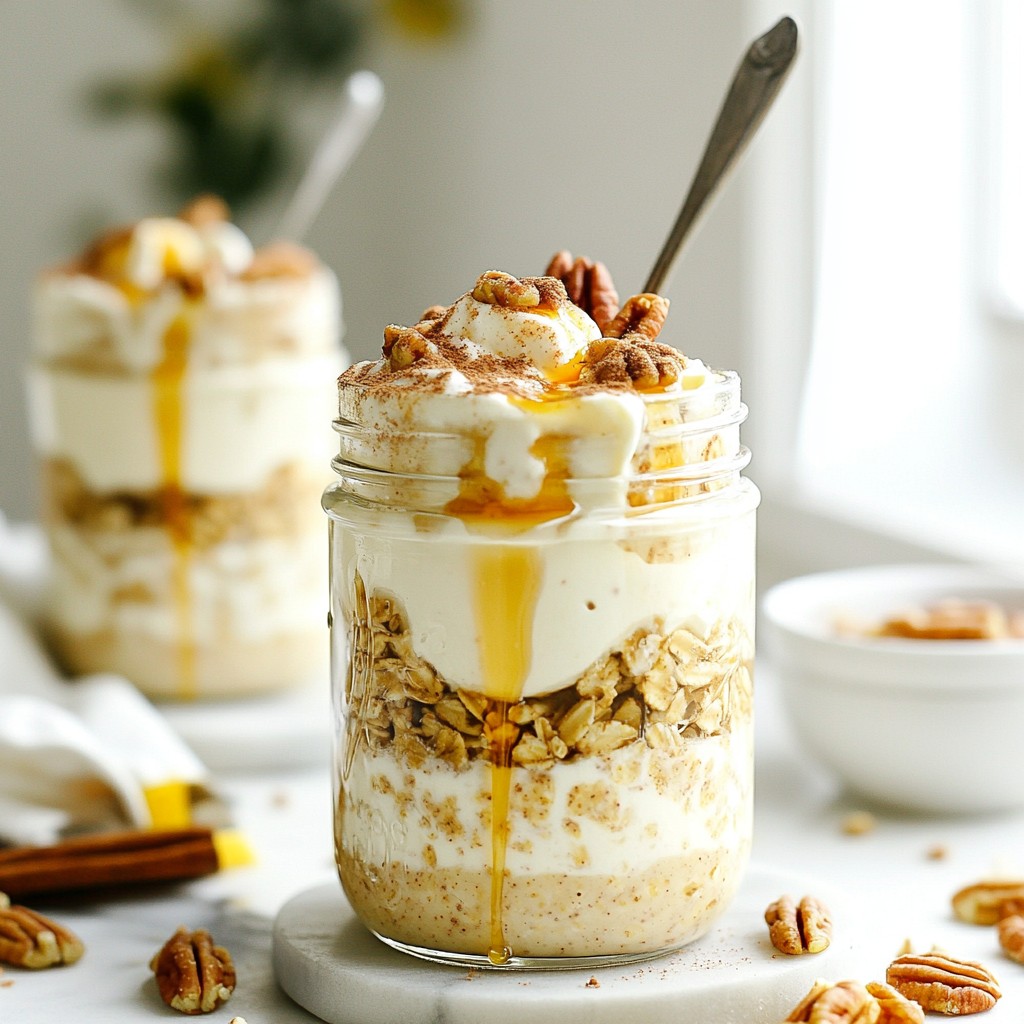
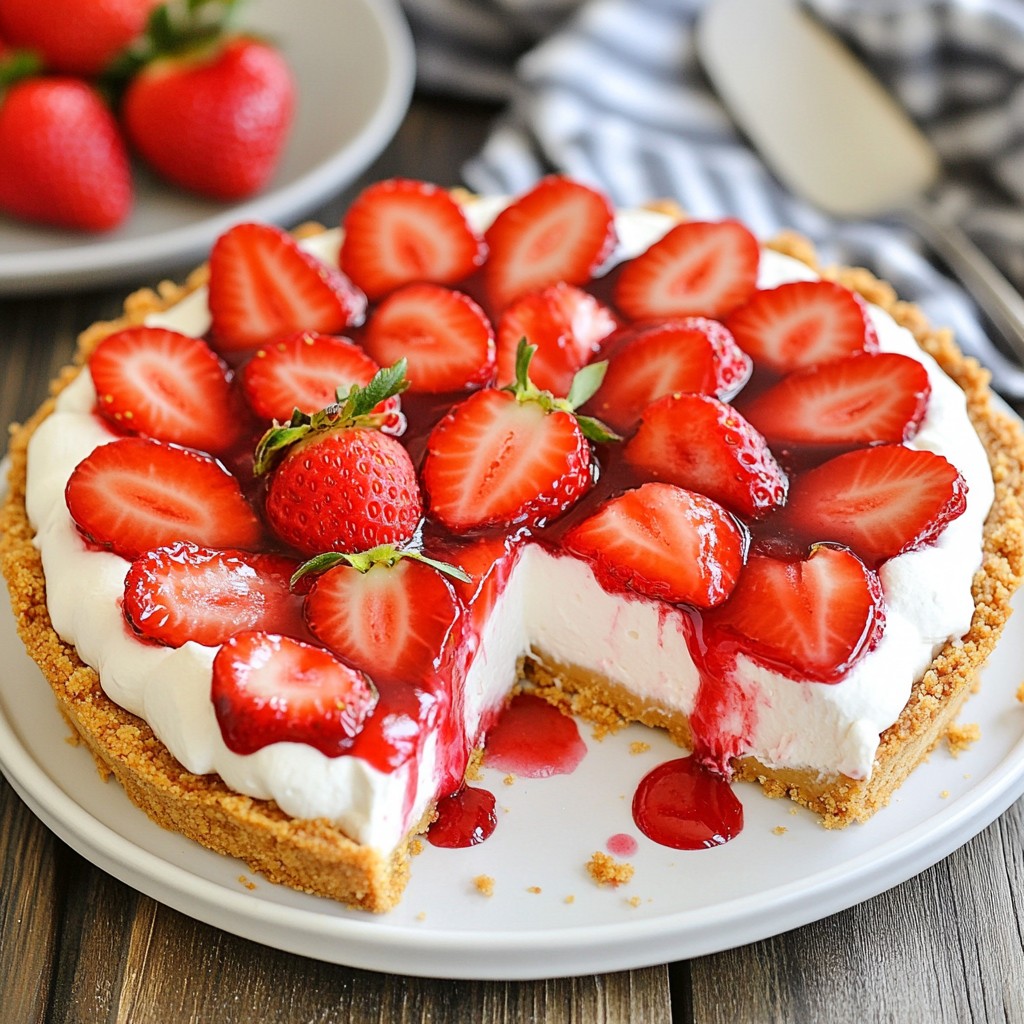
– Incorporating nuts or fruit toppings: Add chopped nuts like pecans or walnuts for crunch. Fresh fruit like strawberries or bananas can also brighten up the bars. Just remember to keep the fruit low in moisture to avoid sogginess.
Gluten-Free Options
If you need a gluten-free version, it’s simple. Substitute the regular Biscoff cookies with gluten-free cookies. There are many good options available. Just make sure to check the packaging for the gluten-free label.
Serving Styles
You can serve your cheesecake bars in fun ways:
– Freezing for cheesecake bites: Cut the bars into smaller pieces and freeze them. This gives you bite-sized treats that are perfect for parties or snacking.
– Making mini cheesecake cups: Use cupcake liners in a muffin tin. Fill each liner with the cheesecake mixture. This way, you get cute mini cheesecake cups that are easy to serve and eat.
By trying these variations, you can create a No Bake Biscoff Cheesecake that feels new every time!
Storage Info
Proper Storage Techniques
To keep your No Bake Biscoff Cheesecake Bars fresh, store them in the fridge. Place the bars in an airtight container. You can also cover them tightly with plastic wrap. If you want to save them for later, freezing is a great option. Cut the bars into pieces first. Wrap each piece in plastic wrap and place them in a freezer-safe bag.
Shelf Life
These cheesecake bars can last in the fridge for up to five days. If stored in the freezer, they can stay good for about three months. Just remember to check for any signs of freezer burn before enjoying them.
Best Practices for Reheating
If you freeze the bars, let them thaw in the fridge overnight. This keeps them moist and tasty. You can also leave them out at room temperature for about an hour before serving. Avoid using the microwave, as it can change the texture. Enjoy your bars chilled for the best flavor!
FAQs
Can I use a different type of cookie for the crust?
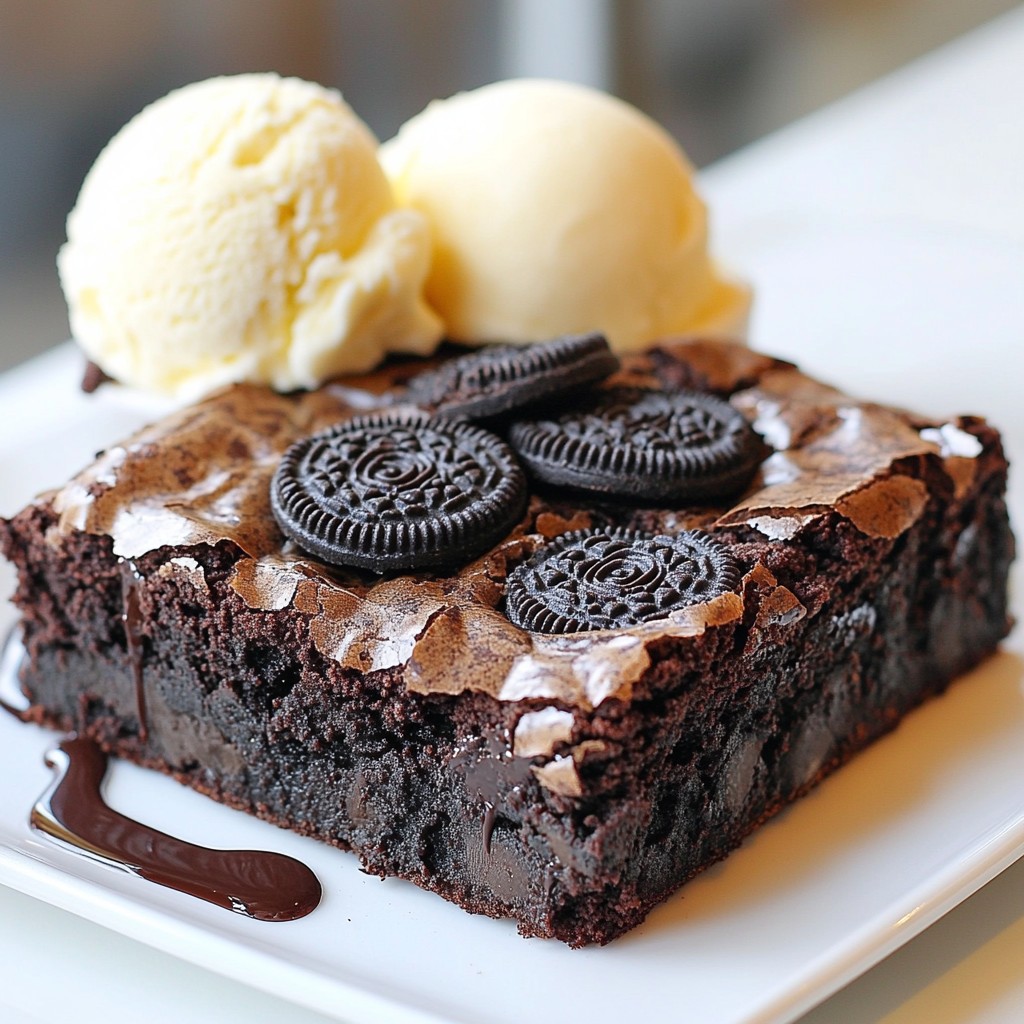
Yes, you can! Try using graham crackers, digestive biscuits, or Oreos. Each cookie gives a unique taste. If you want a chocolate twist, Oreos are great. For a classic flavor, graham crackers work well. Remember, choose something crunchy for the best base.
How long does it take for the cheesecake bars to set?
The cheesecake bars need at least 4 hours to chill. This time helps them firm up. For the best results, let them sit overnight. This way, they become even more delicious. If you cut them too soon, they may fall apart.
Can I use low-fat cream cheese?
You can use low-fat cream cheese, but the taste may change. The bars might taste less rich and creamy. Full-fat cream cheese gives a smoother texture. If you choose low-fat, expect a lighter flavor. It’s a good option if you want a healthier treat!
What’s the best way to cut cheesecake bars?
To cut cheesecake bars cleanly, use a sharp knife. Dip the knife in hot water, then wipe it dry. This helps create neat slices. Cut slowly to avoid squishing the bars. For the best results, cut them after chilling overnight.
This blog post covered making Biscoff cheesecake bars from scratch. We discussed ingredients, tools, and step-by-step instructions. I shared tips for perfect texture and creative ways to present your dessert. You can even try different flavors or make it gluten-free. Lastly, I provided storage info to keep your bars fresh. Enjoy creating these tasty treats and make them your own!