LATEST RECIPES

LET'S GET COOKING!
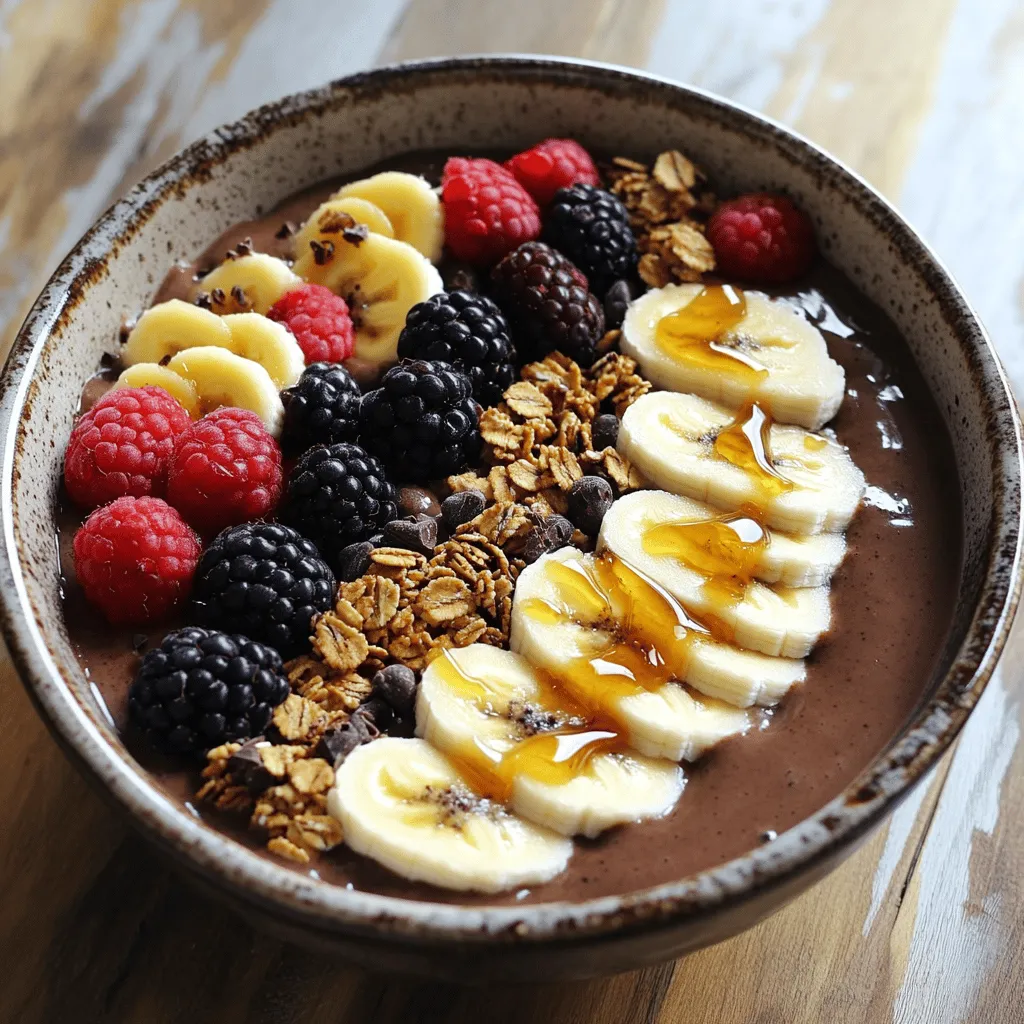
High-Protein Chocolate Peanut Butter Smoothie Bowl Recipe
Are you ready to indulge in a delicious High-Protein Chocolate Peanut Butter Smoothie Bowl? This recipe not only satisfies your sweet tooth but also packs...
Read Full Recipe →