


LATEST RECIPES


LET'S GET COOKING!
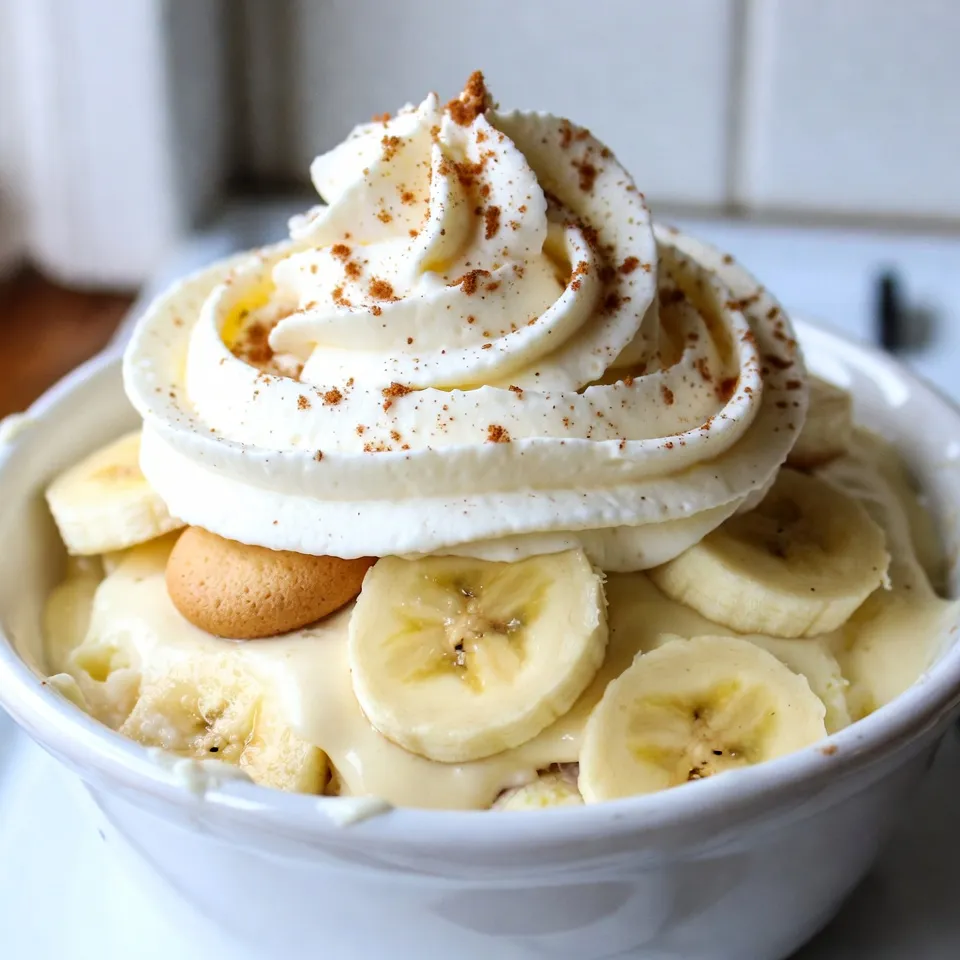
Eggnog Banana Pudding Delightful Festive Dessert
If you’re looking for a dessert that screams holiday cheer, you’ve come to the right place! This Eggnog Banana Pudding combines the classic flavors of...
Read Full Recipe →