

LATEST RECIPES


LET'S GET COOKING!
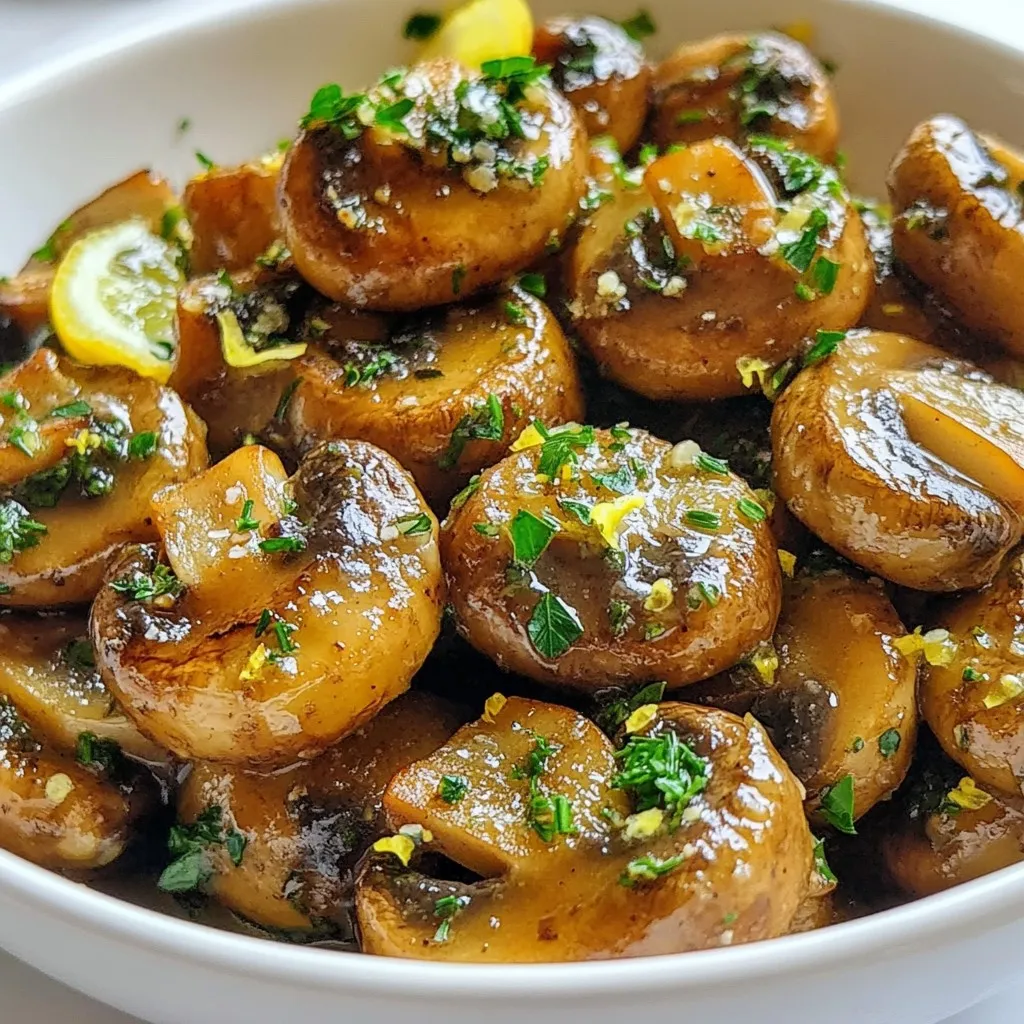
Brown Butter Garlic Thyme Mushrooms Savory Delight
Are you ready to elevate your mushroom dish? Brown Butter Garlic Thyme Mushrooms is a savory delight that will wow your taste buds. This easy...
Read Full Recipe →