

LATEST RECIPES


LET'S GET COOKING!
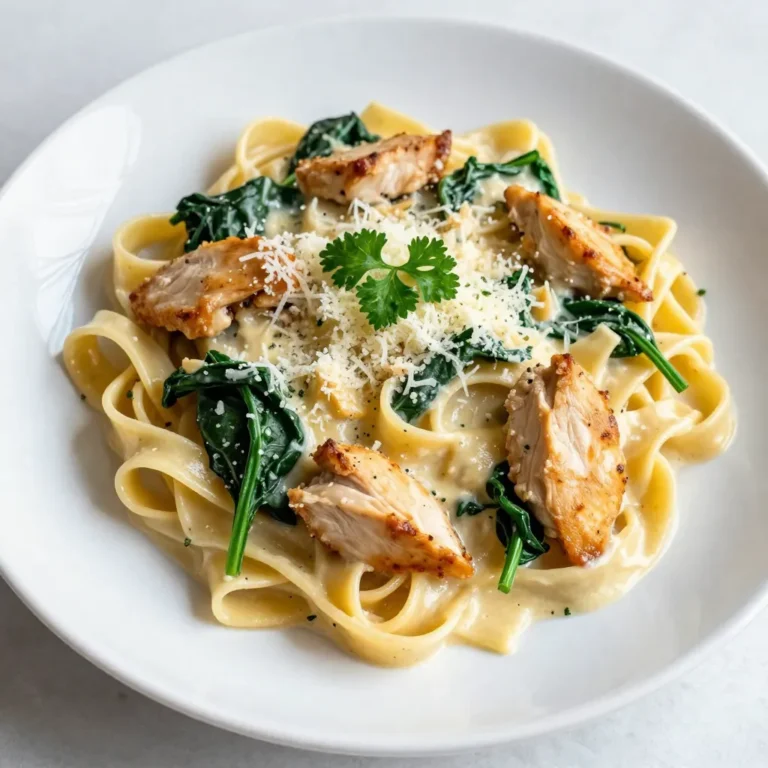
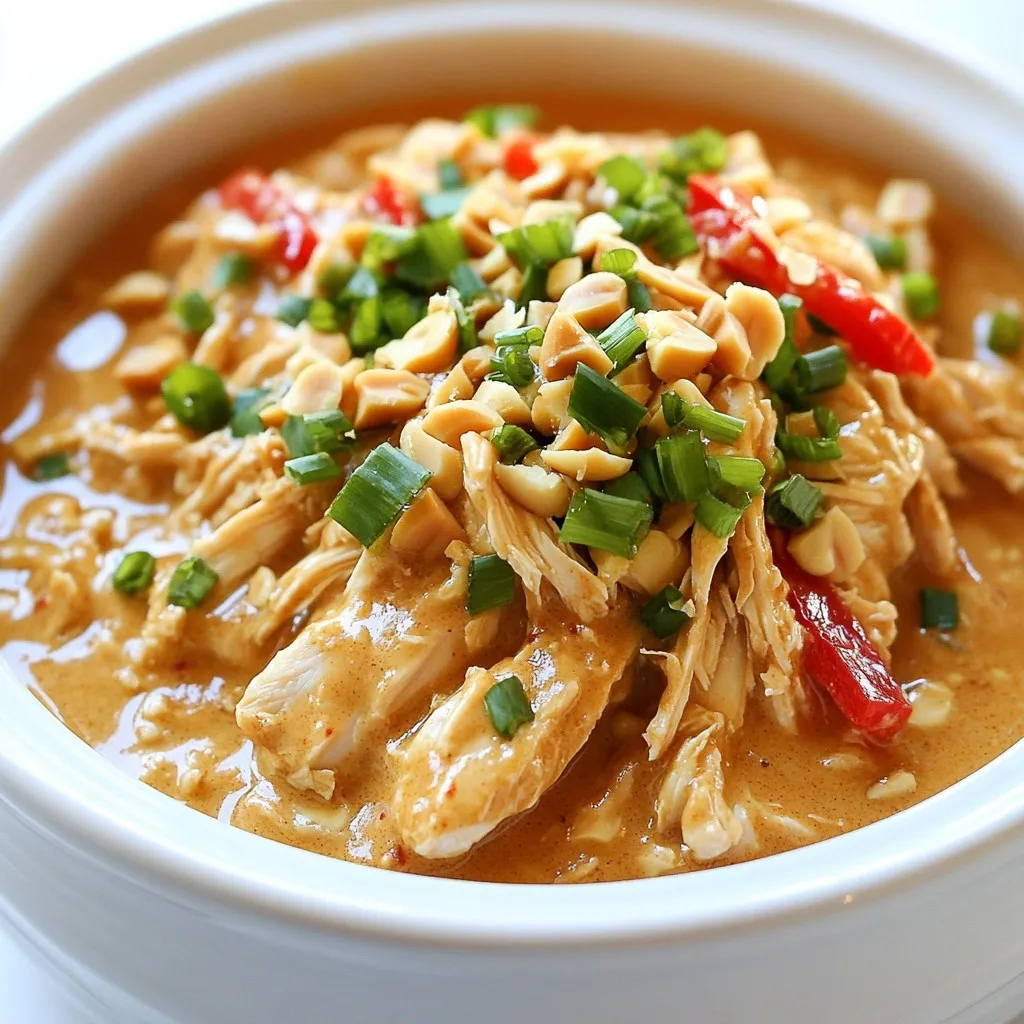
Slow Cooker Thai Peanut Chicken Flavorful Comfort Meal
Looking for a meal that’s both easy and packed with flavor? Slow Cooker Thai Peanut Chicken is just the dish you need! This comforting recipe...
Read Full Recipe →